How to remove background from hair in Photoshop is a valuable yet challenging skill that every photo editor eventually needs. Struggling to separate fine hair strands from a solid background is one of the most common frustrations in Photoshop editing. Without the right techniques and tools, it’s easy to spend hours only to end up with jagged edges, color fringes, or a damaged original file. In this tutorial, you’ll learn exactly how to remove background from hair using the powerful Background Eraser Tool. Once you understand this method, you’ll gain the confidence to handle hair cutouts in any photo, whether for e-commerce, portraits, or creative projects.
This step-by-step guide walks you through the process clearly so you can achieve clean, professional, and equivalent results.
Why Hair Background Removal Matters

Before vs After Hair Removal: From cluttered chaos to polished product perfection
In e-commerce fashion photography, a precise hair cutout ensures models look natural on white or custom backgrounds, boosting product appeal and conversions. Professional portraits benefit from clean edges that enhance branding by focusing on the subject without distractions. For marketing creatives, accurate photo manipulation relies on seamless integrations, where poor hair masking can break immersion.
From my work with online retailers, I’ve seen how refined hair isolation improves image quality, leading to higher engagement. High-quality visuals can significantly increase sales in e-commerce. It’s not just aesthetics; it’s about delivering print-ready or web-optimized images that perform.
Best Photoshop Tools for Removing Background from Hair
Before diving into tutorials, here’s a quick overview of the top tools in the latest Photoshop versions, including Photoshop 2026.
- Select and Mask (Refine Edge): Ideal for complex hair with its AI-powered edge detection, handling frizzy or curly strands effectively.
- Background Eraser Tool: Suited for high-contrast scenarios, erasing backgrounds while protecting foreground details.
- Channels Method: Offers pixel-level precision for advanced users, using alpha channels for the cleanest results.
- AI Background Removers: Leverage machine-learning for speed, like Photoshop’s one-click Remove Background feature.
These tools build topical authority by covering non-destructive workflows and semantic depth in masking.
Method 1: Remove Background from Hair Using Select and Mask (Recommended)
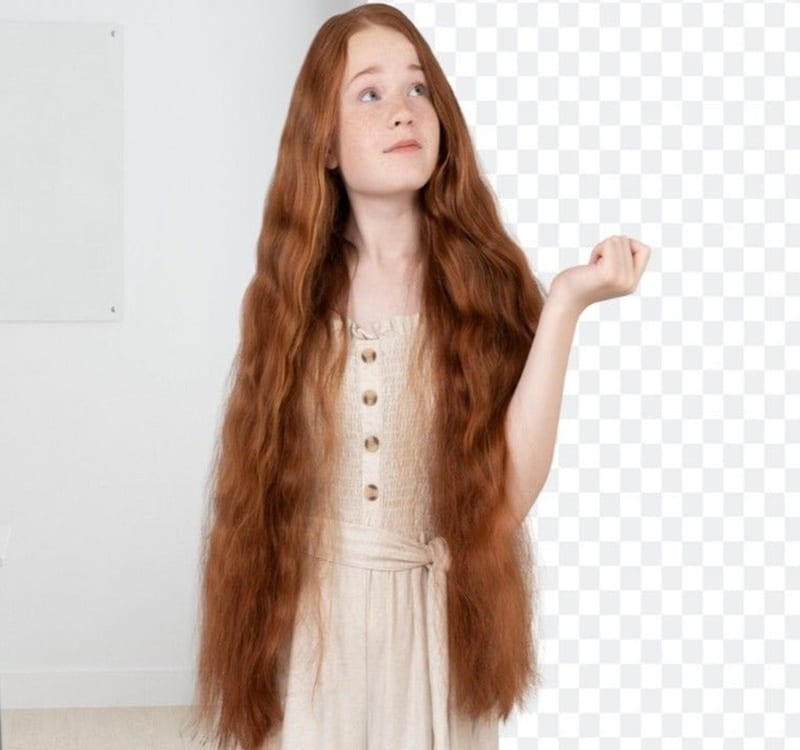
Halo-free hair edges revealed: Zoomed-in visibility check on bright pink fill layer after Photoshop Select and Mask
This approach excels for wispy, curly, soft, or complex hair edges, thanks to Photoshop’s improved AI in 2026.
- Open your image in Adobe Photoshop 2026 via the Desktop App or Creative Cloud.
- Use the Object Selection Tool or Quick Selection Tool to roughly select the subject. Go to Select > Subject for an AI-assisted start.
- Add a Layer Mask by clicking the mask icon in the Layers Panel—this keeps your editing non-destructive.
- Enter the Select and Mask Workspace (Select > Select and Mask).
- Grab the Refine Edge Brush Tool (R) and brush over hair edges. The Smart Radius detects fine strands automatically.
- Tweak Global Settings in the Properties Panel:
- Radius: 1-3 px for edge detection.
- Smooth: 5-10 to soften transitions.
- Feather: 0.5-2 px for soft edge blending.
- Contrast: 10-20% to sharpen details.
- Shift Edge: -10% to contract and reduce halos.
- Check Decontaminate Colors to eliminate color spill, replacing fringe with hair tones.
- Output to Layer Mask.
Pro tip: To avoid halos, preview on a bright color layer below. If rough edges persist, use a soft Brush Tool at 0% hardness for manual cleanup in Mask Overlay Mode.
Method 2: Remove Background from Hair Using the Background Eraser Tool
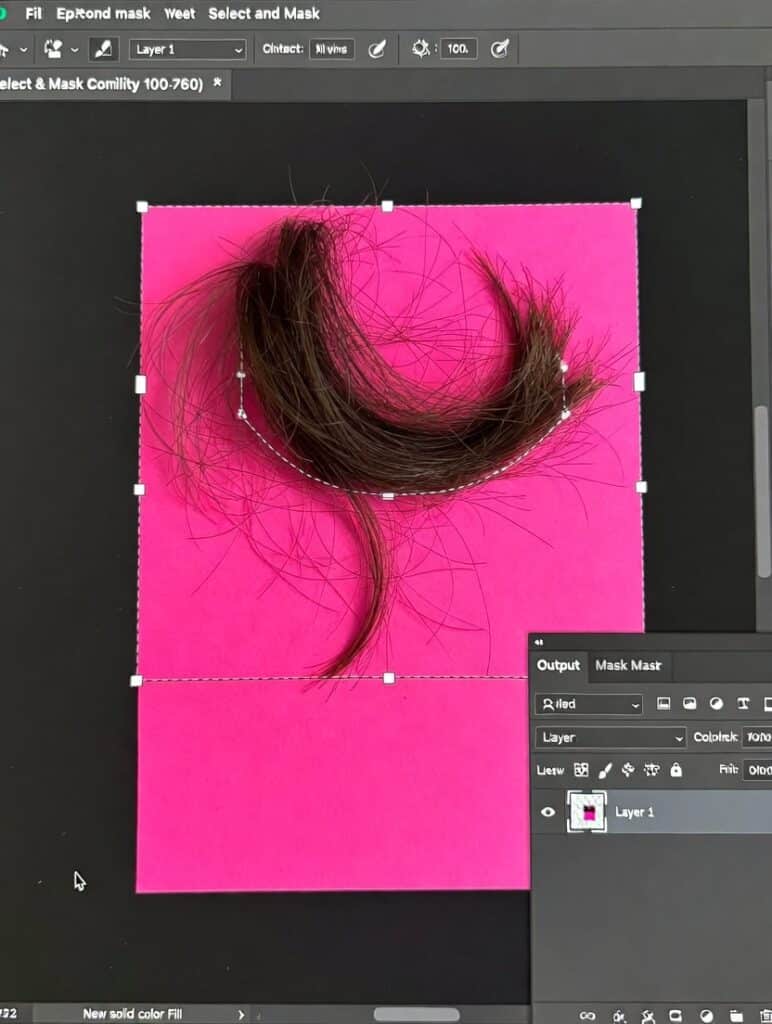
Removing hair background with the Background Eraser Tool – key settings visible for precise control
Great for images with strong background-hair contrast, like dark hair on light backdrops.
- Duplicate the original layer (Layer > Duplicate Layer) for safety.
- Create a Solid Color Fill Layer (Layer > New Fill Layer > Solid Color) in bright red or pink to spot remnants easily.
- Select the Background Eraser Tool from the Toolbar.
- Set options:
- Sampling: Continuous for varying colors.
- Limits: Discontiguous to erase scattered areas.
- Tolerance: 30-60% start low to preserve details.
- Protect Foreground Color: To safeguard hair tones.
- Click and drag around hair, letting the tool sample and erase.
- Lower tolerance for areas near clothing with similar hues.
- Refine leftovers with a soft Brush Tool on the Layer Mask.
Avoid this method for low-contrast scenes, like blonde hair on light backgrounds, as it risks erasing strands. Channels or Select and Mask handle those better.
Method 3: Remove Background from Hair Using Channels (Advanced)
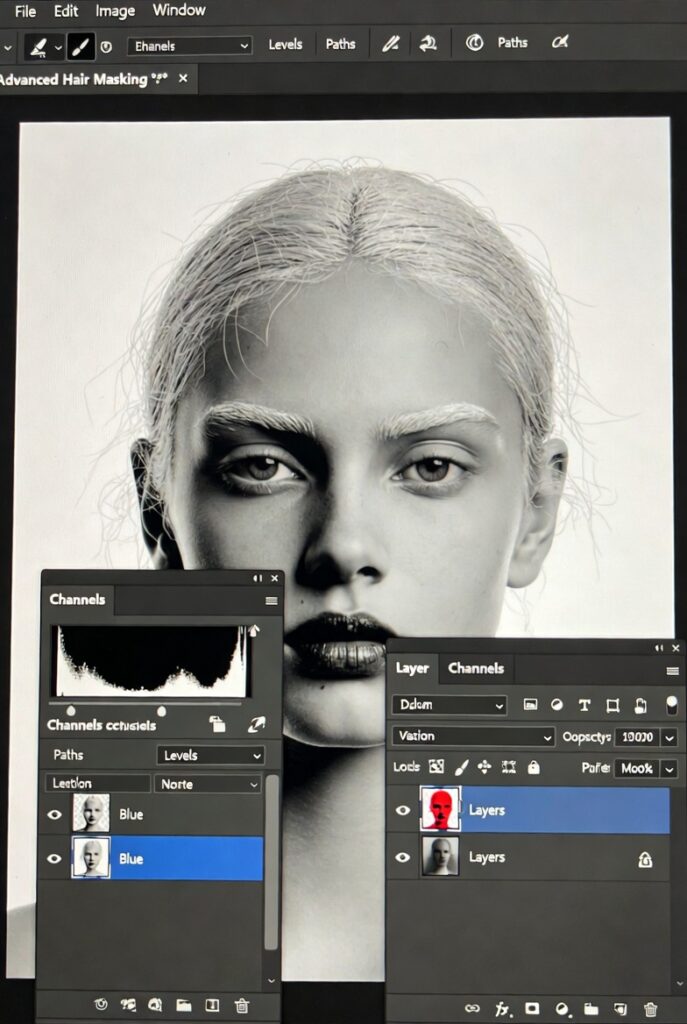
Pixel-perfect hair masking: Boosting contrast in the duplicated Blue channel using the Levels – Channels technique for clean edges
Perfect for high-end retouching needing maximum precision.
- Add a white or solid background layer below for visibility.
- Open the Channels Panel.
- Spot the channel with the highest contrast (often Blue or Green for hair).
- Duplicate it (right-click > Duplicate Channel).
- Apply Levels (Ctrl/Cmd + L) to boost contrast—drag shadows and highlights sliders.
- Paint black to hide unwanted areas, white to reveal—use a soft brush for edges.
- Ctrl/Cmd-click the channel thumbnail to load as a selection.
- Apply as Layer Mask (Layer > Layer Mask > Reveal Selection).
- Clean up with the Brush Tool.
Channels deliver the cleanest edges by leveraging alpha channel masking, preserving flyaway strands and root shadows for realism.
Alternative: AI Background Removal for Hair
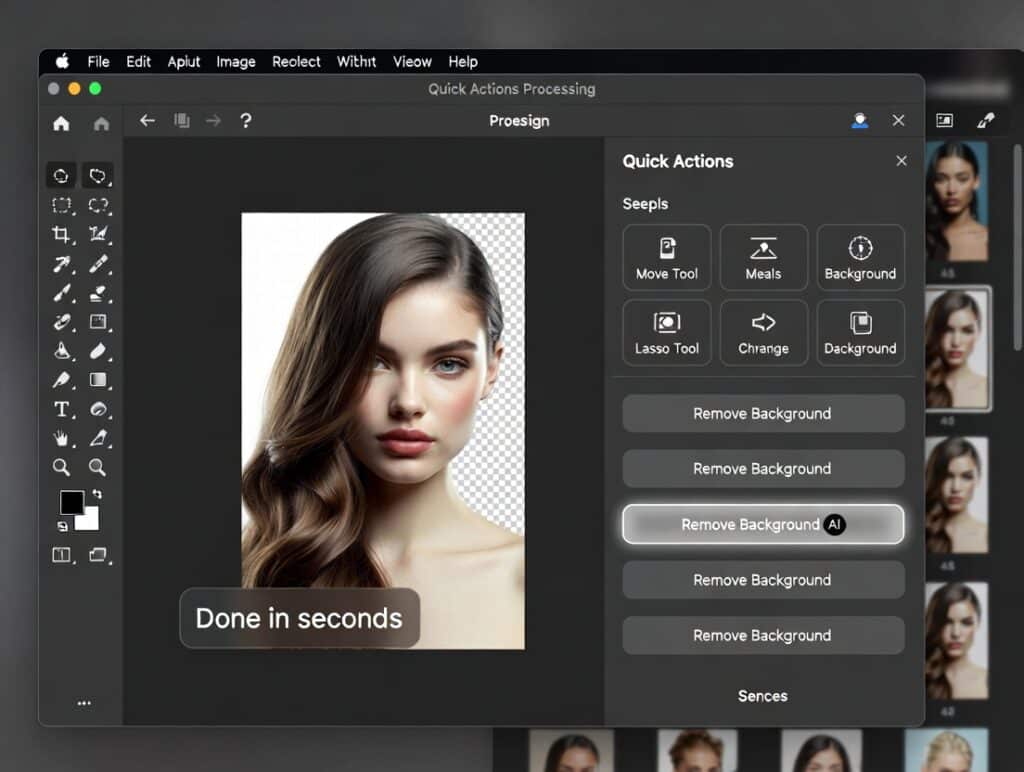
Instant hair cutout: AI Remove Background button glowing – clean transparent result in seconds
For speed with bulk images, AI tools shine. Photoshop AI-powered Remove Background uses neural edge detection to auto-isolate subjects, including tricky hair.
Workflow: Open image → Go to Quick Actions Panel → Click Remove Background. It detects and refines edges in seconds, outputting a Layer Mask.
Pros: Faster than manual methods; great for e-commerce batches.
Cons: Less control over fine details like frizzy hair; may introduce artifacts in complex scenes.
Skip AI for backlit or fine hair, where manual tweaks ensure better quality combine with Refine Edge for hybrids.
Pro Tips for Perfect Hair Cutouts
Shoot against high-contrast backgrounds to simplify masking and avoid tones matching the hair.
Always inspect edges on a bright visibility layer to catch halos early.
Manually fix halos with a Layer Mask and soft brush at low opacity, brushing inward.
For green screen spill, use Decontaminate Colors or a Hue/Saturation Adjustment Layer targeting greens.
Handle curly hair by increasing the radius in Select and Mask; straight hair needs less feathering to keep crispness.
These tips come from years of professional photo retouching, ensuring anti-aliased edges and ambient light blending.
Common Mistakes to Avoid
Overusing tolerance in the Background Eraser can accidentally erase hair strands, and adjust gradually.
Destructive editing, like using the Eraser Tool directly, limits fixes; stick to Layer Masks.
Ignoring color contamination leads to fringes that always enable Decontaminate Colors.
Relying on one tool limits results; combine methods for best outcomes, like AI for initial cuts and manual for refinement.
FAQs
How do I remove the background from hair in Photoshop?
Use Select and Mask: Select the subject, refine edges with the brush, adjust settings, and output to a Layer Mask for clean results.
What is the best Photoshop tool for hair masking?
Select and Mask with Refine Edge Brush for complex hair; it offers AI edge detection and global refinements.
How do I remove green screen from hair?
Enable Decontaminate Colors in Select and Mask to replace spill with hair tones, or use Hue/Saturation to target greens.
Can AI tools remove hair background accurately?
Yes, Photoshop’s AI Remove Background handles most cases well, but manual tweaks improve precision for wispy strands.
Which method is best for curly hair?
Select and Mask excels, with a higher Radius for edge refinement to capture curls without losing detail.
Conclusion
Now you know how to remove background from hair in Photoshop with the best tools. Select and Mask for detailed everyday edges, Channels for pixel-perfect precision, and AI features for fast bulk work. These deliver clean, halo-free cutouts, soft transitions, preserved flyaway strands, and no color bleed perfect for transparent PNGs, e-commerce, portfolios, or composites.
The result? Realistic hair isolation that looks natural on any background and boosts visual quality for clients, stores, or personal projects.
Choose what fits your workflow: start with Select and Mask if you’re newer, go to Channels for maximum control, or use AI when speed matters, then combine them as needed.