

In the high-stakes world of online jewelry sales, your images do 100% of the selling. Since customers can’t feel the weight of a gold band or see a diamond’s fire in person, they rely entirely on your visuals. How to edit jewelry photos is the only way to bridge this sensory gap, turning a flat image into a tangible promise of luxury that gives shoppers the confidence to buy.
Data shows that 75% of online shoppers rely on product photos when deciding on a purchase. In the jewelry niche, “good enough” images lead to high return rates and abandoned carts. High-end jewelry photo editing for ecommerce isn’t just about making things look “pretty”—it’s about color accuracy, building trust, and creating a sensory experience through a screen.
Whether you are a store owner, a budding photographer, or a professional editor, this jewelry retouching guide will take you through the exact workflow used by luxury brands to turn raw shots into high-converting assets.
Why Jewelry Photo Editing is Critical for E-commerce Sales
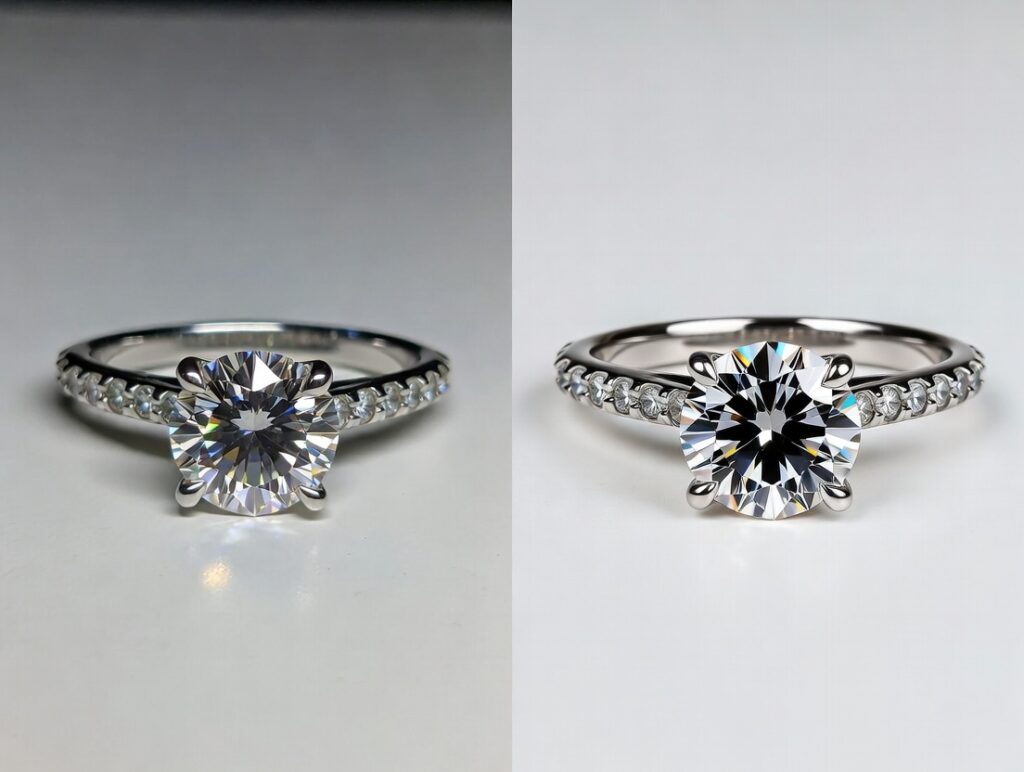
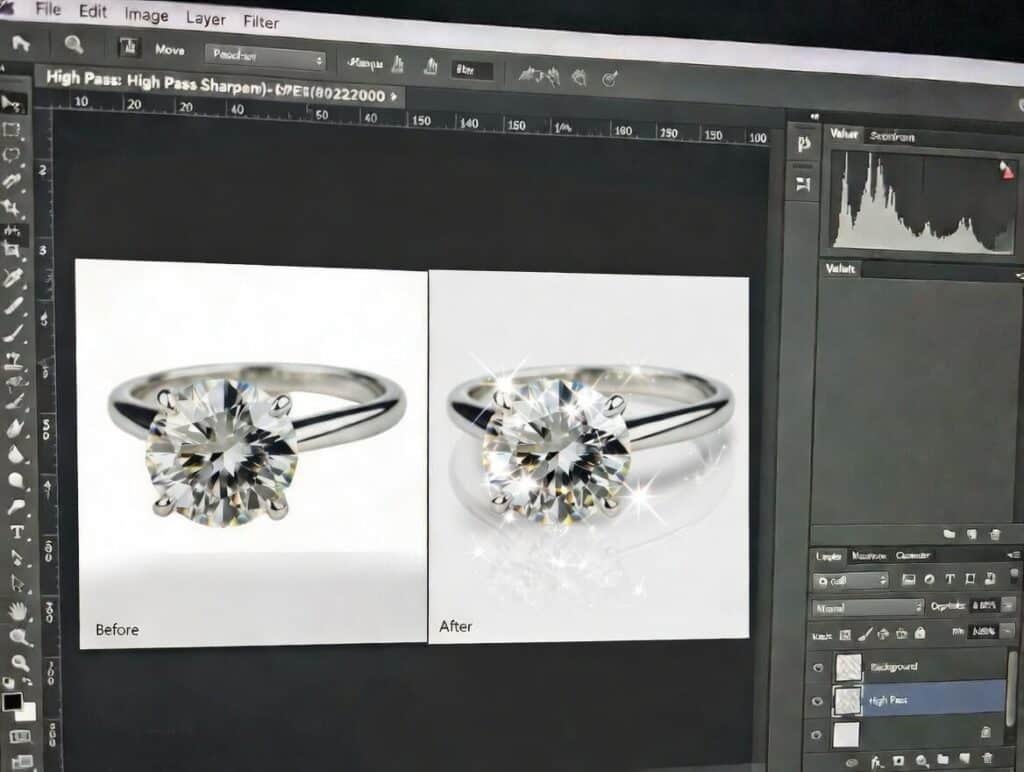
Before vs after professional jewelry photo editing for e-commerce
Jewelry is perhaps the most difficult subject to photograph. Between the high reflectivity of polished metals and the complex facets of gemstones, “straight-out-of-the-camera” shots often look dull, grey, or cluttered with reflections.
- Detail & Shine: Editing pulls out the “fire” in diamonds that cameras often miss.
- Reducing Returns: Accurate color correction ensures the “Rose Gold” they see online is the same “Rose Gold” that arrives in the mail.
- Brand Consistency: A uniform look across your Shopify or Etsy store signals professionalism and high-end positioning.
- Trust Building: Clean, sharp images suggest a high-quality physical product. If the photo is sloppy, the customer assumes the craftsmanship is, too.
Essential Tools for Jewelry Image Editing
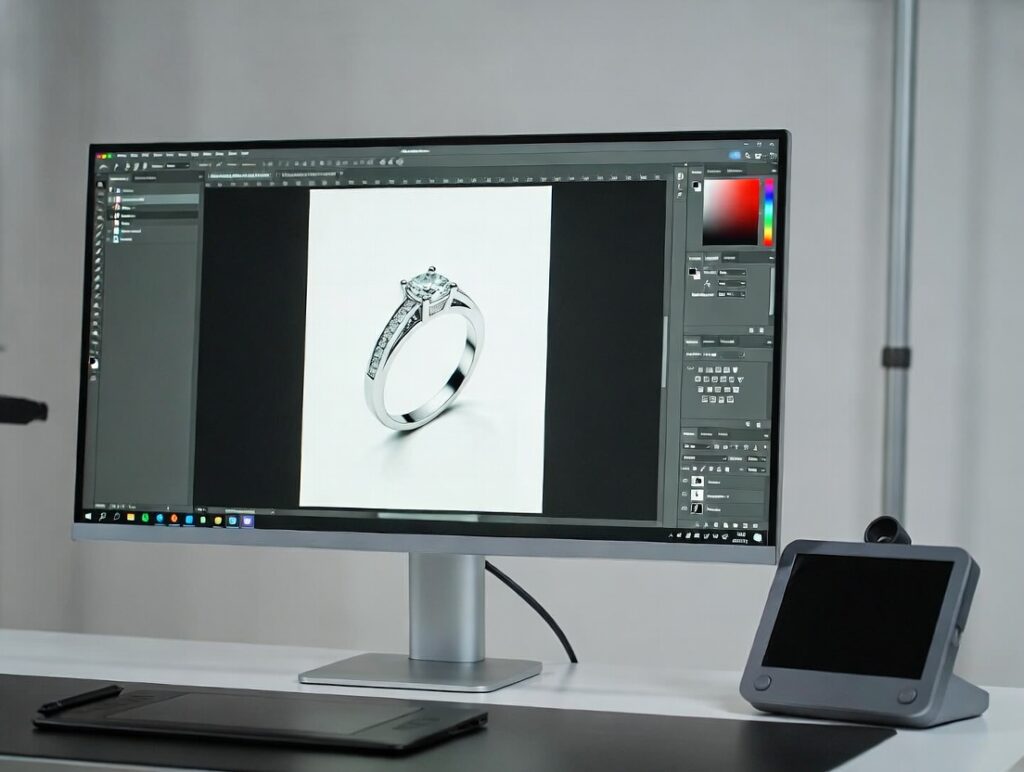
Essential tools for professional jewelry photo editing
Before diving into the “how,” you need the right “what.” You cannot achieve professional results on a smartphone app alone.
Best Software
- Adobe Photoshop: The industry standard. Essential for clipping paths, frequency separation, and detailed healing.
- Adobe Lightroom: Best for batch processing, white balance adjustments, and organizing large catalogs.
- AI Tools (2026 Trend): Tools like Generative Fill and AI-powered denoisers are now standard for extending backgrounds or removing complex reflections instantly.
- Canva: Useful for social media overlays, but not recommended for the core retouching process.
Hardware Needed
- Monitor Color Calibration: Use a tool like a SpyderX. If your monitor isn’t calibrated, your “Gold” might look “Green” on your customer’s screen.
- Graphic Tablet: A Wacom or Huion tablet is highly recommended. Using a pen allows for the pressure-sensitive masking required for intricate prongs and chains.
Jewelry Photo Editing Workflow (Step-by-Step)
This is the core workflow used by professional retouching houses. Follow these steps in order for the most efficient results.
Step 1: Choose the Best Raw Image
You cannot “edit in” focus. Start with a RAW file (not JPEG) that has:
- Sharp Focus: Ideally captured using “Focus Stacking” to ensure the front and back of the piece are crisp.
- Clean Product: It’s 10x faster to wipe a fingerprint off a ring with a microfiber cloth than it is to clone it out in Photoshop.
Selecting the best RAW jewelry photo for professional editing
Step 2: Background Removal & Cleaning
Most marketplaces (Amazon, eBay) require a pure white background ($RGB 255, 255, 255$).
- Clipping Path: Use the Pen Tool in Photoshop for the cleanest edges. Avoid “Magic Wand” tools; they leave jagged edges on fine jewelry.
- Masking: For complex items like fine chains, use Select and Mask to refine the hair-thin details.
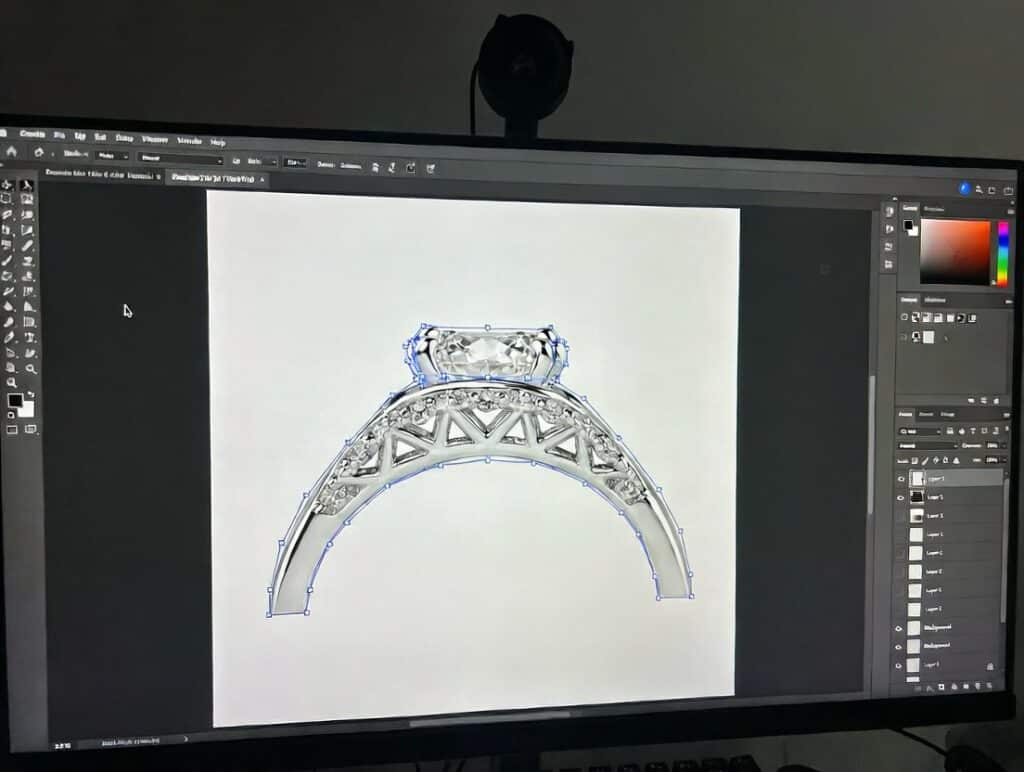
Background removal and clipping path for jewelry photo editing
Step 3: Exposure & White Balance Correction
Jewelry often tricks camera meters, resulting in underexposed (dark) images.
- White Balance: Adjust the temperature so silver looks silver, not blue or yellow.
- Levels/Curves: Brighten the mid-tones while keeping the blacks deep to ensure the piece doesn’t look “flat.”
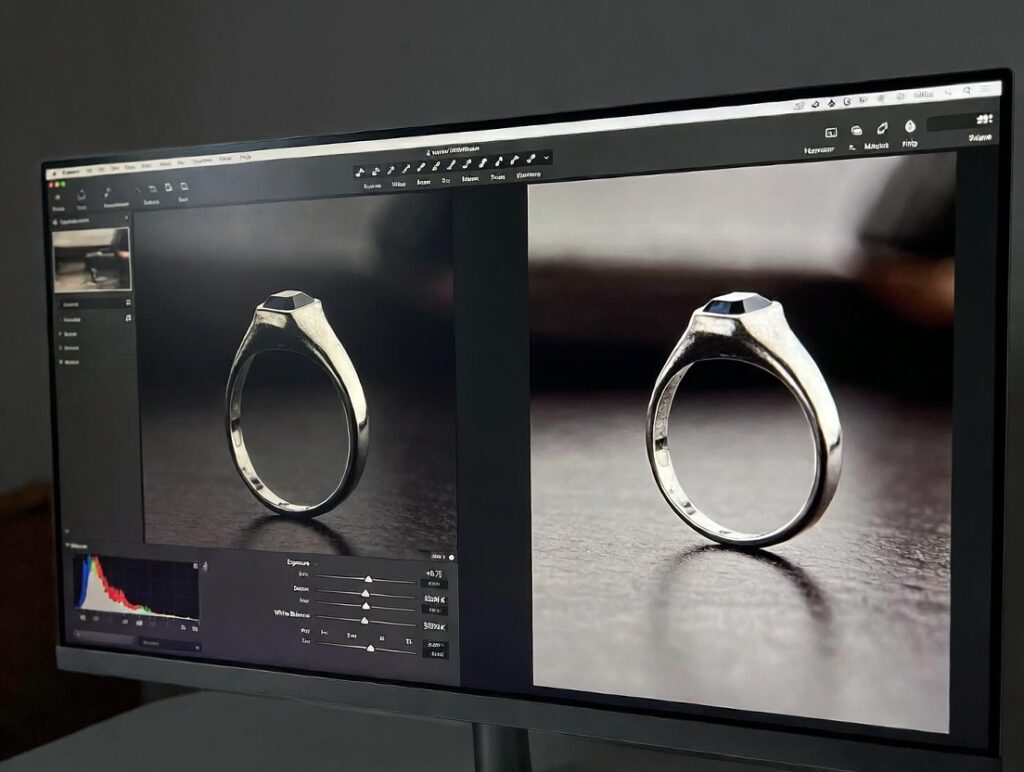
Adjusting exposure and white balance in jewelry photo editing
Step 4: Color Correction & Metal Tone Fix
This is where most DIY editors fail.
- Gold Tone Fix: Use Selective Color to remove the cyan or green tints that often appear in gold reflections.
- Gemstone Saturation: Boost the “vibrance” rather than “saturation” to keep gemstone colors looking natural rather than neon.
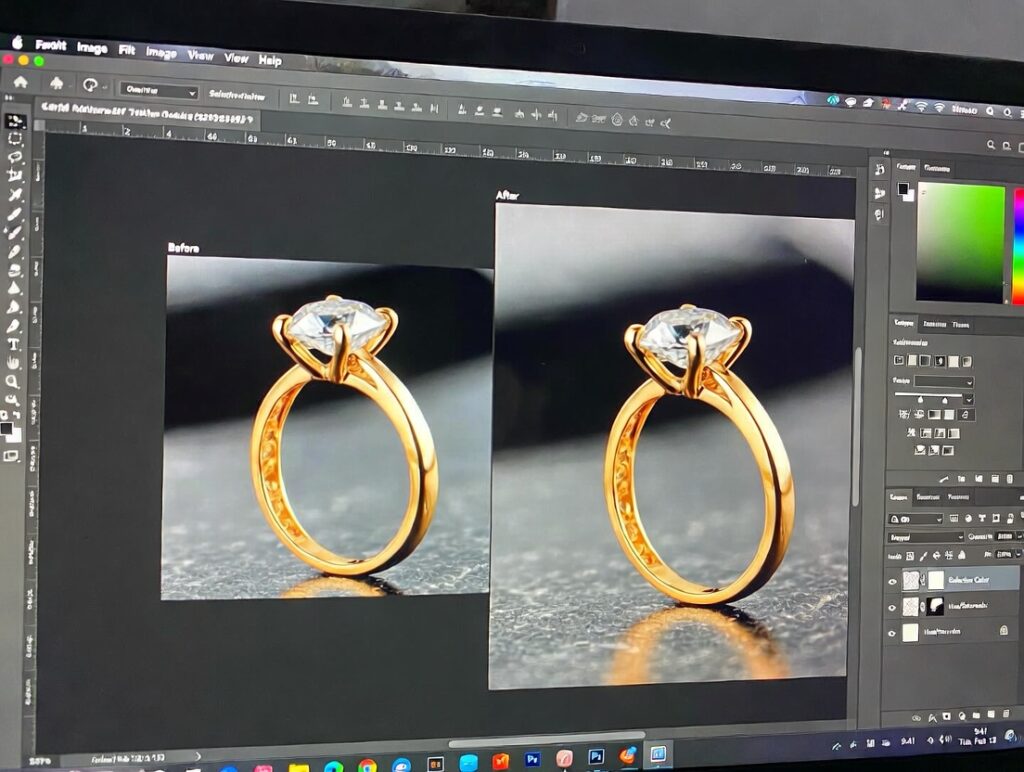
Metal tone and gemstone color correction in jewelry editing
Step 5: Remove Dust, Scratches & Reflections
Even a brand-new ring looks like a lunar landscape under a macro lens.
- Healing Brush: Use this for small dust particles.
- Clone Stamp: Use at a low opacity (30-50%) to smooth out “hot spots” or unwanted reflections of the camera lens on the metal surface.

Removing dust and scratches from jewelry product photos
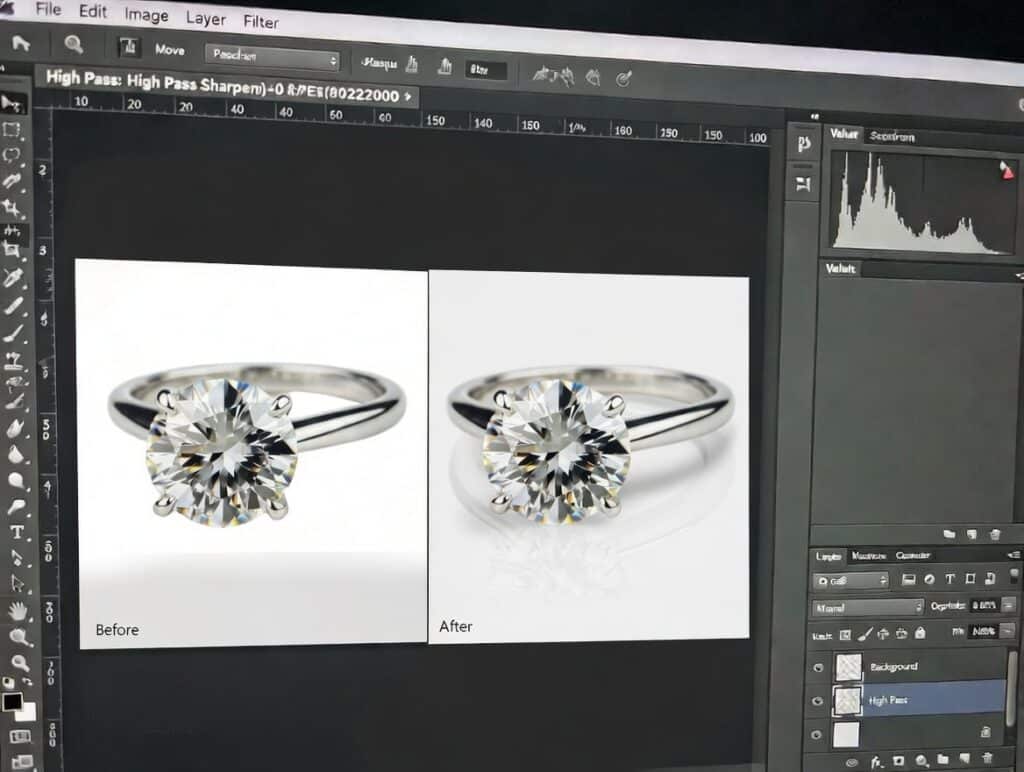
Step 6: Sharpen & Enhance Details
- High Pass Filter: Apply a High Pass filter on a separate layer and set the blending mode to Overlay. This makes the facets of the stones “pop” without adding digital noise.
- Selective Sharpening: Only sharpen the prongs and the stones; leave the smooth metal surfaces alone to avoid highlighting grain.
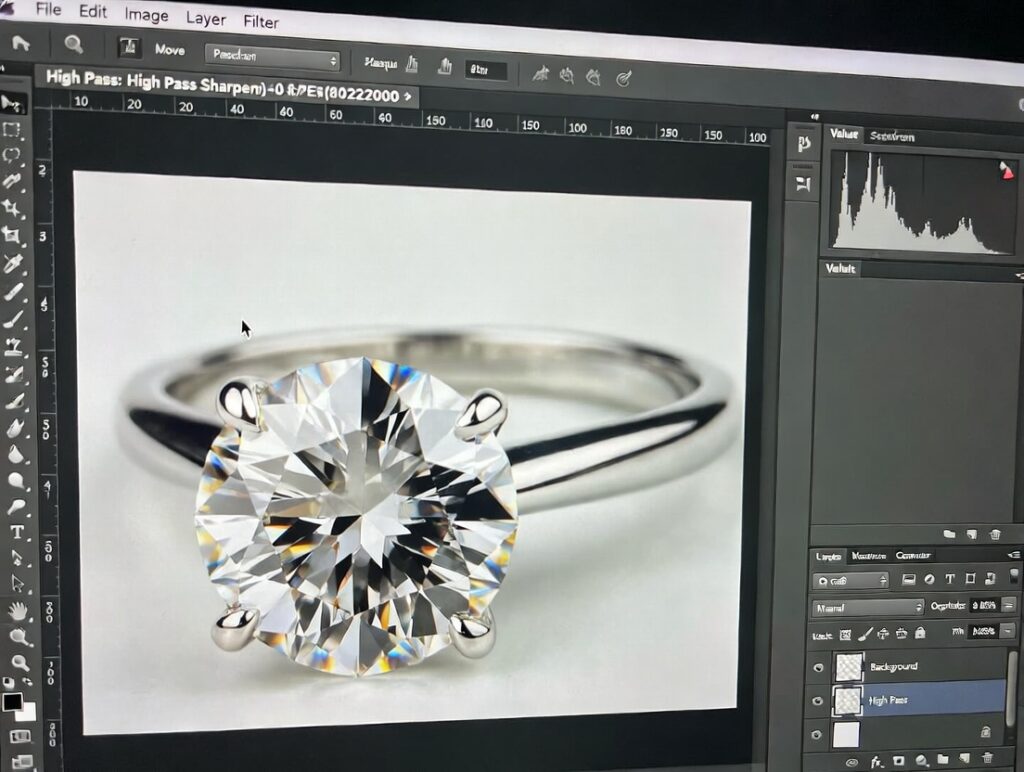
Sharpening and enhancing gemstone details in jewelry photos
Step 7: Add Shadow & Reflection
A piece of jewelry floating in a white void looks fake. You must ground it.
- Natural Shadow: Keep the shadow captured during the shoot if possible.
- Drop Shadow vs. Reflection: Use a subtle “Reflective Shadow” for luxury items to give a high-end, “on glass” look.
Adding realistic shadow and reflection to jewelry product images
Step 8: Add Shine & Luxury Effects
- Highlight Boost: Use a small, soft white brush on a “Screen” layer to manually brighten the “glint” on the edges of the metal.
- The “Star” Effect: Use a specialized brush to add a very subtle four-point star flare to the brightest part of a diamond, but don’t overdo it!
Adding shine and sparkle effects to luxury jewelry photos
Step 9: Resize & Optimize for Web
Huge files slow down your site and kill your SEO.
- Format: Use WebP for the best quality-to-weight ratio in 2026.
- Resolution: 72 DPI is standard, but ensure the pixel dimensions are at least 2000px on the longest side to allow for “Zoom-in” features.
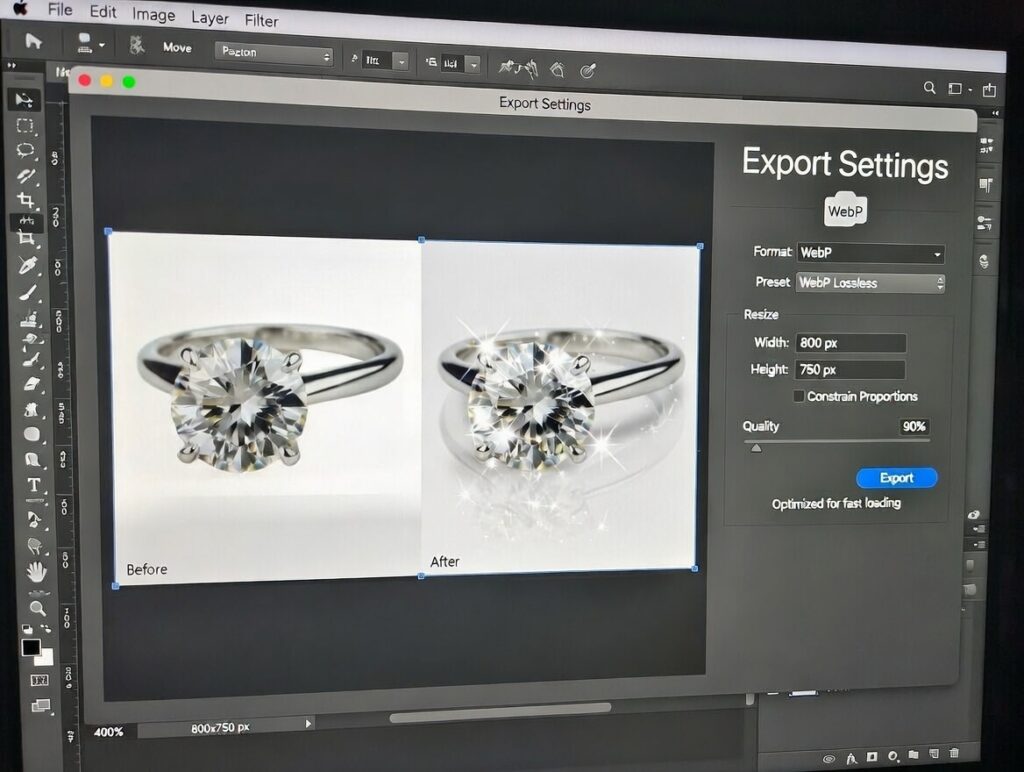
Optimizing jewelry images for e-commerce website speed and SEO
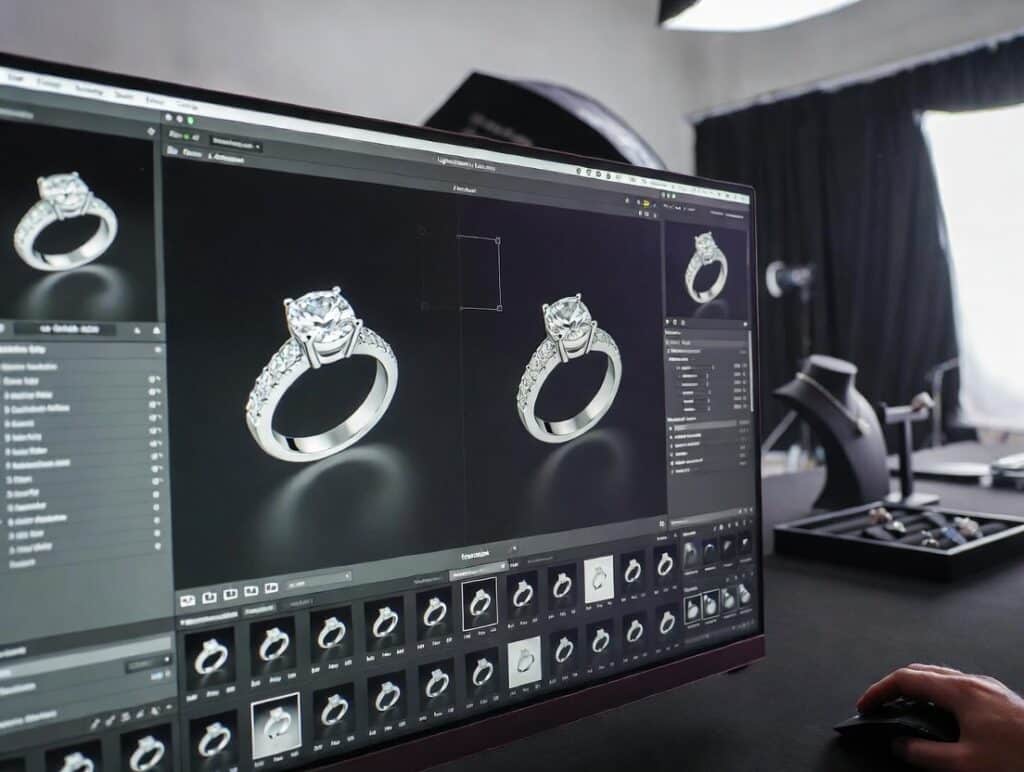
Advanced Jewelry Photo Retouching Techniques
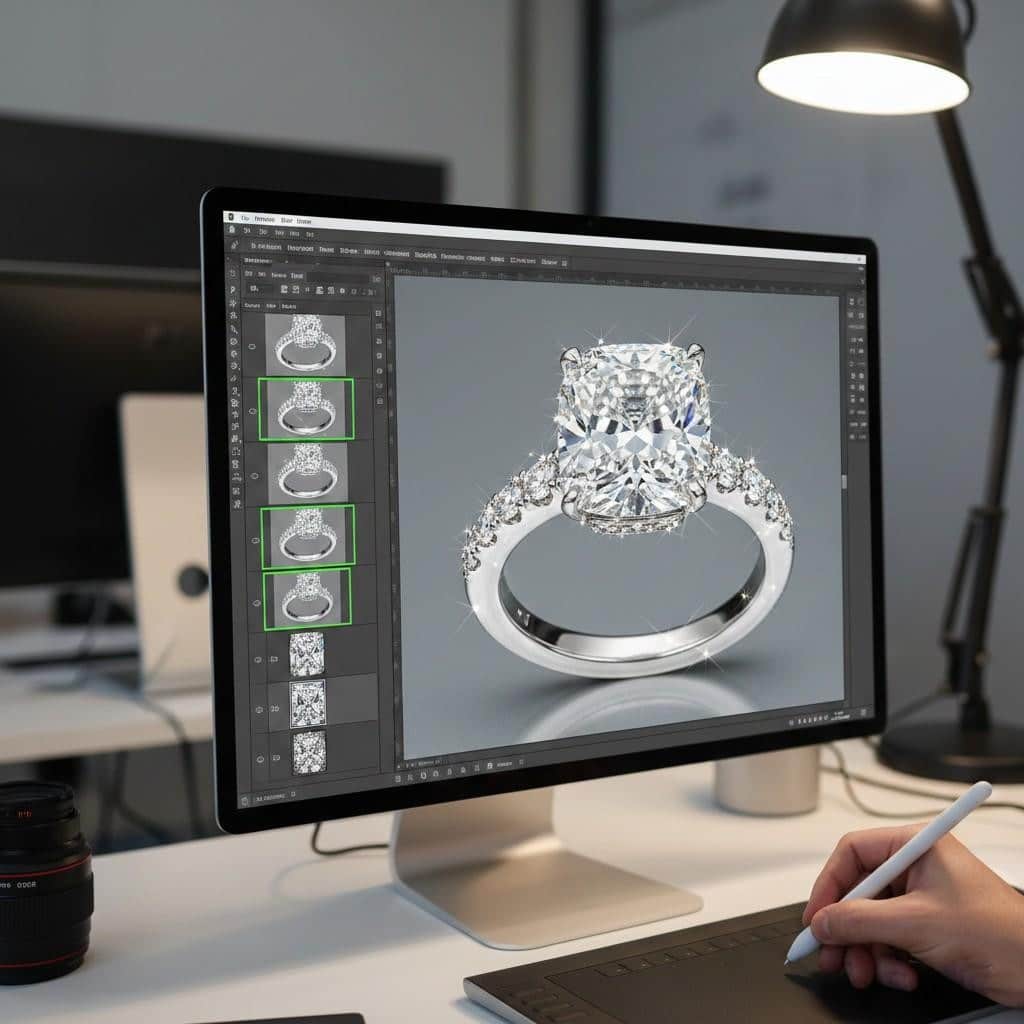
Advanced jewelry retouching techniques for luxury ecommerce brands
To truly outrank competitors and match brands like Tiffany & Co., you need these pro-level techniques:
- Focus Stacking: Combining 5–15 shots taken at different focal points to create one image that is sharp from the front diamond to the back of the band.
- Frequency Separation: This allows you to edit the texture of the metal (scratches) separately from the color (reflections). It is the secret to that “liquid metal” look.
- Stone Replacement: In high-end retouching, if a stone is poorly lit, pros often mask in a “master stone” image that is perfectly lit to ensure maximum sparkle.
Common Jewelry Image Retouching Mistakes to Avoid
| Mistake | Result | Fix |
| Over-smoothing | Metal looks like plastic. | Keep some natural grain; use Frequency Separation. |
| Inaccurate Colors | High return rates. | Use a gray card during the shoot and a calibrated monitor. |
| Floating Products | Uncanny valley / fake look. | Always add a contact shadow or a reflection. |
| Heavy Shadows | Distracts from the product. | Use soft, diffused shadows with low opacity. |
Pro Tips to Make Jewelry Photos Look Premium
- Consistency is King: Create a Photoshop Action or a Lightroom Preset for your base metal tones (Gold, Silver, Rose Gold) to ensure every product in your gallery matches.
- The 100% Zoom Test: Always check your retouching at 100% magnification. If you can see the “clone stamp” marks, your customer will too.
- Lifestyle Mix: Always pair your clean white-background shots with one “lifestyle” shot (jewelry on a model). This helps with “scale” perception.
Outsource vs. DIY Jewelry Editing
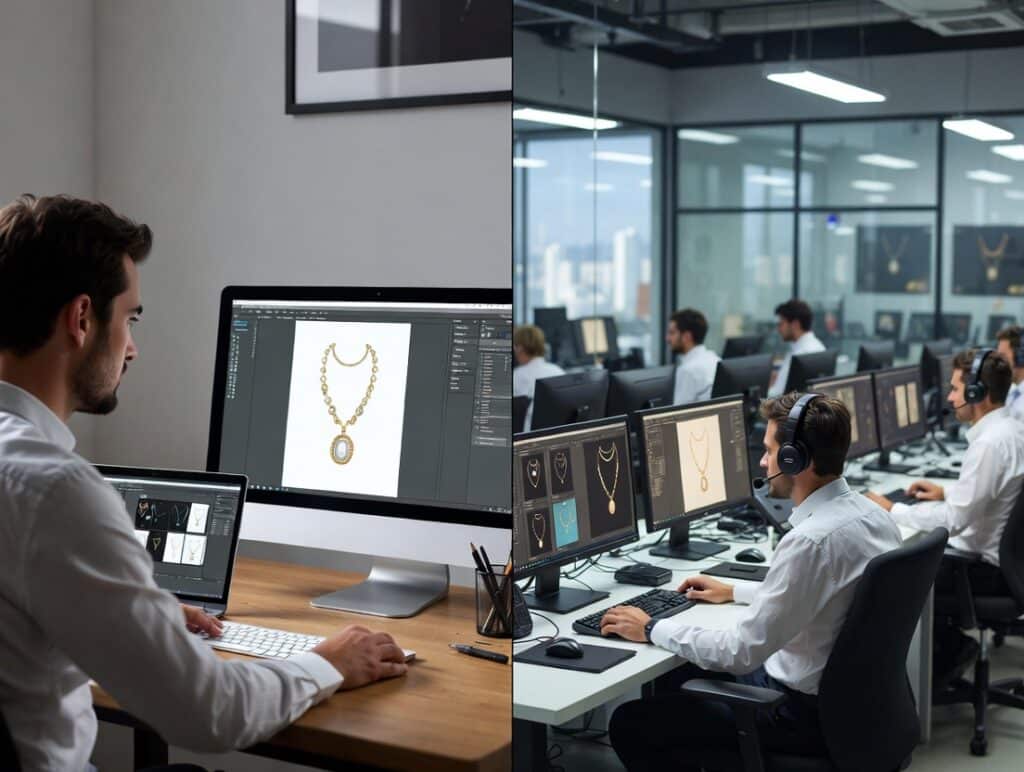
DIY vs professional jewelry photo editing service comparison
When to DIY: * You are a startup with more time than budget.
- You have fewer than 10 items.
- You are comfortable with Photoshop’s Pen Tool.
When to Outsource:
- You have a catalog of 50+ items.
- You need “High-End” retouching (Focus stacking, metal smoothing).
- Cost Breakdown: Professional jewelry retouching usually ranges from $5 to $25 per image. Considering the time it takes (30–60 mins per image for a pro), the ROI on outsourcing is usually very high for growing brands.
FAQs
How to edit jewelry photos in Photoshop?
To edit jewelry in Photoshop, start by using the Pen Tool to create a clipping path for background removal. Use the Healing Brush to remove dust and scratches. Apply a Curves adjustment layer to enhance contrast and use Selective Color to refine the metal tones (e.g., removing yellow from silver). Finally, add a reflection shadow for a 3D effect.
What is the best background for jewelry photos?
A pure white background ($RGB 255, 255, 255$) is the industry standard for e-commerce. It minimizes distractions, emphasizes the product’s colors, and is required for marketplaces like Amazon. For social media, textured backgrounds like marble or velvet are preferred for a “lifestyle” feel.
How do I make jewelry sparkle in photos?
Sparkle is achieved by enhancing the “fire” in the gemstones. In Photoshop, use the High Pass filter to sharpen the facets. You can also manually brighten the highlights using a small white brush on a separate layer set to “Overlay” or “Screen” blending mode to mimic light hitting the stone.
Can I use AI to edit jewelry photos?
Yes, AI tools are excellent for background extension and initial dust removal. However, “Generative AI” still struggles with the precision required for fine metal textures and gemstone facets. A hybrid approach using AI for prep work and manual retouching for details is best.
Final Thought
In the fast-moving world of 2026 ecommerce, your images do more than just show a product; they build the trust required to close a high-value sale. Learning how to edit jewelry photos is an investment that pays off in higher conversion rates and fewer returns. When you align your metal tones, sharpen every gemstone facet, and remove distracting reflections, you aren’t just “fixing” a photo; you are creating a digital experience that rivals an in-person viewing.
Whether you choose to refine your shots manually in Photoshop or leverage high-speed AI workflows, the goal remains the same: accuracy and allure. High-quality visuals bridge the gap between a customer’s screen and their jewelry box, turning a simple click into a lifelong brand advocate.