Creating the Perfect Product Photography Studio is crucial for capturing the attention of potential customers and driving sales. Whether you’re a small business owner, an e-commerce entrepreneur, or a professional photographer, having a dedicated product photography studio can significantly elevate the quality of your images. This guide will walk you through the essentials of setting up a product photography studio to help you achieve professional results.
Why a Product Photography Studio?
A product photography studio offers several advantages:
Essential Equipment for a Product Photography Studio
This table summarizes the key equipment needed for a product photography studio, including their features and purposes for optimal setup.
Equipment | Key Features | Purpose |
Camera | High resolution (at least 20 megapixels), ability to shoot in RAW format | Captures high-quality images for post-processing |
Lenses | Macro lens, standard zoom lens, prime lens | Covers various product sizes and details |
Tripod | Adjustable height, sturdy build, ball head for angle adjustments | Ensures stable and precise camera positioning |
Lighting | Softboxes, LED panels, ring lights | Provides even, adjustable, or highlighted lighting |
Backgrounds | Seamless paper/fabric (white, black, gray), infinity backgrounds, tabletop sweeps | Creates clean, professional backdrops |
Light Tent/Box | Diffused lighting from all angles minimizes shadows and reflections | Ideal for small to medium-sized products |
Camera
Invest in a good DSLR or mirrorless camera with interchangeable lenses. Key features to look for include:
- High resolution (at least 20 megapixels)
- Ability to shoot in RAW format for better post-processing
Lenses
A versatile lens collection can cover various product sizes and details. Consider:
- Macro Lens: For capturing intricate details of small products like jewelry.
- Standard Zoom Lens: For general product photography.
- Prime Lens: For sharper images with a fixed focal length.
Tripod
A tripod is essential for maintaining stability. Look for:
- Adjustable height
- Sturdy build to hold heavy cameras
- Ball head for easy angle adjustments
Lighting
Proper lighting can make or break your product photos. Options include:
- Softboxes: Diffuse light evenly, reducing harsh shadows.
- LED Panels: Adjustable brightness and color.
- Ring Lights: Ideal for highlighting small products.
Backgrounds
Seamless paper or fabric backdrops in neutral colors (white, black, gray) are ideal. Consider:
- Infinity Backgrounds: Create a seamless look without visible edges.
- Tabletop Sweeps: For smaller products, providing a continuous background.
Light Tent/Box
A light tent or lightbox is perfect for small to medium-sized products, providing diffused lighting from all angles. It minimizes shadows and reflections, resulting in clean, professional images.
Setting Up Your Product Photography Studio
Choose the Right Space
Select a space with enough room to set up your equipment and move around comfortably. Consider:
- Adequate ventilation and temperature control
- Minimal natural light to avoid inconsistencies
- Sufficient power outlets for lighting and equipment
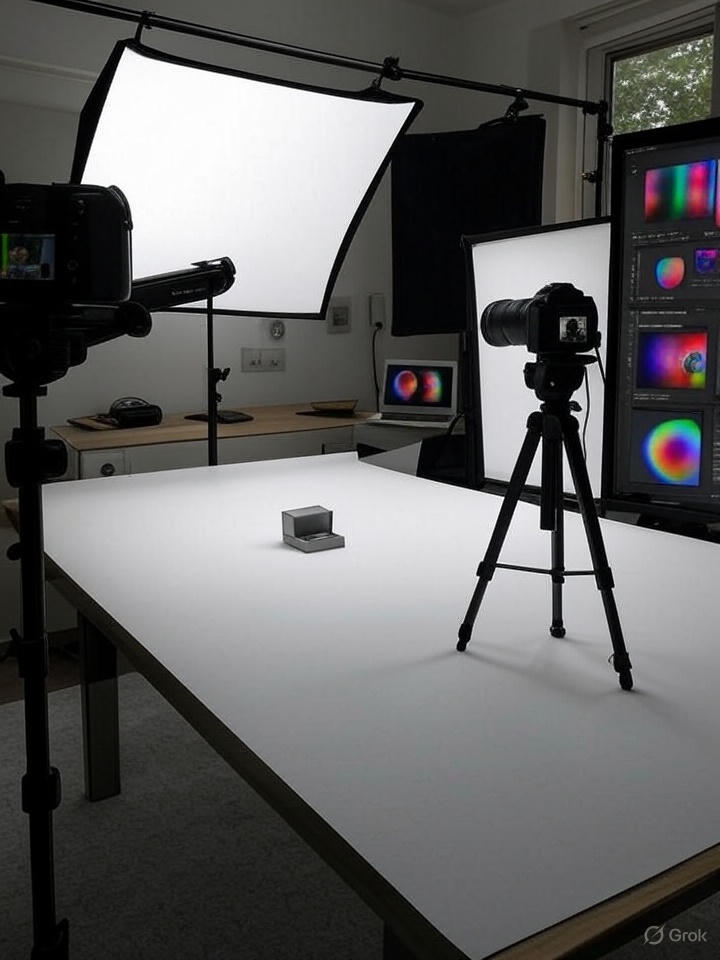
Arrange Your Equipment
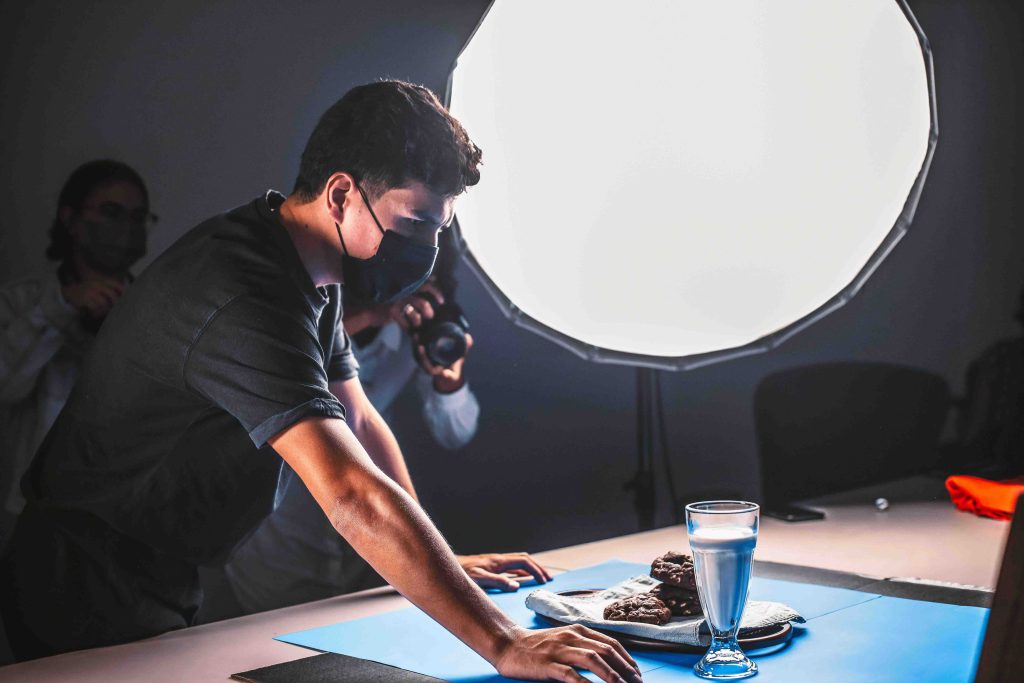
Set up your camera on the tripod, positioning it at an appropriate distance from the product. Arrange your lighting to minimize shadows and highlight key features. Use reflectors and diffusers as needed to achieve balanced lighting.
Set Up the Background
Position your backdrop behind the product, ensuring it’s free of wrinkles or creases. For smaller products, use a light tent or tabletop sweep for a clean, seamless background.
Optimize Camera Settings
Adjust your camera settings to achieve the best results:
- ISO: Keep it low (100-200) to minimize noise.
- Shutter Speed: Adjust according to the lighting conditions to avoid blur.
Post-Processing
After capturing your photos, use photo editing software to enhance them further. Common adjustments include:
- Color Correction: Ensure accurate and vibrant colors.
- Exposure and Contrast: Fine-tune brightness and contrast for better clarity.
- Background Removal: Remove distracting elements to create a clean and visually appealing look.
Tips for Professional Product Photography
Lorem ipsum dolor sit amet, consectetur adipiscing elit. Ut elit tellus, luctus nec ullamcorper mattis, pulvinar dapibus leo.
Consistency: Maintain the same lighting, background, and camera settings for all products to create a cohesive look.
Angles and Perspectives: Capture multiple angles to showcase different features and details.
Props and Styling: Use props sparingly to complement the product without distracting from it.
FAQs on Product Photography Studio
Why do I need a product photography studio?
It delivers consistent, pro-quality photos that skyrocket your brand’s appeal and sales.
What camera is best for a product photography studio?
A DSLR or mirrorless with 20+ megapixels and RAW format for stunning, editable shots.
How important is lighting in a product photography studio?
It’s everything—great lighting banishes shadows and makes your products pop.
What backgrounds create the best product photos?
Neutral seamless paper (white, black, gray) for a clean, professional vibe.
Can I set up a product photography studio on a budget?
Use affordable lights, a basic camera, and DIY backdrops for pro results.
Wrapping Up
A Product Photography Studio is your secret weapon for jaw-dropping, professional product photos that drive e-commerce success. With smart lighting, seamless backdrops, and the right gear, you’ll create images that grab attention and build trust.
Ready to level up? Transform your brand with a studio that turns clicks into sales. Whether you’re a newbie or a seasoned pro, a dedicated setup delivers stunning results that make your products irresistible.