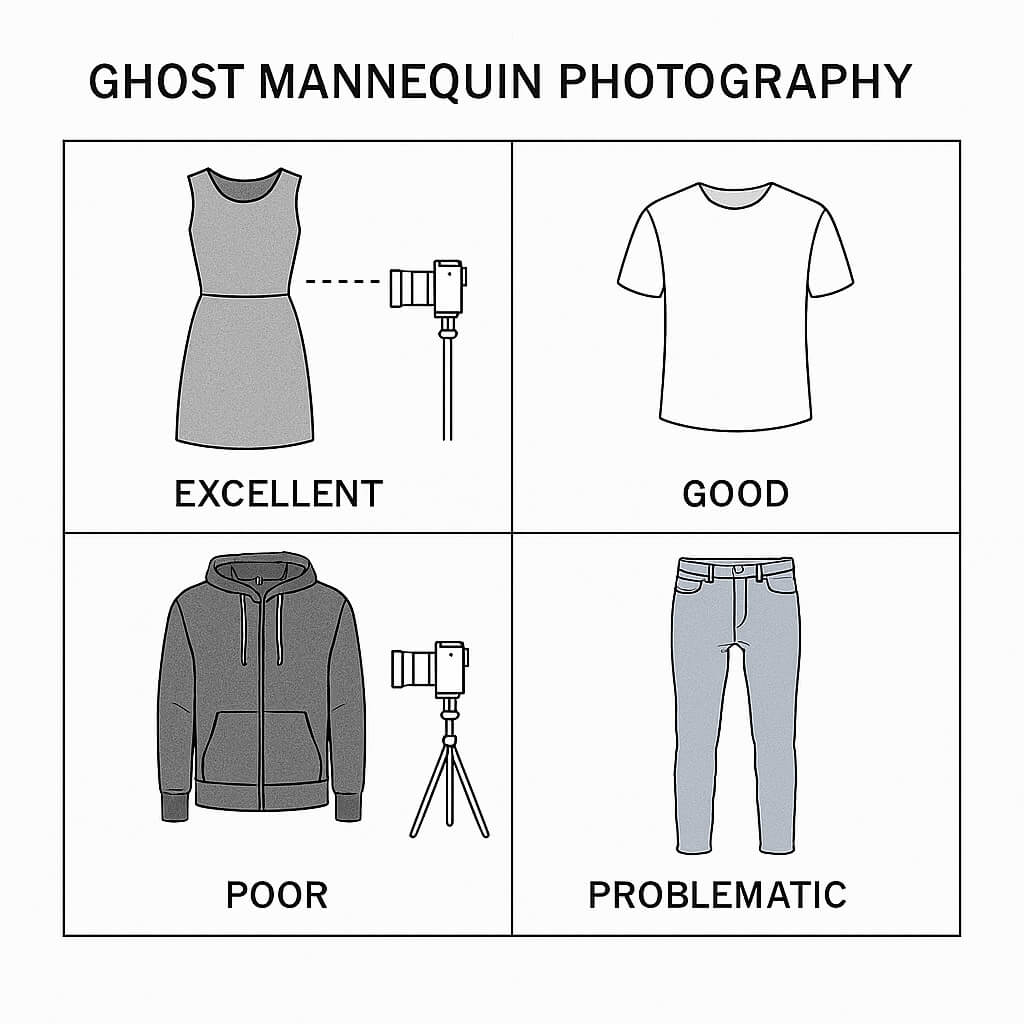
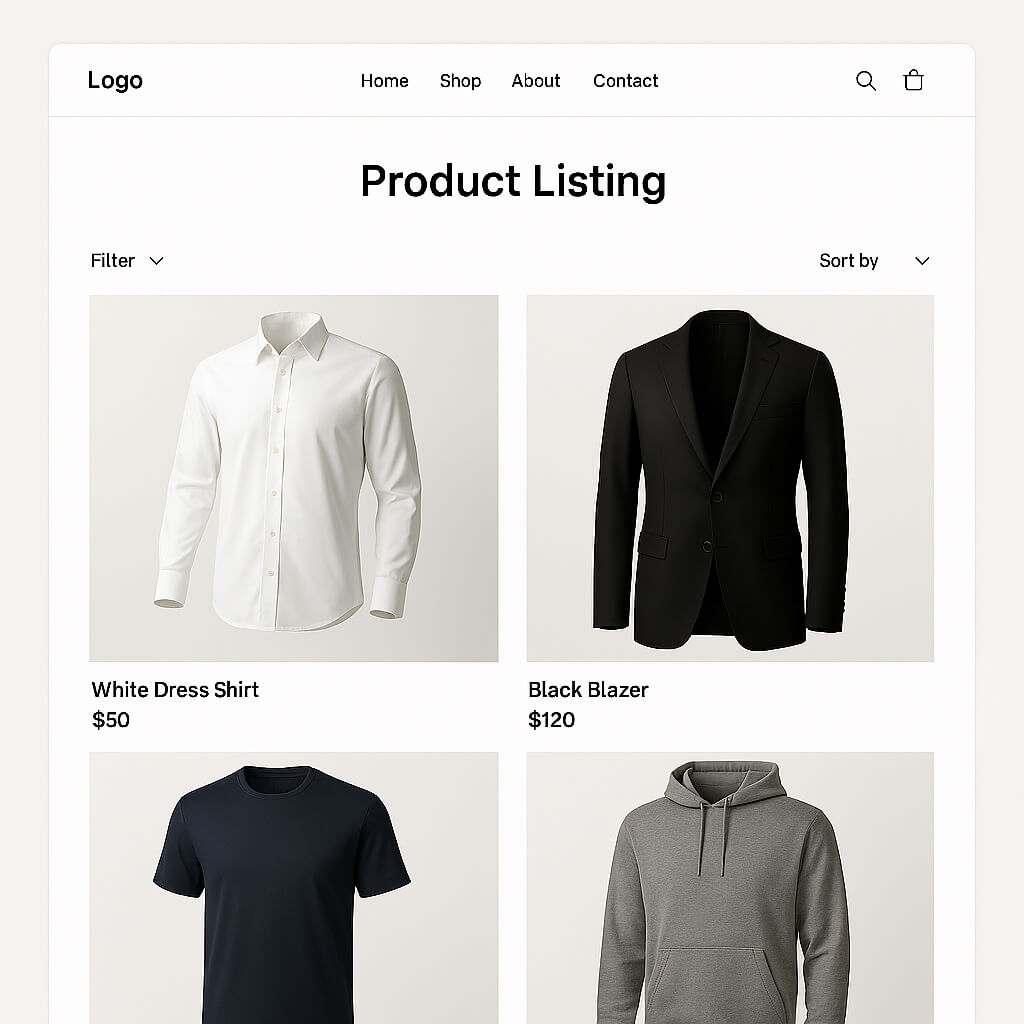
Using Ghost Mannequin Photography can be a very effective and successful way to promote products. A mannequin allows you to hold products in shape, which helps you to make the product’s image more professional and attractive. Thereby increasing their desirability to customers.
However, Mannequins often draw attention away from the product, making the ghost mannequin effect a better choice for clean, professional images.
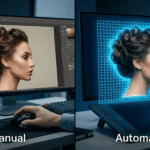
Ghost mannequin photography has become the gold standard for online fashion retailers, and for good reason. This technique creates stunning product images that showcase clothing items without visible models or mannequins, giving customers a clear view of how garments fit and flow naturally.
In this Comprehensive guide, you will learn how to create a professional product image using photography mannequins.
What Is Ghost Mannequin Photography?
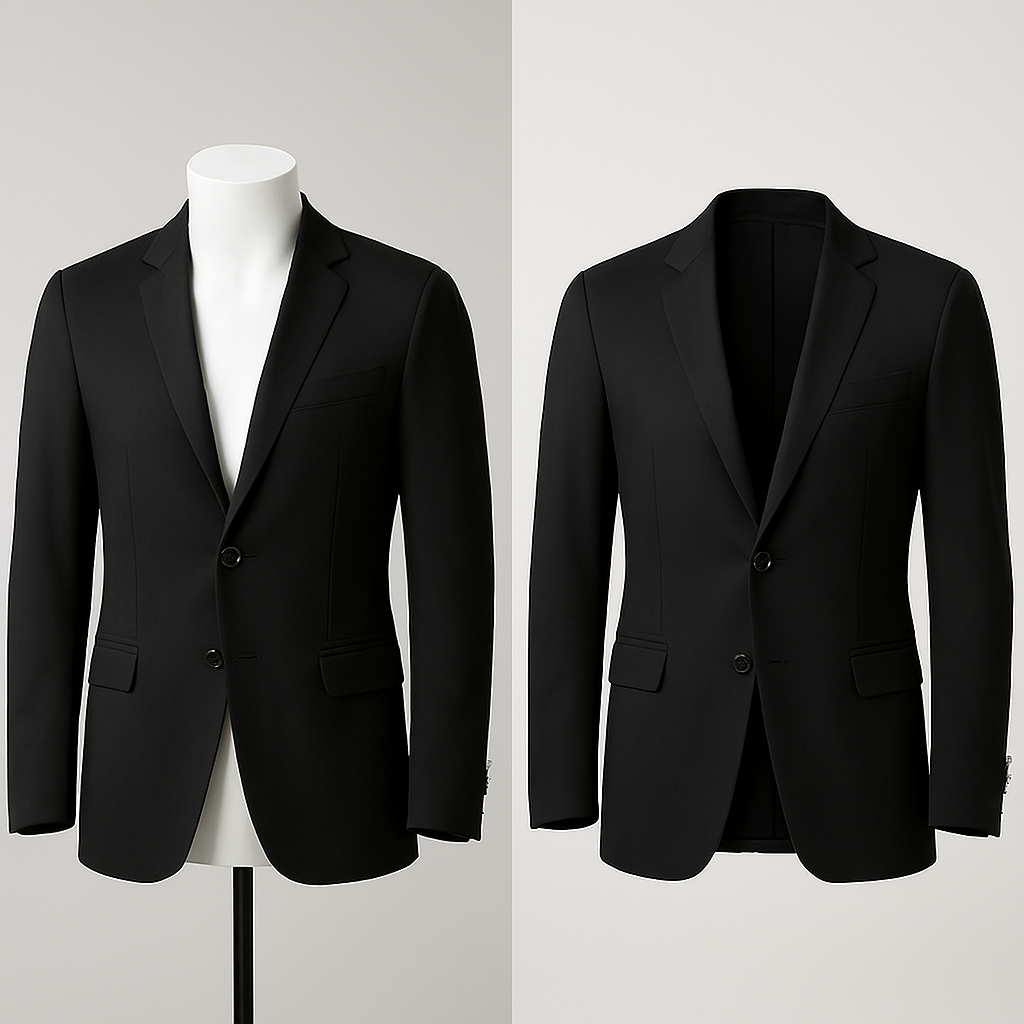
Ghost mannequin photography is a specialized technique that creates the illusion of clothing floating in space by digitally removing the mannequin or model from the final image. Also known as invisible mannequin photography or the ghost mannequin effect, this method combines multiple shots of the same garment to create a three-dimensional, hollow appearance.
The magic happens in post-production, where photographers blend different images—typically a front view, back view, and detail shots—to create a seamless final product that shows the garment’s natural shape and fit.
Why Businesses Choose Ghost Mannequin Photography
This technique offers several compelling advantages:
- Cost-effective solution: No need for expensive model shoots or location fees
- Professional appearance: Creates consistent, high-quality product images across your catalog
- Enhanced customer confidence: Provides clear visibility of garment fit and construction
- Increased conversion rates: Studies show that professional product photography can boost sales by up to 30%
Preparation and Planning: Setting the Foundation
Success in ghost mannequin photography begins long before you pick up the camera. Proper preparation ensures efficient shooting sessions and better final results.
Pre-Production Planning
Start by creating detailed shot lists for each photo shoot session. This organized approach prevents missed shots and keeps your workflow smooth. Group similar garments together—shooting all blazers, then all dresses, all pants creates efficiency through consistent lighting and camera setups.
Garment preparation is crucial. Steam, iron, or press each piece to eliminate wrinkles and ensure the fabric hangs naturally. Remove any tags, pins, or distracting elements that might appear in the final image.
Choosing the Right Models or Mannequins
When working with live models, static poses are essential. The model needs to hold positions long enough for multiple shots from different angles. Keep styling minimal—tie back long hair and choose simple, neutral undergarments that won’t show through the final images.
For mannequins, selection criteria include:
- Lifelike proportions: Choose mannequins that represent your target customer’s body type
- White matte finish: Non-reflective surfaces make post-production editing much easier
- Proper sizing: Ensure the mannequin fits your garments well without excessive pinning or adjusting
- Positionable limbs: Some shots may require limbs to be positioned outside the camera frame
Equipment and Setup Requirements
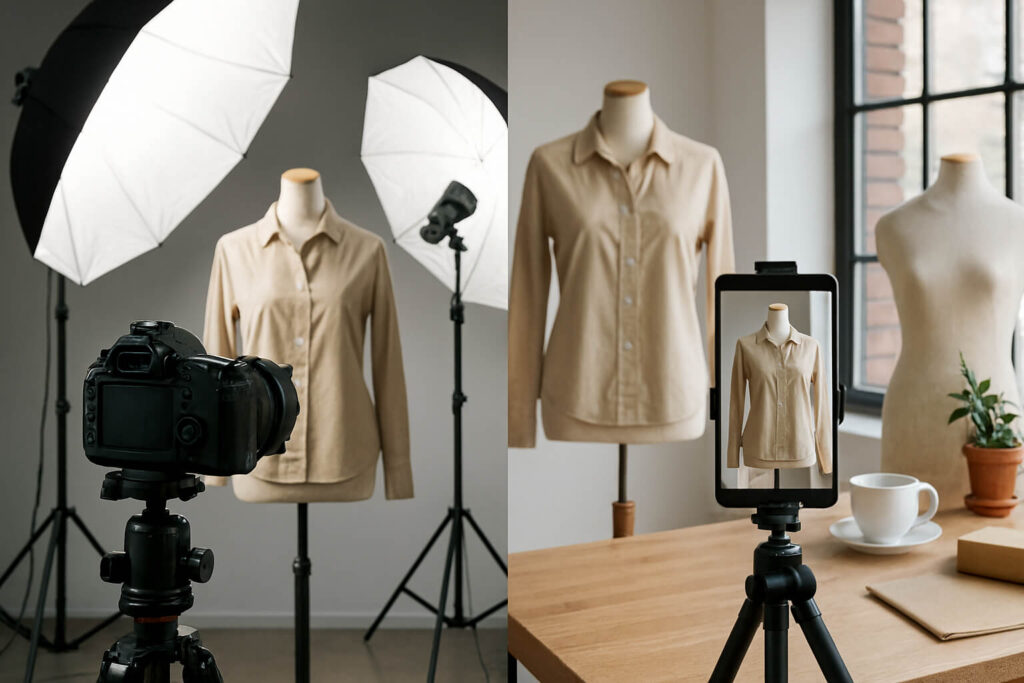
The beauty of ghost mannequin photography lies in its flexibility—you can achieve professional results with either high-end studio equipment or budget-friendly smartphone setups.
Equipment Comparison: Studio vs Budget Setup
| Equipment Category | Professional Studio Setup | Budget-Friendly Smartphone Setup |
| Camera | DSLR camera with telephoto zoom lens | Clean smartphone camera (iPhone/Android) |
| Cost | $800-$2,500 | $0-$50 (using existing phone) |
| Lighting | Two studio lights with umbrellas | Natural window light |
| Stability | Professional tripod | Selfie tripod or phone stand |
| Background | White seamless paper/fabric | Clean white wall |
| Image Quality | Highest resolution and sharpness | Good quality for most e-commerce needs |
| Learning Curve | Moderate to steep | Minimal |
| Best For | High-volume businesses, premium brands | Startups, small businesses, testing |
Photography Techniques That Make a Difference
Camera Positioning Guide
| Garment Type | Camera Position | Distance | Key Considerations |
| Tops (shirts, blouses, jackets) | Chest level | 4-6 feet | Captures natural shoulder drape and torso fit |
| Bottoms (pants, skirts) | Hip level | 5-7 feet | Shows leg length and waist-to-hem proportions |
| Dresses | Mid-torso level | 6-8 feet | Balances top and bottom portions equally |
| Full outfits | Chest level | 8-10 feet | Captures entire garment without distortion |
| Detail shots | Item-specific level | 2-3 feet | Focus on buttons, collars, pockets, textures |
Essential Shot Checklist

| Shot Type | Purpose | Technical Notes |
| Front view | Primary product display | Straight-on angle, centered framing |
| Back view | Rear design details | Maintain the same distance and height as the front |
| Flat-lay details | Interior construction | Top-down view, even lighting |
| Close-up features | Unique selling points | Macro focuses on textures, hardware |
| Inside-out shots | Quality construction | Particularly important for collared items |
Lighting and Background Considerations
Natural light positioned behind the camera lens creates the most flattering results. Avoid direct sunlight, which creates harsh shadows and blown-out highlights. Instead, seek soft, diffused light from a north-facing window or an overcast day.
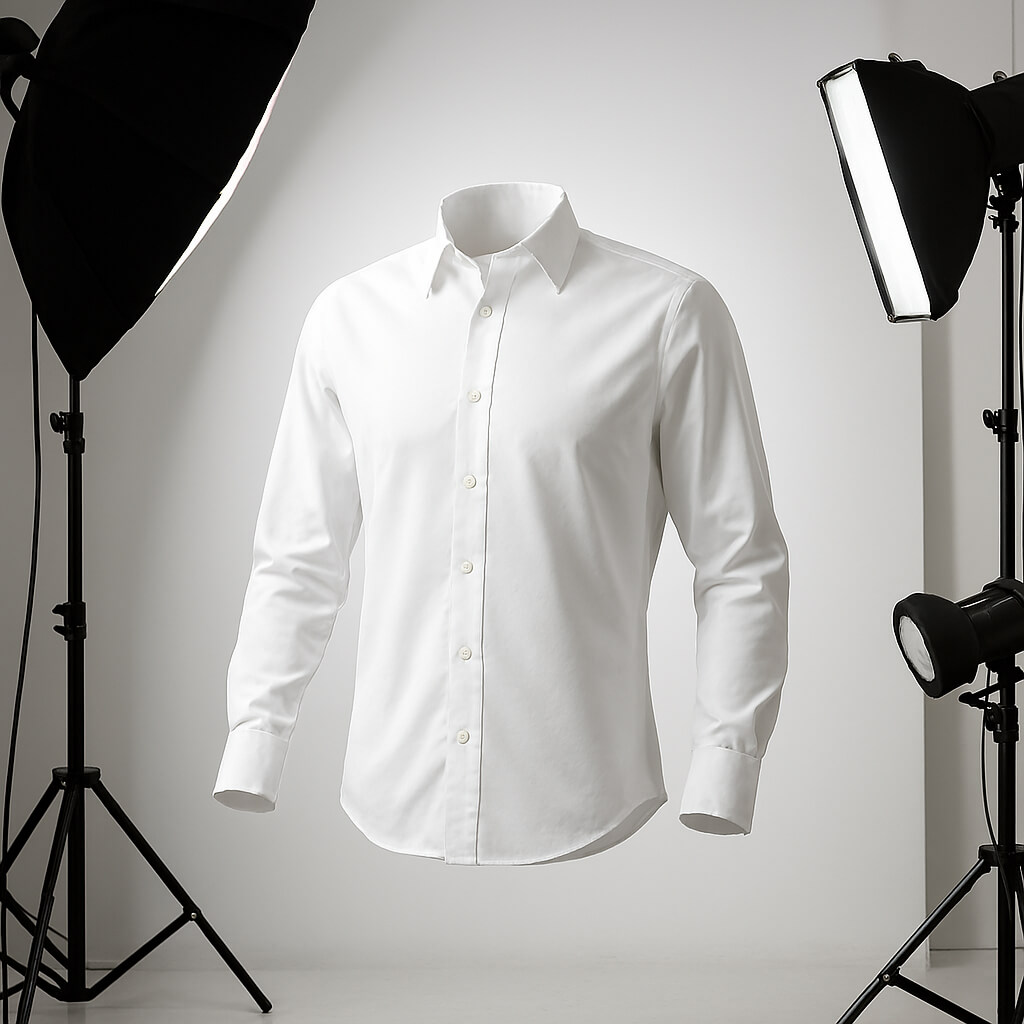
White backgrounds remain the standard because they’re easier to edit and create consistency across product catalogs. However, ensure your lighting is adequate—underexposed images with poor contrast make background removal much more difficult.
Post-Production Editing Process
The magic of ghost mannequin photography happens in post-production, where multiple images combine to create the floating garment effect.
Editing Method Comparison
| Method | Traditional Photoshop | AI-Powered (Photoroom) |
| Skill Level Required | Intermediate to Advanced | Beginner to Intermediate |
| Time Per Image | 20-45 minutes | 5-15 minutes |
| Software Cost | $20-50/month | Free-$20/month |
| Control Level | Complete manual control | Guided with manual override |
| Batch Processing | Limited | Excellent |
| Learning Curve | Steep | Gentle |
| Quality Potential | Highest possible | Very good to excellent |
| Best For | Professional photographers, complex edits | Small businesses, quick turnaround |
Quality Control Checklist
| Quality Factor | What to Check | Common Issues | Solutions |
| Edge Quality | Clean, smooth garment edges | Jagged or pixelated borders | Use the Refine Edge tool, zoom in for precision |
| Color Consistency | Matching colors across combined shots | Color shifts between images | Adjust white balance, use color matching |
| Shadow Realism | Natural shadow placement and intensity | Missing or overly harsh shadows | Add subtle drop shadows, adjust opacity |
| Alignment | Perfect positioning of layered elements | Misaligned details or proportions | Use guides and rulers for precision |
| Background | Pure white, no artifacts | Gray spots, compression artifacts | Clean backgrounds thoroughly, save in high quality |
Advanced Tips and Best Practices
Efficiency Strategies
Experienced photographers develop systems that maximize productivity:
Batch processing handles multiple similar images simultaneously. Process all blazers together, then all dresses, maintaining consistency while reducing repetitive work.
Floor marking with tape ensures consistent camera positioning between shots. This simple step eliminates the guesswork when capturing multiple angles of the same garment.
Timer photography enables solo photographers to take hands-free shots. A 10-second timer provides enough time to adjust garments and step out of frame.
Template creation for different sales channels streamlines the final output process. Create specific templates for Shopify, Etsy, eBay, and other platforms with their unique image requirements.
Common Problems and Solutions
| Problem | Cause | Solution | Prevention |
| Color bleeding between layers | Poor color separation | Adjust lighting temperature, use contrasting backdrops | Test shots with different backgrounds |
| Visible mannequin remnants | Incomplete masking | Use the Refine Edge tool, manual cleanup | Shoot with better contrast between the mannequin and the garment |
| Unnatural shadows | Incorrect shadow placement | Study real lighting patterns, adjust opacity | Add shadows from multiple reference photos |
| Pixelated edges | Low-resolution source images | Use higher resolution cameras, proper zoom levels | Shoot at maximum camera quality |
| Misaligned details | Poor shot planning | Use guides and measurement tools | Mark positions with tape during shooting |
Final Output and Implementation
File Management and Optimization Guide
| File Type | Purpose | Recommended Settings | Storage Tips |
| Working Files (.PSD) | Future editing capability | All layers preserved | Organize by product category |
| Web Images (.JPG) | E-commerce listings | 1200-2000px, 85% quality | Compress for fast loading |
| Print Images (.PNG) | High-quality applications | 300 DPI, lossless compression | Archive in a separate folder |
| Backup Files | Disaster recovery | Multiple formats | Cloud storage recommended |
ROI and Business Impact Metrics
| Metric | Before Ghost Mannequin | After Implementation | Typical Improvement |
| Conversion Rate | 2-3% average | 3.5-4.5% average | 35-50% increase |
| Return Rate | 15-25% | 8-15% | 40-60% reduction |
| Photography Costs | $50-200 per product | $10-30 per product | 70-85% savings |
| Time to Market | 2-4 weeks | 3-7 days | 75% faster |
| Customer Engagement | 30-45 seconds | 60-90 seconds | 100% increase |
| Brand Perception Score | 6-7/10 | 8-9/10 | 25-30% improvement |
FAQs On Ghost Mannequin Photography
What equipment do I need to start ghost mannequin photography?
You can begin with just a smartphone, a tripod, and natural lighting. While professional DSLR cameras and studio lights produce superior results, many successful e-commerce businesses start with basic equipment and upgrade as they grow.
How long does it take to edit ghost mannequin photos?
Editing time varies based on complexity and experience level. Beginners spend 30-60 minutes per image, while experienced editors can complete simple garments in 10-15 minutes. AI-powered tools like Photoroom can reduce editing time to just a few minutes per image.
Can I create ghost mannequin effects without a mannequin?
Yes, you can use live models or even hang garments on hangers for certain shots. The key is capturing multiple angles and details that can be combined in post-production to create the floating effect.
What’s the best background color for ghost mannequin photography?
White backgrounds remain the most popular choice because they’re easy to edit and create consistency across product catalogs. However, light gray or neutral backgrounds can work well, especially for white or very light-colored garments where contrast is needed.
How do I handle sheer or transparent fabrics in ghost mannequin photography?
Sheer fabrics require careful lighting and often benefit from multiple exposures. Capture shots with and without undergarments or backing to provide flexibility during editing. Layer masking becomes particularly important with these materials.
Ready to Transform Your Product Photography?
Ghost mannequin photography represents more than just a technical skill—it’s a powerful tool for business growth and brand development. Whether you’re just starting your e-commerce journey or looking to elevate an established brand, this technique can dramatically improve your product presentation and sales results.
The investment in quality product photography pays dividends through increased customer confidence, higher conversion rates, and reduced return rates. With the techniques and strategies outlined in this guide, you have everything needed to create professional ghost mannequin images that compete with major retailers.
Start with your current equipment and gradually build your setup as your business grows. Remember, consistency and attention to detail matter more than expensive gear. Focus on creating clean, professional images that accurately represent your products, and watch as your enhanced product photography transforms browsers into buyers.
Here in PixcReotuch, we provide the best Ghost Mannequin Photo Editing Services at a reasonable price. At $0.20 per image, we provide not only Mannequin Services, but also you can increase your online visibility using our Product Photo Editing Services.
Suggested Reads
Ghost Mannequin T-Shirt Editing
Discover the secret behind those stunning floating t-shirt photos that make your products look professionally shot without breaking the bank. This comprehensive guide reveals the invisible mannequin technique that’s revolutionizing e-commerce fashion and clothing photography. Learn how to create that coveted “hollow man effect” where your clothing appears naturally worn by an invisible model, showcasing perfect fit and drape. Whether you’re a small business owner or professional photographer, master the art of removing mannequins while preserving the 3D shape and natural flow of your garments. This technique eliminates distractions and creates clean, professional product images that convert browsers into buyers.
Clipping Path Service for E-Commerce
Unlock the power of precision with professional clipping path services that can make or break your e-commerce success. This essential guide dives deep into the meticulous art of background removal and product isolation that transforms ordinary product photos into sales-driving masterpieces. Discover how hand-drawn paths create pixel-perfect cutouts that automated tools simply can’t match. From simple single-path edits to complex multi-clipping techniques, learn why this foundational editing service is crucial for creating consistent, professional product catalogs. Perfect for online retailers looking to elevate their visual merchandising and create the clean, distraction-free images that modern consumers expect from premium brands.
Navigate the unique challenges of intimate apparel photography with specialized editing techniques designed for sensitivity and sophistication. This expert guide addresses the specific requirements of underwear and lingerie photography, from maintaining product appeal while ensuring tasteful presentation to handling delicate fabrics and intricate details. Learn professional retouching methods that enhance fit, color accuracy, and texture while preserving the authentic look customers need to make confident purchasing decisions. Discover how to create compelling product images that respect both your brand values and customer expectations, turning one of the most challenging product categories into a competitive advantage for your e-commerce business.
Creating the Perfect Product Photography Studio
Build your dream photography studio from the ground up with this comprehensive blueprint for e-commerce success. Whether you’re working with a spare room or planning a professional setup, this guide covers everything from essential lighting equipment and camera positioning to backdrop selection and workflow optimization. Learn the insider secrets of creating consistent, high-quality product images that rival expensive studio shoots. Discover cost-effective solutions for achieving professional results, understand the technical requirements for different product types, and master the setup techniques that streamline your photography process. This is your roadmap to creating a photography environment that produces stunning images while maximizing efficiency and minimizing costs.