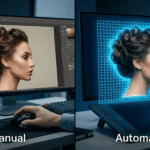
Have you ever browsed an online store and seen clothing that looks like it’s being worn by an invisible person? That’s the magic of the Hollow Man Effect. This powerful photography technique is the secret behind countless professional product shots, especially in e-commerce. For items like underwear, where fit and form are everything, this effect can make a huge difference. It elevates product images from flat and lifeless to dynamic and appealing, helping customers visualize the item and boosting their confidence to buy.
The Hollow Man Effect brings garments to life in e-commerce photography.
This guide will walk you through everything you need to know about this game-changing photo editing process. We’ll explore what it is, why it’s a must for underwear photography, and how you can achieve it yourself. Get ready to transform your product images and give your sales a serious lift.
What is the Hollow Man Effect?
Before and after: The Hollow Man Effect in action.
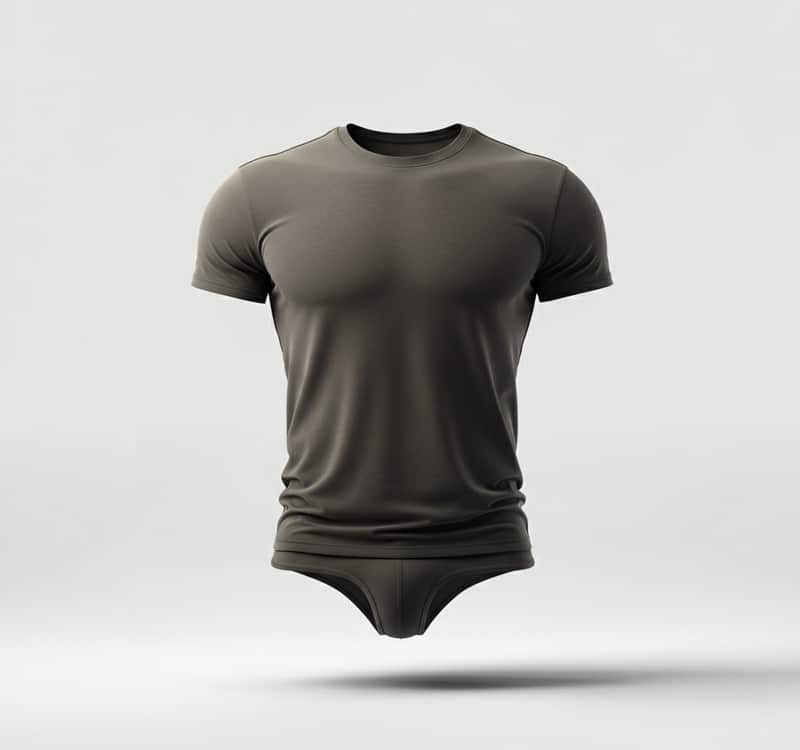
The Hollow Man Effect, also known as the “ghost mannequin” or “invisible mannequin” technique, is a photo editing process used in product photography. It involves taking multiple pictures of a garment on a mannequin and then digitally removing the mannequin in post-production. The result is a clean, 3D image that shows the product’s natural shape as if it were being worn, but without the distraction of a model or mannequin.
This technique creates a lifelike appearance, allowing the garment’s fit, shape, and internal details, like the brand label, to be visible. It’s incredibly useful for both DIY sellers looking to improve their online store and established businesses aiming for a polished, consistent look across their product line. The Hollow Man Effect in fashion photography helps keep the focus entirely on the product, providing a superior shopping experience.
Why Use the Hollow Man Effect for Underwear Products?
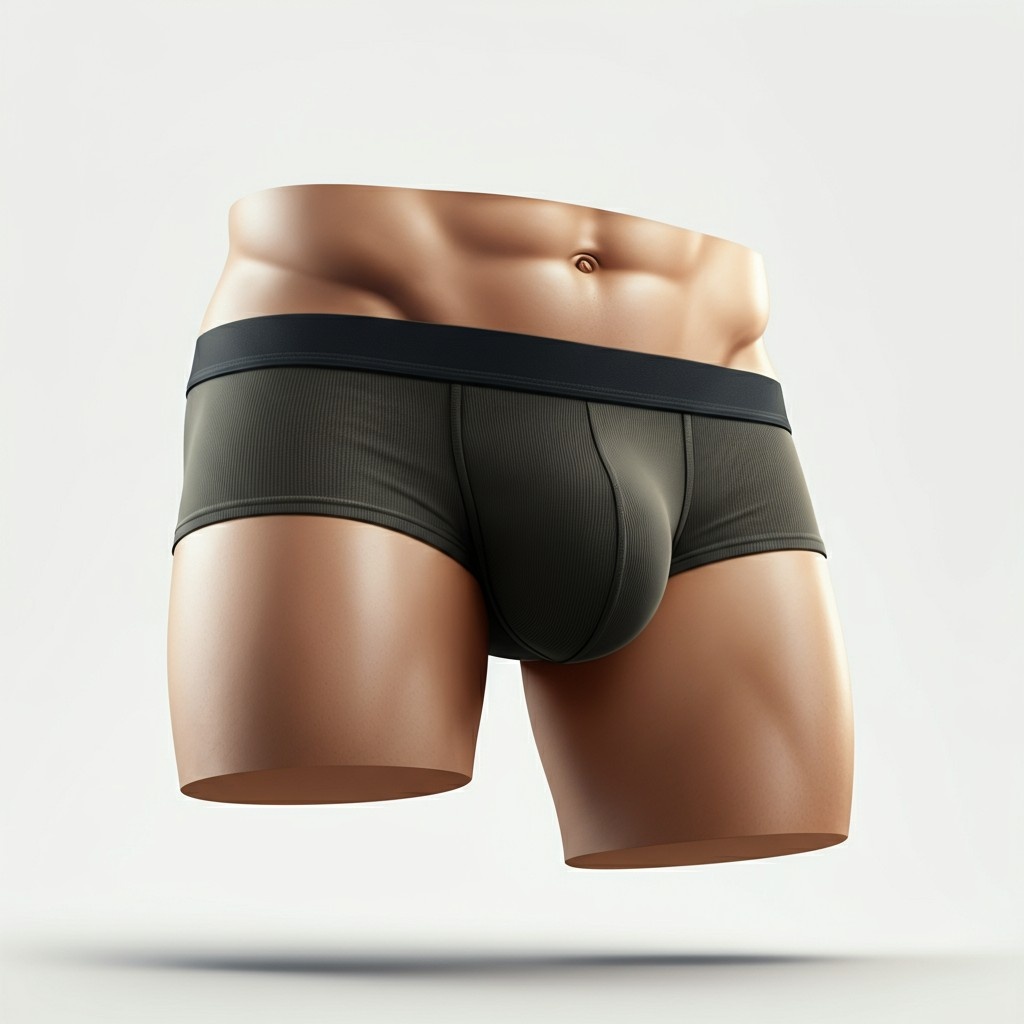
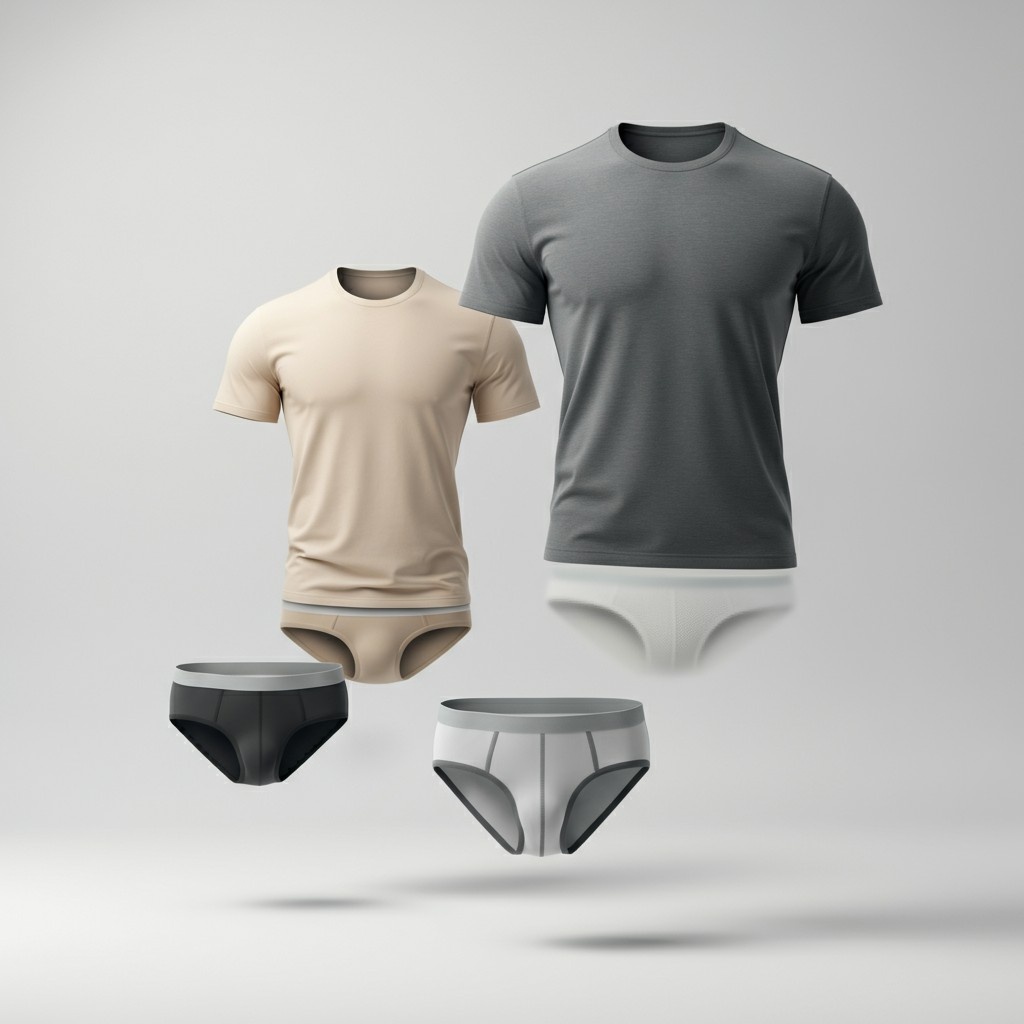
Showcasing fit and detail with the Hollow Man Effect.
Showcasing underwear online comes with unique challenges. It can be difficult to convey the exact fit, texture, and delicate details in a standard photo. Flat-lay images often fail to show how the product will actually look on a body, while using live models can be costly and may not appeal to all shoppers.
The Hollow Man Effect for product photography solves these problems effectively.
- Shows True Fit: It displays the natural curves and contours of the underwear, giving customers a realistic idea of how it will fit them.
- Highlights Details: Small features like lace trim, seam construction, and fabric texture become clear and visible.
- Looks Professional: This technique gives your online store a high-end, uniform appearance, building trust with potential buyers.
- Focuses on the Product: With no distractions, the customer’s attention remains on the item they are considering purchasing.
Using the Hollow Man Effect for apparel photography makes your underwear products look more appealing and helps customers make a confident buying decision.
Tools and Equipment Needed
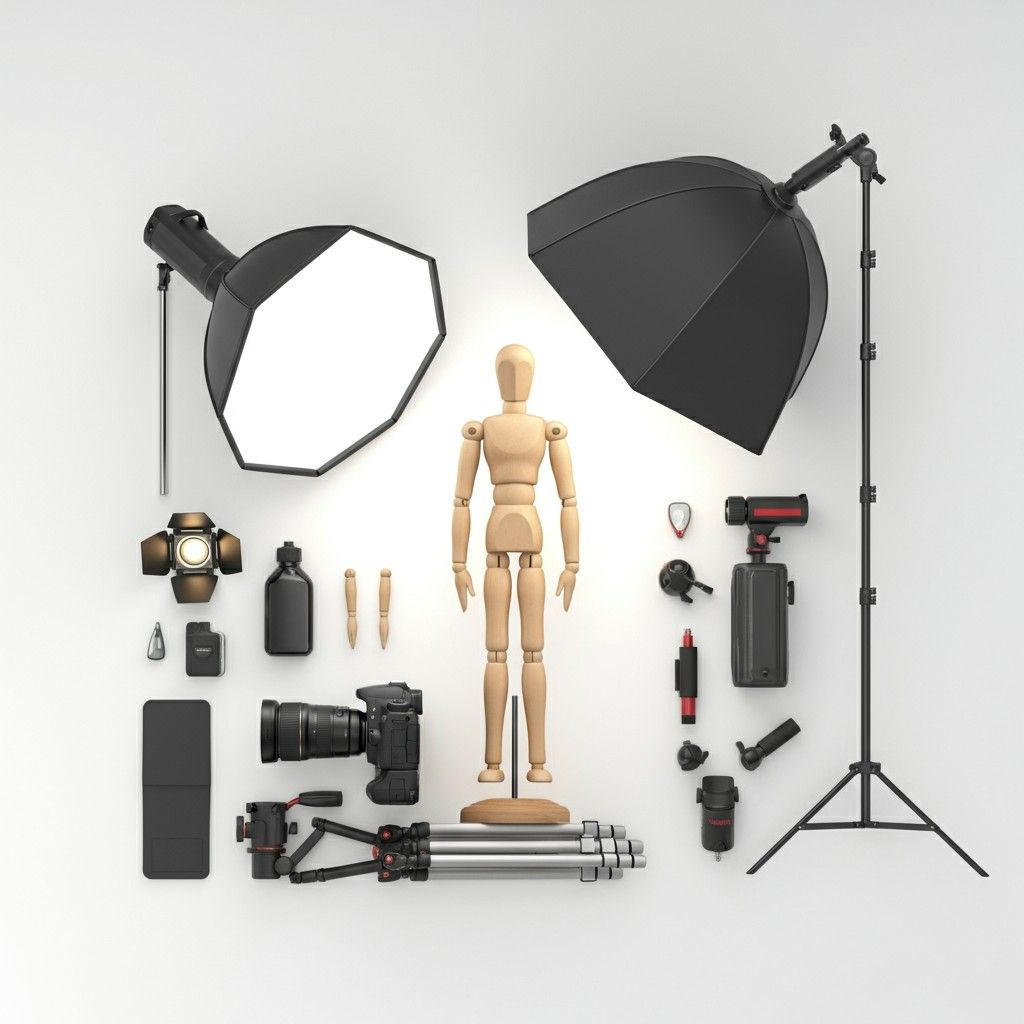
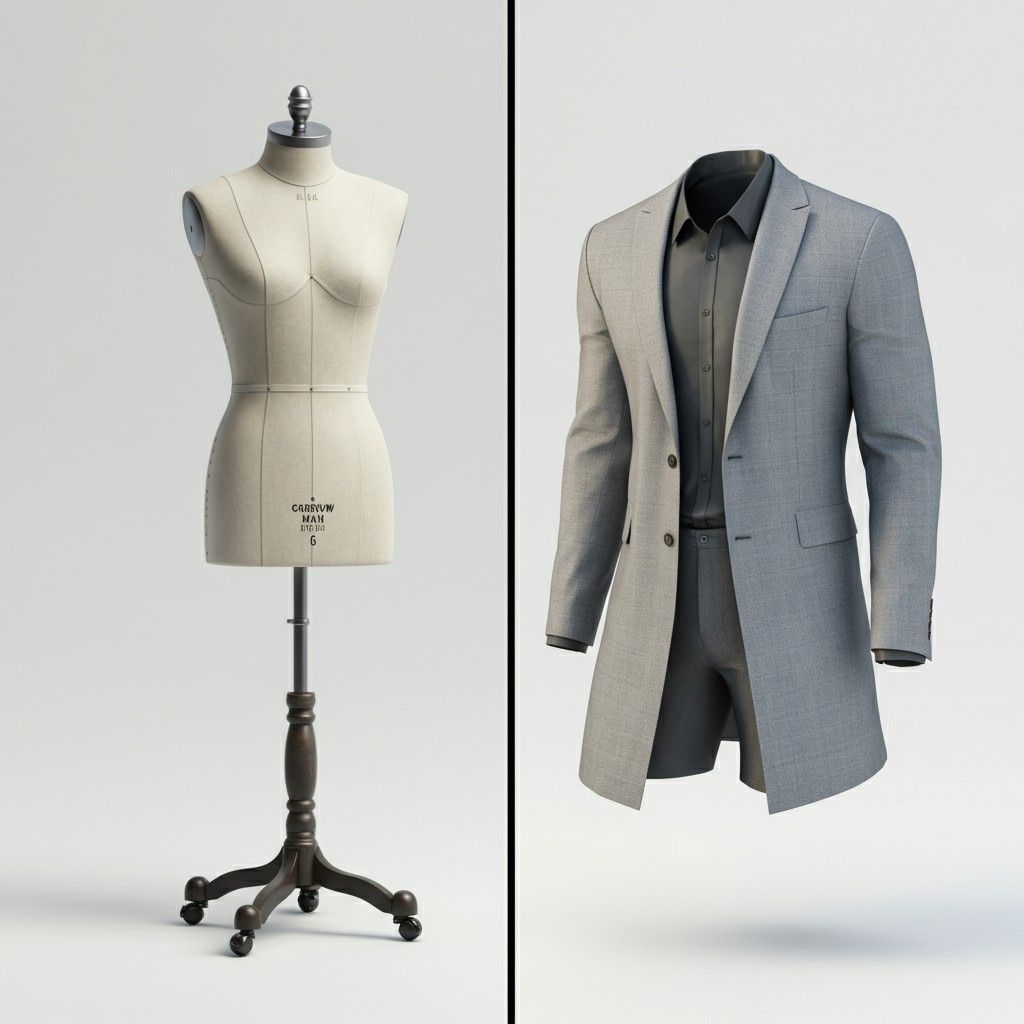
Essential tools for creating the Hollow Man Effect.
Creating the Hollow Man photography editing technique doesn’t require a Hollywood-sized studio, but having the right tools is key to getting professional results. Use the table below for a quick overview of the essential equipment and their roles.
| Tool | Description |
| Mannequin | A mannequin that fits your garments well. Models with removable sections (neck and chest) make inside shots easier. Matte white finish is best to avoid reflections. |
| Camera | A DSLR or mirrorless camera with manual settings and high resolution ensures crisp, professional images. |
| Tripod | Keeps your camera perfectly still between shots, which is vital for image alignment when editing. |
| Lighting | Use two softbox or umbrella studio lights at 45-degree angles to provide even, diffused light and reduce harsh shadows. |
| Editing Software | Adobe Photoshop is the favorite for its strong layering and masking tools, perfect for the Hollow Man Effect. |
Setting up a small, dedicated space with a plain white background will make the entire process of Hollow Man Effect photography much smoother.
Step-by-Step Guide to Creating the Hollow Man Effect
Step-by-step process for the Hollow Man Effect.
Ready to try the Hollow Man Effect technique yourself? Follow these five steps to create stunning, three-dimensional product images.
Step 1: Capture the Main Image
Place your underwear on the mannequin, ensuring it is smooth and fits well. Position your camera on the tripod directly in front of the product. Take a clear, well-lit, front-facing shot. This will be your primary image.
Step 2: Take the Interior Filler Shot
Without moving your camera or lighting, remove the garment from the mannequin. Turn it inside out and hang or lay it on a white foam board. You need to photograph the inner part of the garment that was previously hidden by the mannequin, such as the inside of the waistband or neckline. This shot is crucial for creating the 3D illusion.
Step 3: Edit in Photoshop
Open both images in Photoshop. Place the main mannequin shot on one layer and the interior shot on another. Using a selection tool (like the Pen Tool or Quick Selection Tool), carefully cut out the product from the background on the main layer and remove the visible parts of the mannequin.
Step 4: Add Realistic Shadows
Next, drag the interior shot layer underneath the main product layer. Align it so it fills the gap where the mannequin’s neck or waist was. You may need to warp or resize it slightly to fit perfectly. Add a subtle inner shadow on a new layer between the two images to create a sense of depth.
Step 5: Finalize and Save the Image
Clean up any rough edges and make final adjustments to color and brightness. Once you are happy with the result, save the image. It’s a good practice to save a version with layers intact (as a .PSD file) before saving the final flattened version (as a .JPG or .PNG) for your online store.
Benefits of the Hollow Man Effect
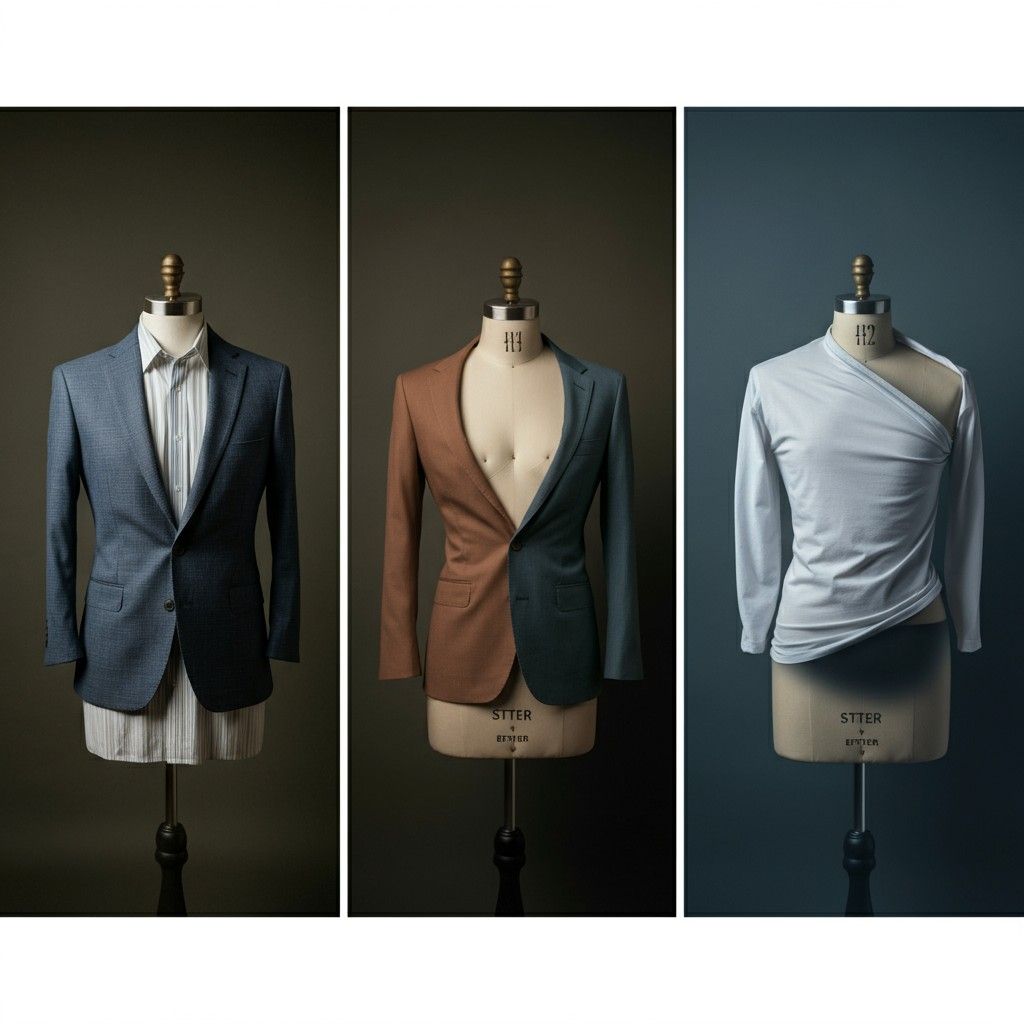
Professional and consistent product images with the Hollow Man Effect.
Adopting the Hollow Man product photography effect offers several advantages that can significantly improve your e-commerce business.
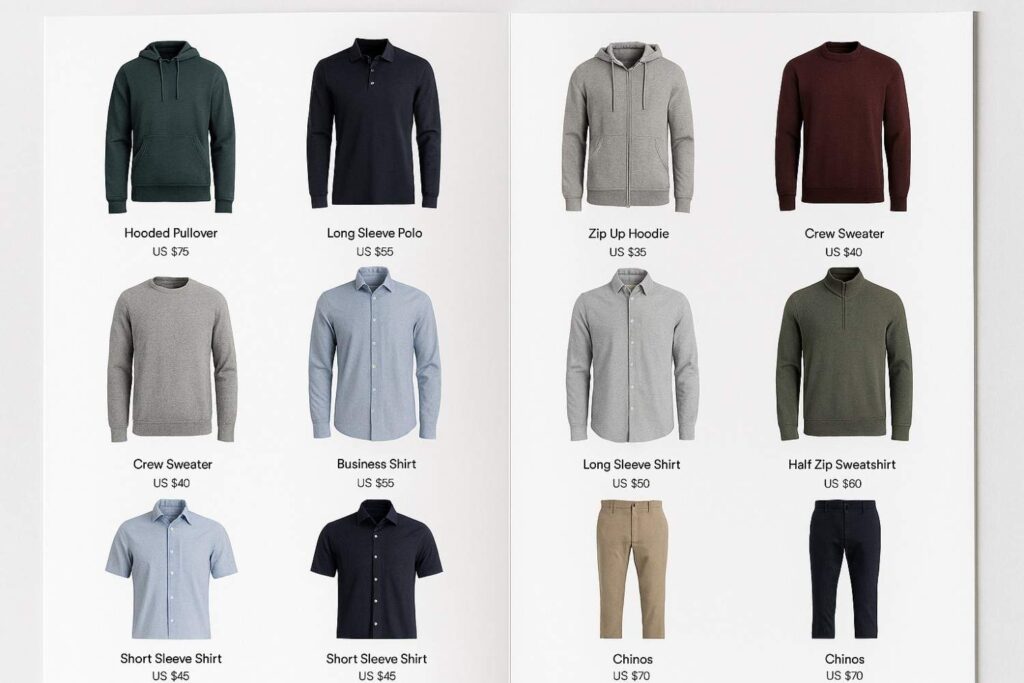
- Professional and Polished Product Images: It creates a clean, consistent, and high-end look across all your product listings, elevating your brand’s image.
- Increased Customer Trust and Engagement: By showing the product’s true shape and fit, you provide transparency that builds customer confidence and reduces hesitation to purchase.
- Cost-Effective Compared to Hiring Models: While there’s an initial investment in equipment and time, it’s far more affordable in the long run than repeatedly hiring models for photoshoots.
- Versatility for Various Garment Types: This technique works wonders for all kinds of apparel, from t-shirts and jackets to dresses and, of course, underwear.
Common Mistakes to Avoid
When you first create the Hollow Man Effect, a few common issues can arise. Being aware of them can save you a lot of time and frustration.
- Uneven Lighting or Shadows: Inconsistent lighting between your main shot and your interior shot will make the final image look unnatural. Ensure your lighting setup remains unchanged for all photos.
- Misaligned Layers During Editing: If the camera moves even slightly between shots, aligning the layers in Photoshop becomes a nightmare. Always use a sturdy tripod and mark your mannequin’s position.
- Over-Editing That Removes Fabric Texture: It can be tempting to smooth every imperfection, but doing so can erase the fabric’s natural texture. Keep edits subtle to maintain a realistic look that customers can trust.
FAQs on Hollow Man Effect
How do you get the Hollow Man Effect?
You achieve the Hollow Man Effect by photographing a garment on a mannequin, taking a separate shot of the garment’s interior, and then combining the images in Photoshop to digitally remove the mannequin.
What is the Ghost Mannequin Effect in photography?
The Ghost Mannequin Effect is another name for the Hollow Man Effect. It’s a post-production technique that creates the illusion of an invisible mannequin wearing the clothing, resulting in a 3D product image.
Why is product photography important for underwear?
For intimate apparel like underwear, fit, comfort, and detail are key selling points. High-quality product photography, especially using the Hollow Man Effect, accurately showcases these elements, helping customers feel confident in their purchase without trying the item on.
Conclusion
The Hollow Man Effect is more than just a clever photo editing trick; it’s a powerful tool for enhancing your product presentation. Especially for underwear products, this technique provides the perfect balance of realism and professionalism, allowing you to showcase fit and detail without distraction. By following the steps outlined here, you can create stunning, lifelike images that build trust, engage customers, and ultimately drive sales for your online store.
Ready to take your product photography to the next level? Try implementing the Hollow Man technique on your next shoot. If you need expert help to create flawless images at scale, explore our professional clipping path and photo editing services today