Product photography is a significant investment for any online business. You want to get the most value out of every single shot. The best way to do that is by repurposing your images for different channels. The secret lies in one essential skill: knowing how to create a transparent background for product photos in Photoshop.
The task might seem Hard in the early stages. Different images require different tools. A fluffy sweater has soft edges, while a box has hard edges. You cannot use the same settings for both. Achieving a perfect cutout depends on mastering brush size, tolerance, and opacity.
This guide simplifies that entire process. We will move beyond basic erasing and look at professional techniques. You will learn to handle complex edges and soft margins with patience. By the end, you will have a clean, versatile image ready for any marketing campaign. Let’s make your product photos work harder for you.
What Is a Transparent Background in Product Photography?
Understanding Transparent Backgrounds
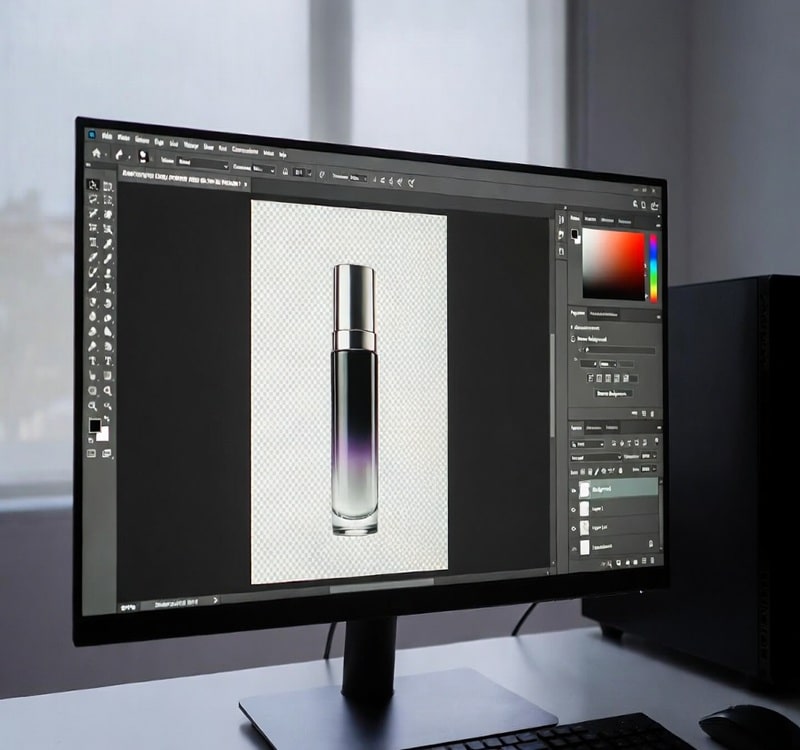
To understand How to Create a Transparent Background for Product Photos in Photoshop, think of the result like a clear sheet of glass. You can place it over any color or pattern. The product stays the same, but the setting changes instantly.
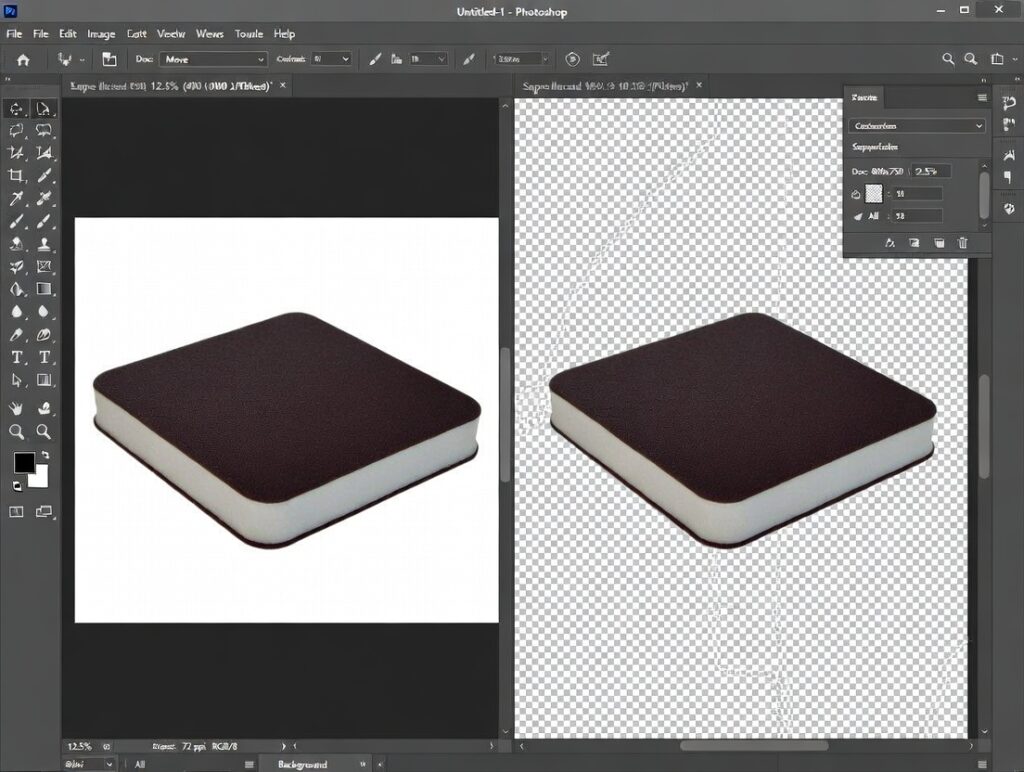
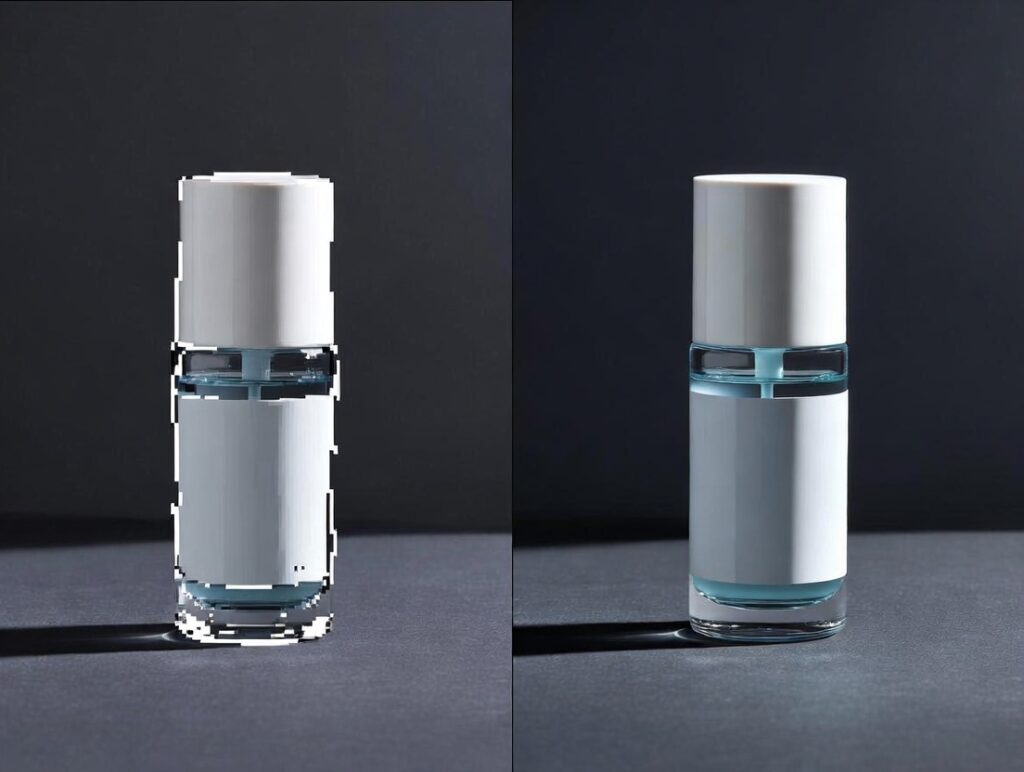
Difference between white background and transparent background in Photoshop
In Photoshop, this transparency looks like a gray and white checkerboard pattern. It tells you that those pixels are empty.
Difference Between White and Transparent
A white background is solid. It covers everything behind it. A transparent background is invisible. You can put a transparent image on a red website, and it stays red.
Why PNG is Best
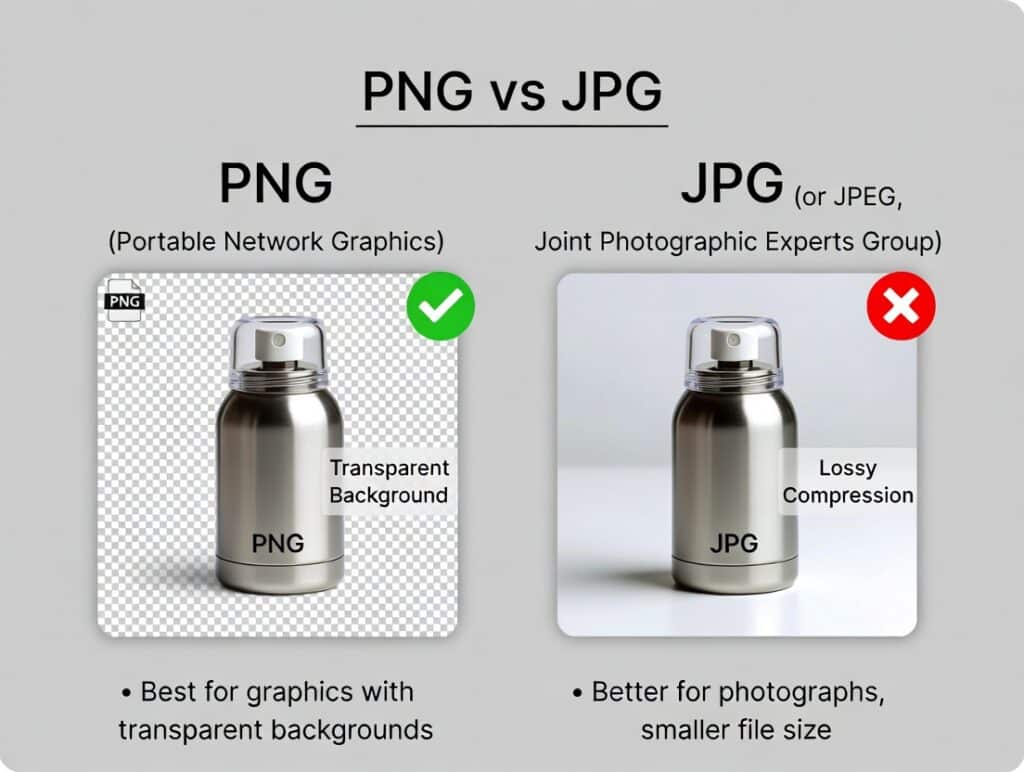
PNG format supports transparency, while JPG does not
You must save your work correctly. The PNG format supports transparency. JPEG files do not. If you save as a JPEG, that clear background turns white automatically.
When to Use Transparent Photos
- eCommerce Listings: Keep your main store gallery clean.
- Social Ads: Overlay your product on lifestyle photos.
- Website Design: Let your product blend into your site’s color theme.
- Print Materials: Place your logo or item on flyers without a white box.
Tools You Need Before Creating a Transparent Background
You don’t need a supercomputer. However, the right setup helps.
Essential Photoshop tools for removing background from product photos
Software Requirements
You need Adobe Photoshop. The latest version works best. It has smart AI tools that save time. Older versions also work, but they may be slower.
Computer Specs
Any modern laptop or desktop should work. Ensure you have sufficient RAM to run Photoshop smoothly. 8GB is a good starting point.
Preparing Your Image
Start with a high-quality photo. A raw file or a high-resolution JPG is perfect. Ensure your product has good lighting. Crisp edges make the editing process much easier.
Step-by-Step: How to Create a Transparent Background
Ready to edit? Let’s dive in.
Step 1: Open Your Photo and Unlock the Layer
Unlocking the background layer in Photoshop to edit product photos
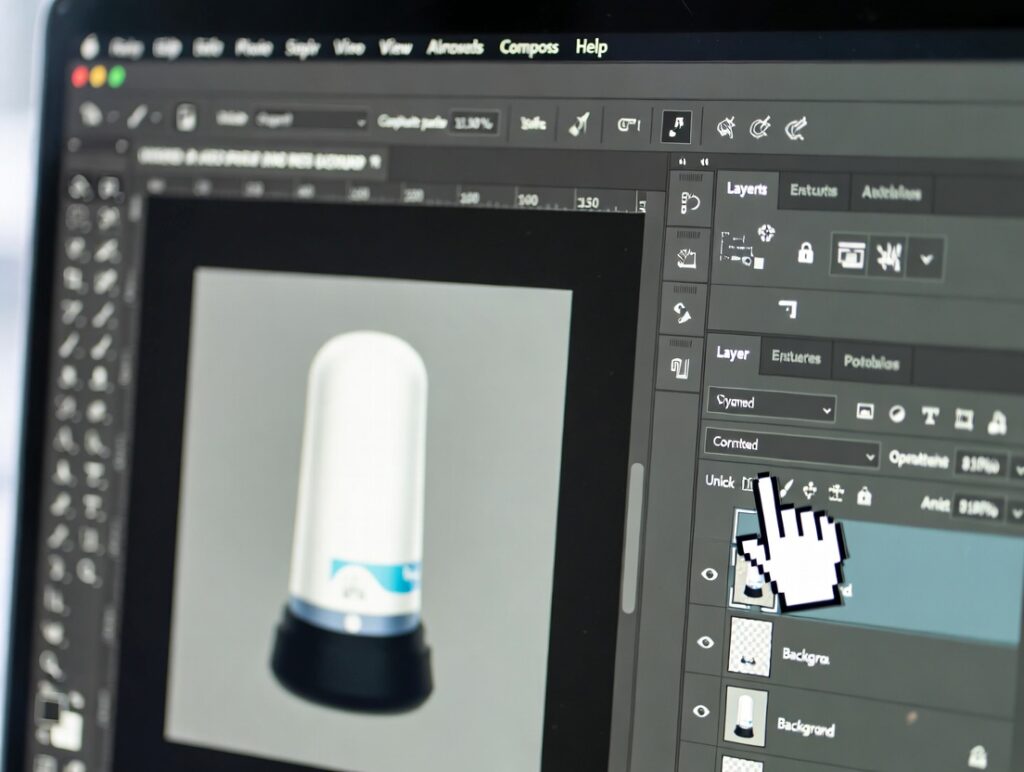
First, launch Photoshop. Open your product image. Look at the “Layers” panel on the right. You will see a layer named “Background” with a lock icon. Click that lock once. Now it is an editable layer.
Step 2: Select the Product
You need to tell Photoshop what to keep.
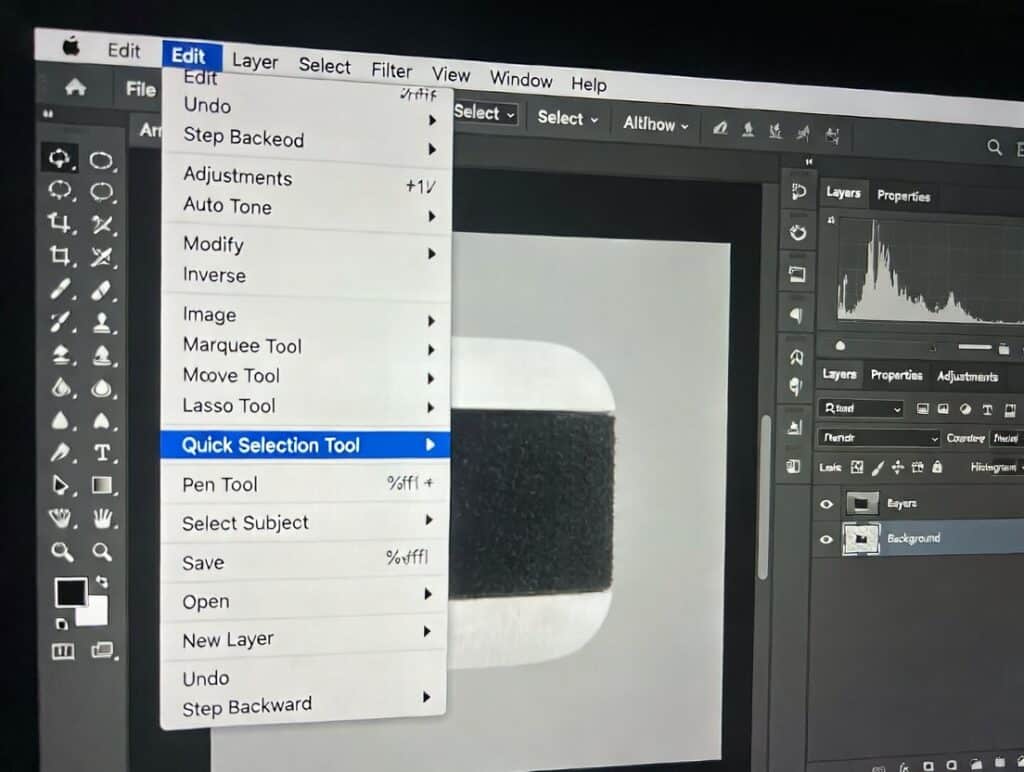
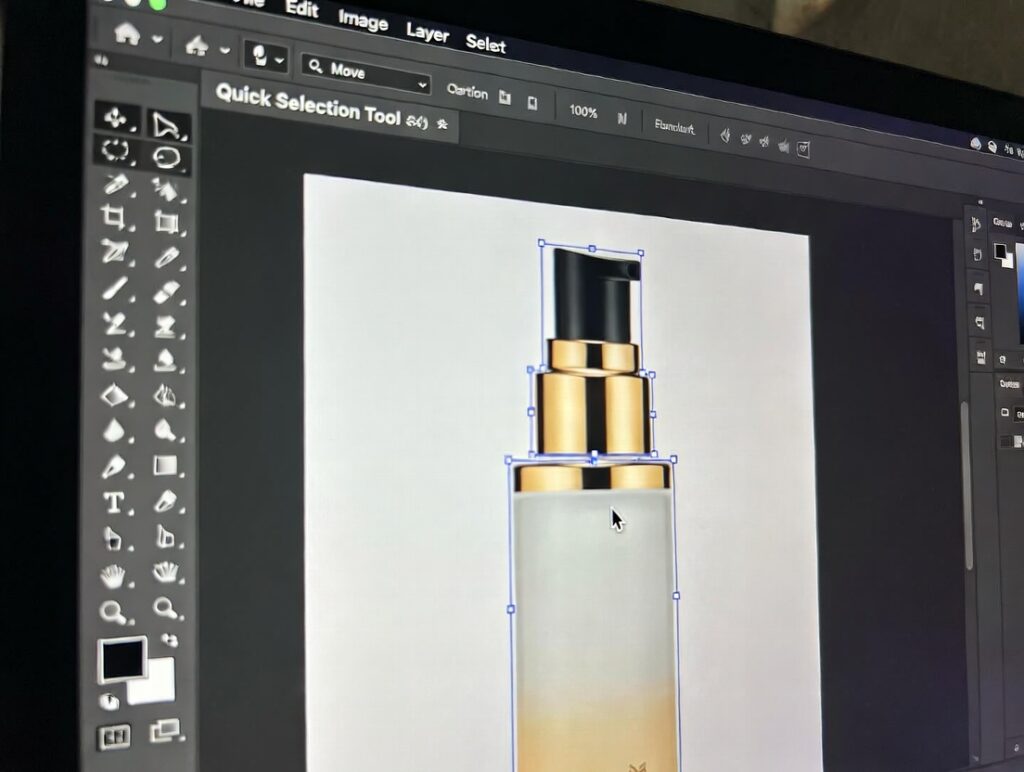
Using the Quick Selection Tool Grab the Quick Selection Tool from the toolbar. It looks like a paintbrush with a dotted circle. Paint over your product. Photoshop will guess the edges for you. Adjust your brush size if you grab too much background.
Selecting your product in Photoshop using the Quick Selection Tool
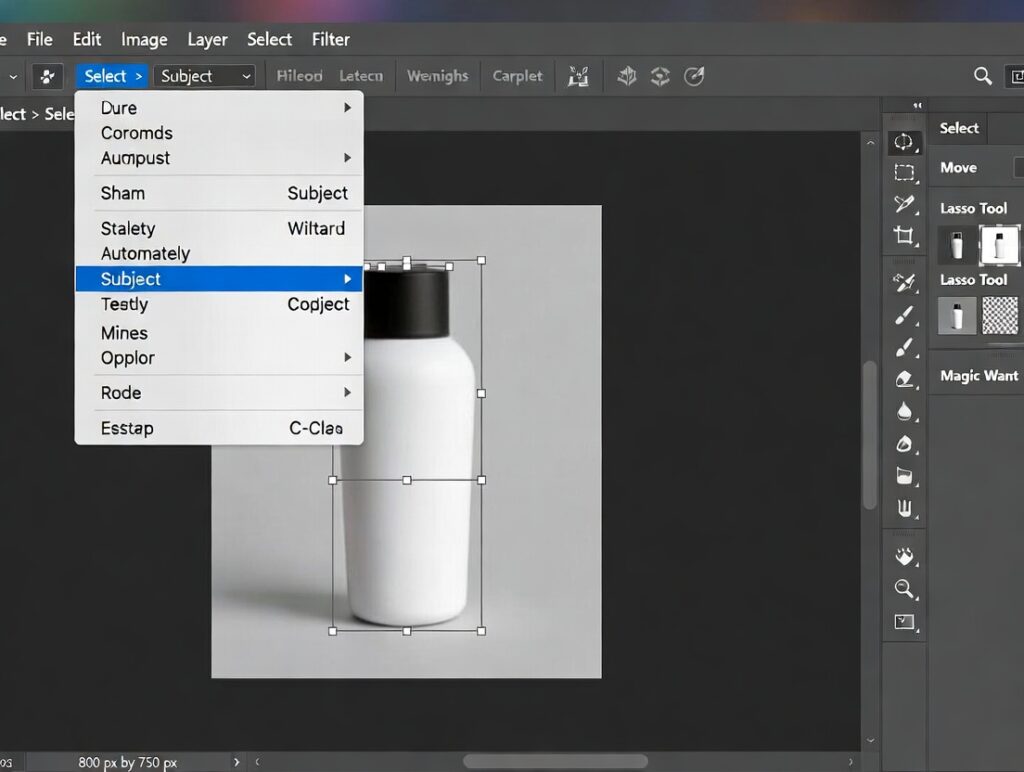
Using “Select Subject” is the easiest way. Look at the top menu bar. Click “Select” and then “Subject”. Photoshop’s AI will automatically wrap a selection line around your product. It works great for simple items.
Selecting your product in Photoshop using the Quick Selection Tool
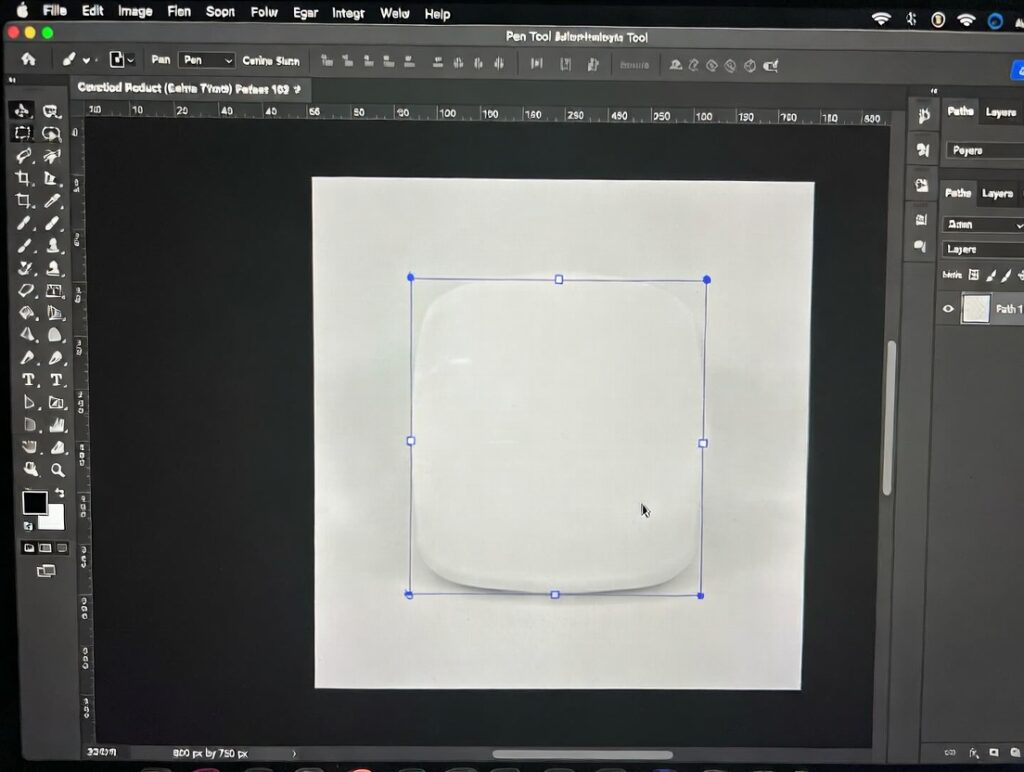
Using the Pen Tool is for pros. It takes more time but gives perfect results. Click around your product to create anchor points. It creates the sharpest, cleanest lines.
Using the Pen Tool for precise product selection in Photoshop
Step 3: Refine Edges for a Smooth Look
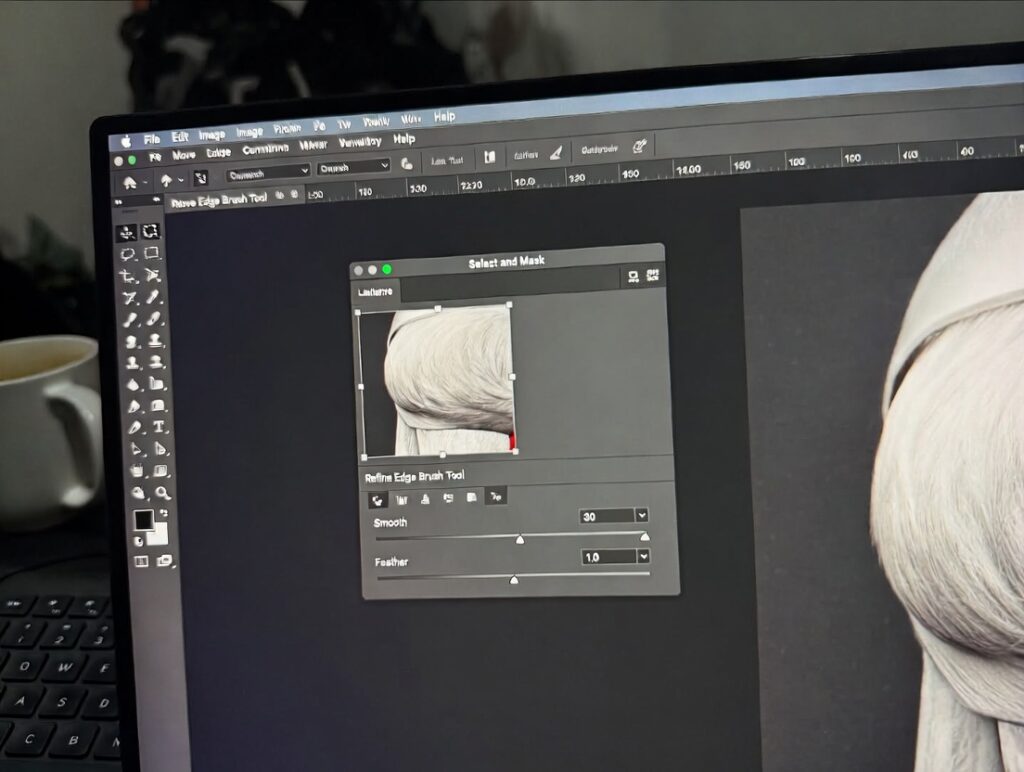
Refining edges in Photoshop with Select and Mask for smooth cutouts
Did the selection miss a spot? No problem. Go to the “Select” menu again. Choose “Select and Mask”.
Here, you can smooth out the edges. Use the “Smooth” slider to fix jagged lines. Use “Feather” for a softer look. This is vital for items with hair or fur.
Step 4: Remove the Background
Now for the magic trick. You have two choices.
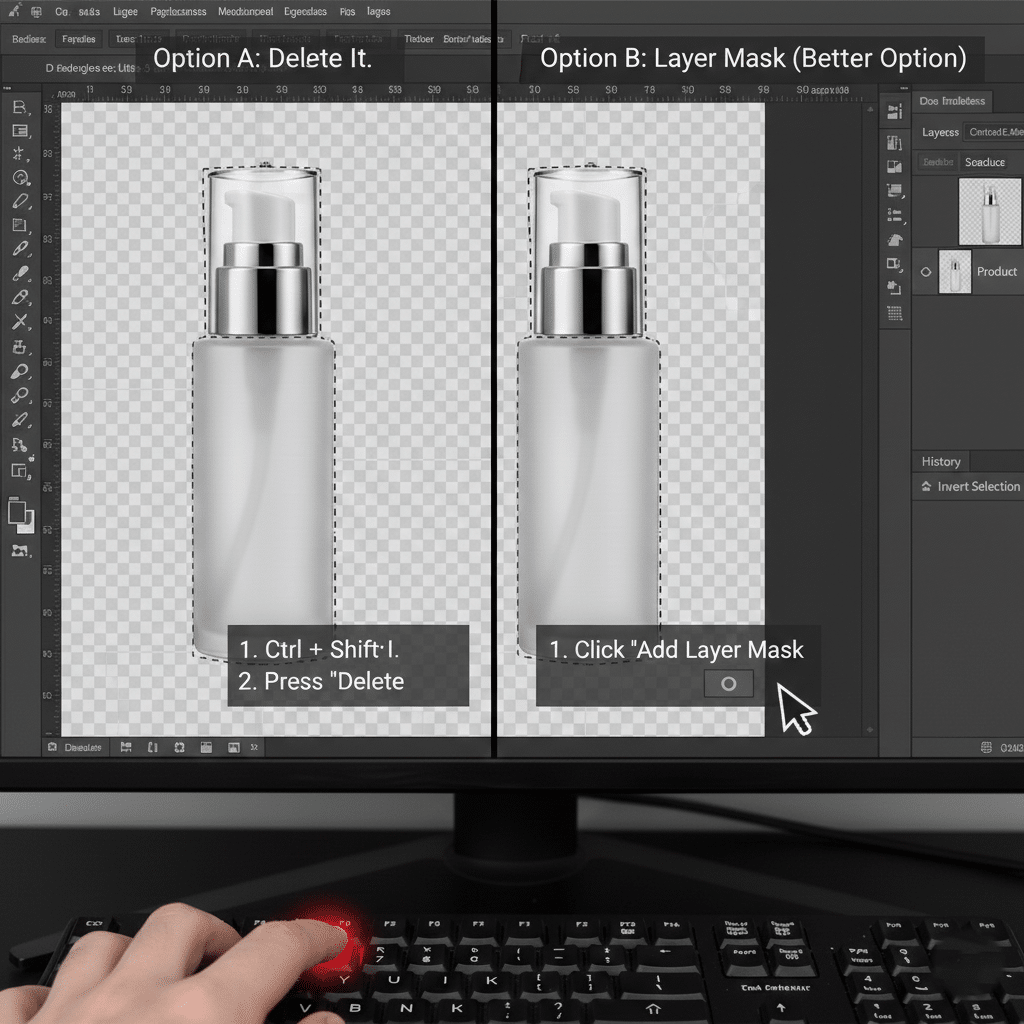
Instantly clear pixels with Invert ($Ctrl+Shift+I$) + Delete, or choose the recommended Layer Mask for a non-destructive finish. Masking is preferred because it lets you easily refine your cut-out or bring back details later.
Option A: Delete It. Invert your selection by pressing Ctrl + Shift + I (Windows) or Cmd + Shift + I (Mac). This selects the background. Hit the “Delete” key. The background disappears. You should see the checkerboard now.
Option B: Layer Mask (Better Option) With your product selected, click the “Add Layer Mask” button. It looks like a rectangle with a circle inside. This hides the background without deleting pixels. You can bring it back later if needed.
Step 5: Export Your Image
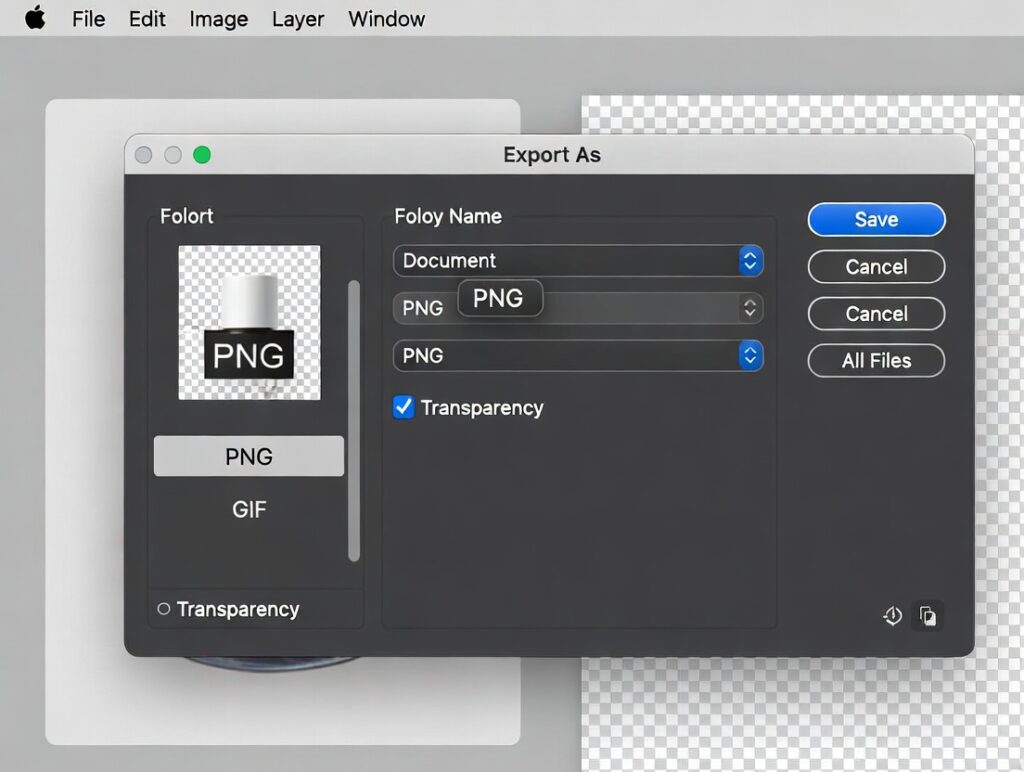
Exporting your product photo as a PNG with a transparent background
You are almost done. Go to “File,” then “Export,” and choose “Export As”. Make sure you select PNG as the format. Check the “Transparency” box. Hit save. You now have a transparent product photo!
Best Photoshop Tools for Removing Backgrounds
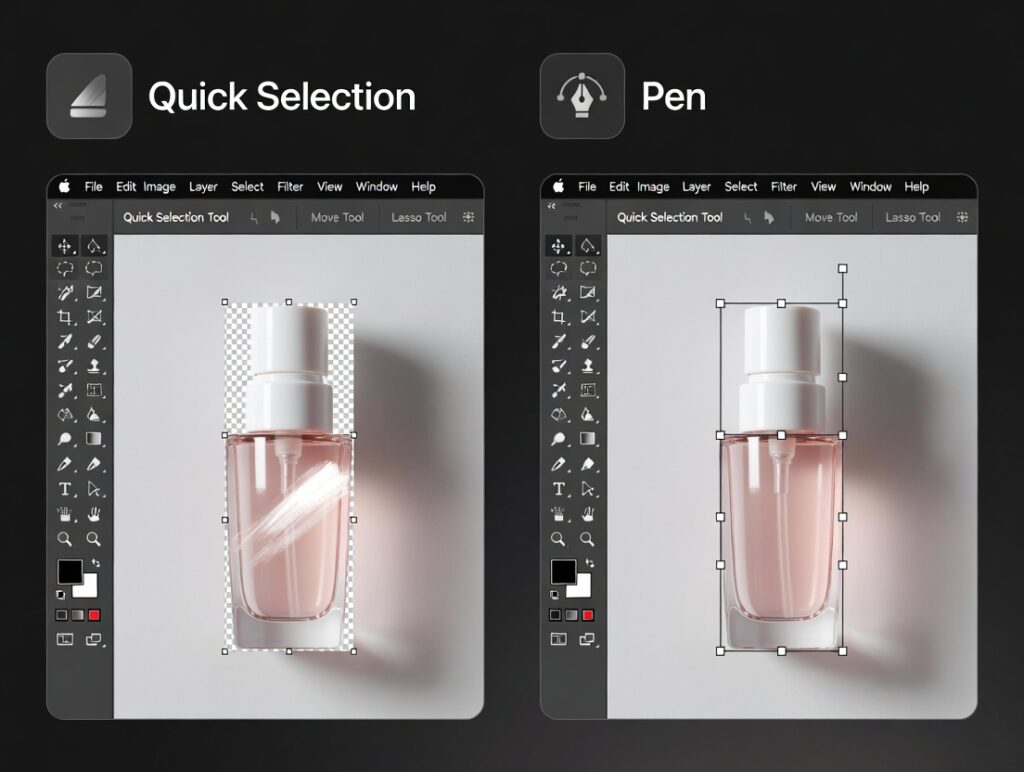
Quick Selection tool vs Pen Tool for precise background removal
Quick Selection vs. Magic Wand
The Magic Wand selects pixels of similar colors. It works for solid backgrounds. The Quick Selection Tool paints over the object. It is usually smarter and faster for products.
The Pen Tool Advantage
Why do professionals love the Pen Tool? Precision. It doesn’t rely on color contrast. You define the exact shape. It is perfect for curvy bottles or sharp boxes.
Remove Background Button
Photoshop has a “Remove Background” button in the Properties panel. It is a one-click fix. It is fast but not always perfect. Check the edges carefully after using it.
Common Mistakes to Avoid
Poor vs professional product background removal comparison
Rough Edges
Jagged edges look cheap. This happens when your selection is too rough. Always use “Select and Mask” to smooth things out.
Losing Shadows
Don’t cut shadows off completely. Products look like they are floating in space without them. Try to keep a subtle shadow near the base. It adds realism.
Saving as JPG
Remember, JPG files flatten layers. You will lose all your hard work. Always save your final edit as a PNG.
Pro Tips for Professional Results
Use Layer Masks
Never delete pixels permanently. Layer masks let you fix mistakes days later. It is a non-destructive way to work.
Zoom In Close
Zoom your view to 200%. Look at the edges. Fix those tiny stray pixels. These small details separate amateurs from pros.
Add a Drop Shadow
Sometimes the original shadow is messy. Create a new one. Use the “Drop Shadow” effect in Layer Styles. Keep it soft and subtle.
How Transparent Backgrounds Boost Sales
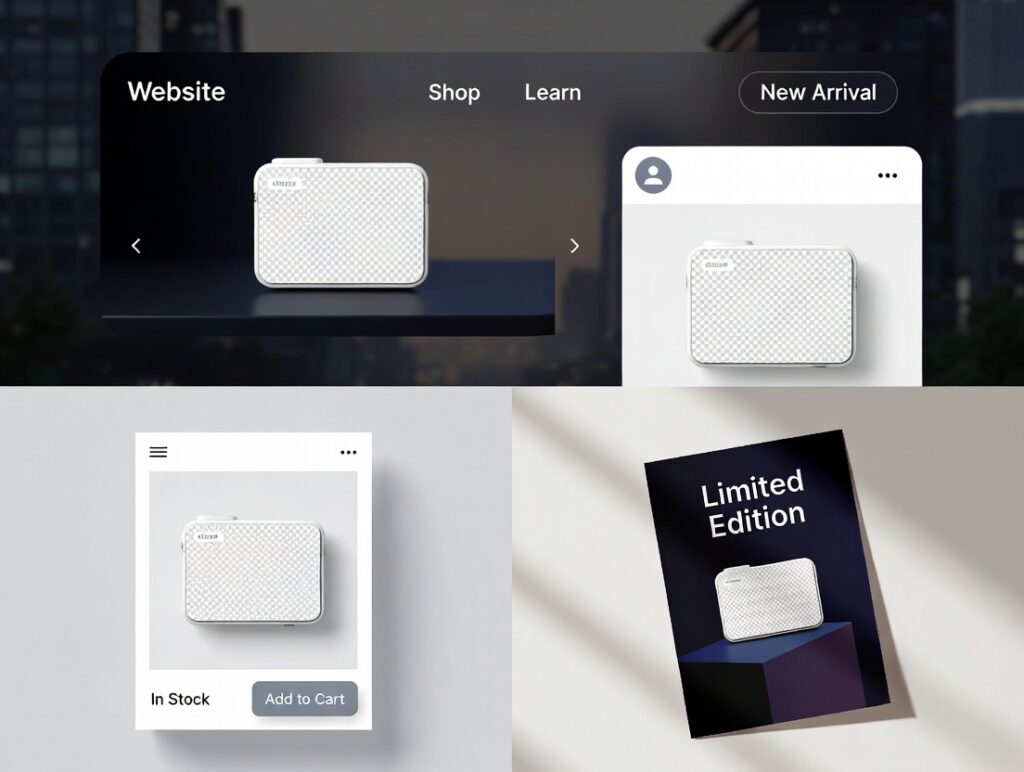
Using transparent product images for e-commerce and marketing
This is the part many sellers ignore. Great photos equal money.
Visibility on Marketplaces
Amazon requires pure white backgrounds. A transparent file lets you add that white layer instantly. It also fits perfectly on eBay or Google Shopping.
Brand Consistency
You can use one photo everywhere. Put it on your website header. Use it in an email newsletter. It keeps your branding tight and professional.
Higher Click-Through Rates
Shoppers click on clear images. A messy background distracts them. A clean cutout focuses their eyes on the prize.
Transparent vs. White Background: Which to Use?
Benefits of Transparent
- Versatility: Works on any color website.
- Marketing: Great for creating banners and ads.
- Modern Look: clean and sleek.
Benefits of White
- Standard: Required by Amazon.
- Focus: Zero distractions.
- File Size: often smaller than PNGs.
Using Both
Smart sellers save both versions. Keep a JPG for Amazon. Keep a PNG for your Instagram stories.
When to DIY vs. Hire a Pro
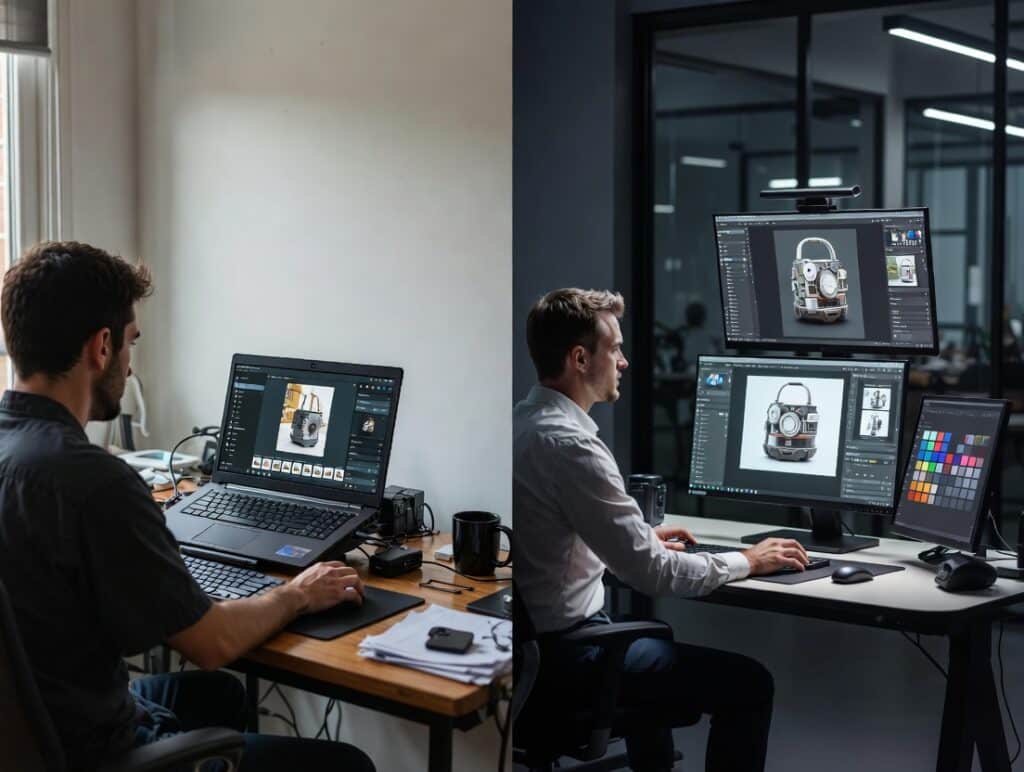
DIY editing vs professional product photo editing services
DIY Editing
Are you just starting? Do it yourself. It saves cash, helps you learn valuable skills, and is perfect for small inventories.
Hiring a Professional
Do you have 500 products? Hiring help makes sense. It saves you days of work. Professional services ensure every image looks identical.
FAQs: Creating Transparent Backgrounds
How do I make a background transparent quickly?
Use the “Remove Background” button in the Properties panel. It takes just one click.
What is the best tool to remove backgrounds?
For speed, use “Select Subject”. For precision, use the Pen Tool.
Why is my transparent background showing white?
You likely saved the file as a JPEG. Save it as a PNG file instead.
Which file format keeps backgrounds transparent?
PNG is the standard format. TIFF and PSD also support transparency.
Can beginners create transparent images easily?
Yes! Modern AI tools in Photoshop make it very simple for anyone.
Conclusion
A transparent background transforms a standard image into a versatile asset. Photoshop provides powerful tools to achieve this cleanly. This guide explained how to create a transparent background for product photos in Photoshop simply. Consistent practice leads to better results over time. Attention to detail ensures your products look their best. Small tasks fit well into a DIY workflow. Large inventories often require Online Photo Editing Services for speed. Expert retouching guarantees a flawless finish every time. Your product images are now ready for any marketplace.