How to Do Ghost Mannequin Neck Joint Editing
Do You Know? Successful online clothing retailers rely on ghost mannequin photography to showcase their products with professional appeal. This technique transforms flat garment images into dimensional, lifelike presentations that capture customer attention and drive sales.
As this technique is effective, you also want to apply right? You are not alone; garment product sellers and photographers are keen to apply the technique to their clothing imagery. It seems like you are also one of those.
Ready to create stunning, professional product images? In this comprehensive tutorial guide, you will learn how to do ghost mannequin neck join editing. Let’s dive into the step-by-step process that will transform your clothing photography.
What is Ghost Mannequin Neck Joint Editing?
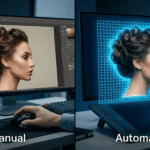
Simple explanation of the ghost mannequin technique
The ghost mannequin technique removes models and mannequins from product images through photo retouching. Top-rated clothing sellers prefer this technique because it improves the outlook of a dress and provides realistic vibes.
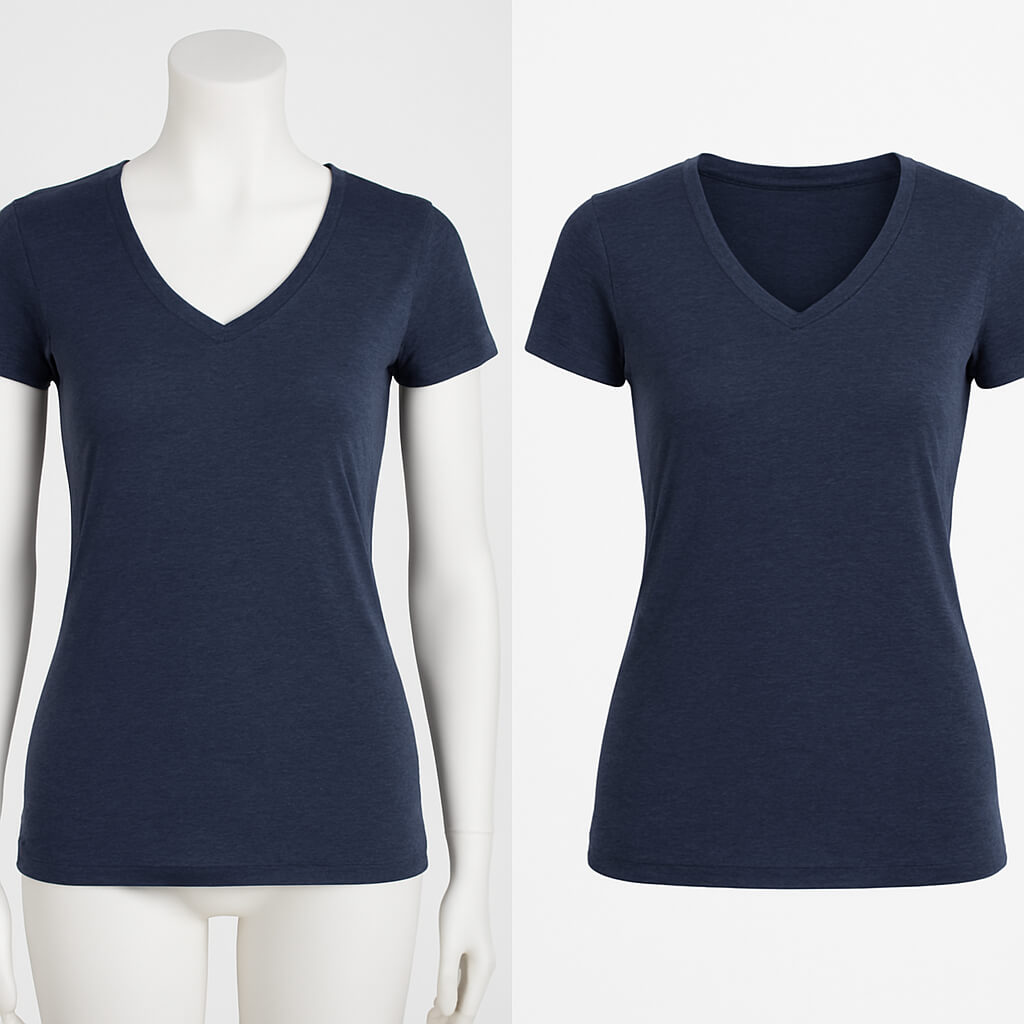
The process involves photographing garments on a mannequin from multiple angles, then combining photos to eliminate the mannequin in post-production. This creates apparel that appears worn by an invisible body, showcasing natural shape and dimension.
The neck joint refers to the collar area where front and back images merge. This section needs careful editing to maintain realistic proportions and seamless integration between different photo elements.
Why neck joint editing is important for apparel product photos

| Benefit | Impact | Business Result |
| Enhanced Product Focus | Eliminates mannequin distractions | Better customer attention |
| Professional Appearance | Creates a premium aesthetic | Increased brand trust |
| Improved Conversions | Clear garment visualization | Higher sales rates |
| Cost-Effective Solution | No model hiring needed | Reduced photography costs |
Enhanced Product Focus: By removing the mannequin, customers can concentrate on the clothing’s design, fabric texture, and construction details without being distracted by the artificial form underneath.
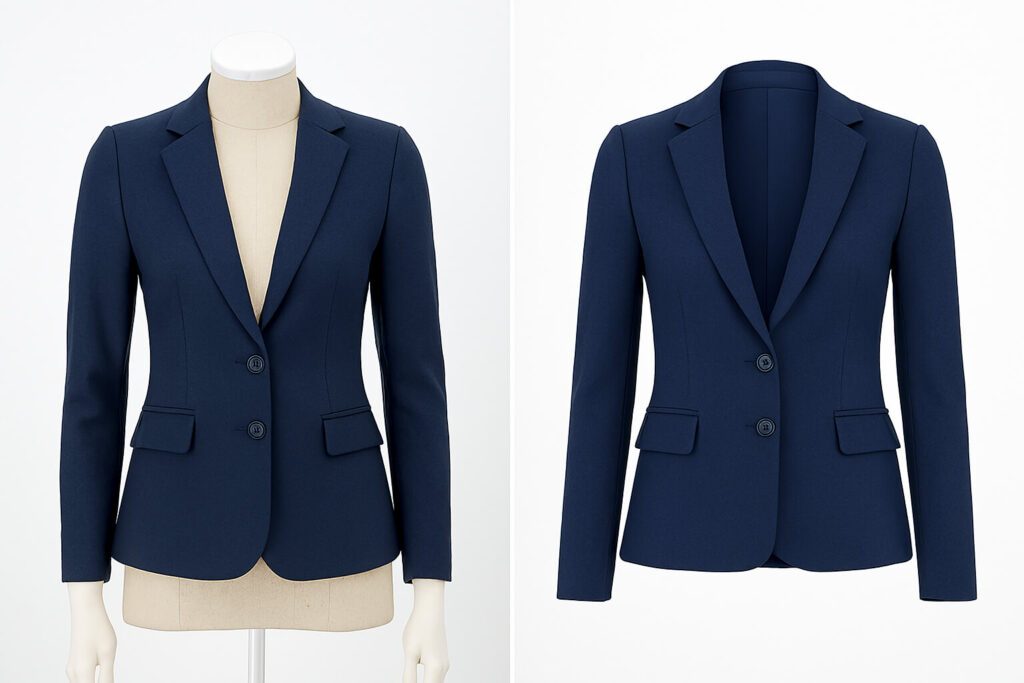
Professional Appearance: The technique removes mannequins for a professional, model-free look and highlights apparel details with 3D symmetry and hollow effects. This creates a premium, high-end aesthetic that builds trust with potential buyers.
Improved Conversion Rates: Effective ghost mannequin photography often increases sales conversions by enticing consumers to buy your product. When customers can clearly see how garments fit and flow, they’re more confident in their purchasing decisions.
Cost-Effective Solution: Unlike hiring models for every product shot, ghost mannequin editing provides consistent, professional results while keeping photography costs manageable for businesses of all sizes.
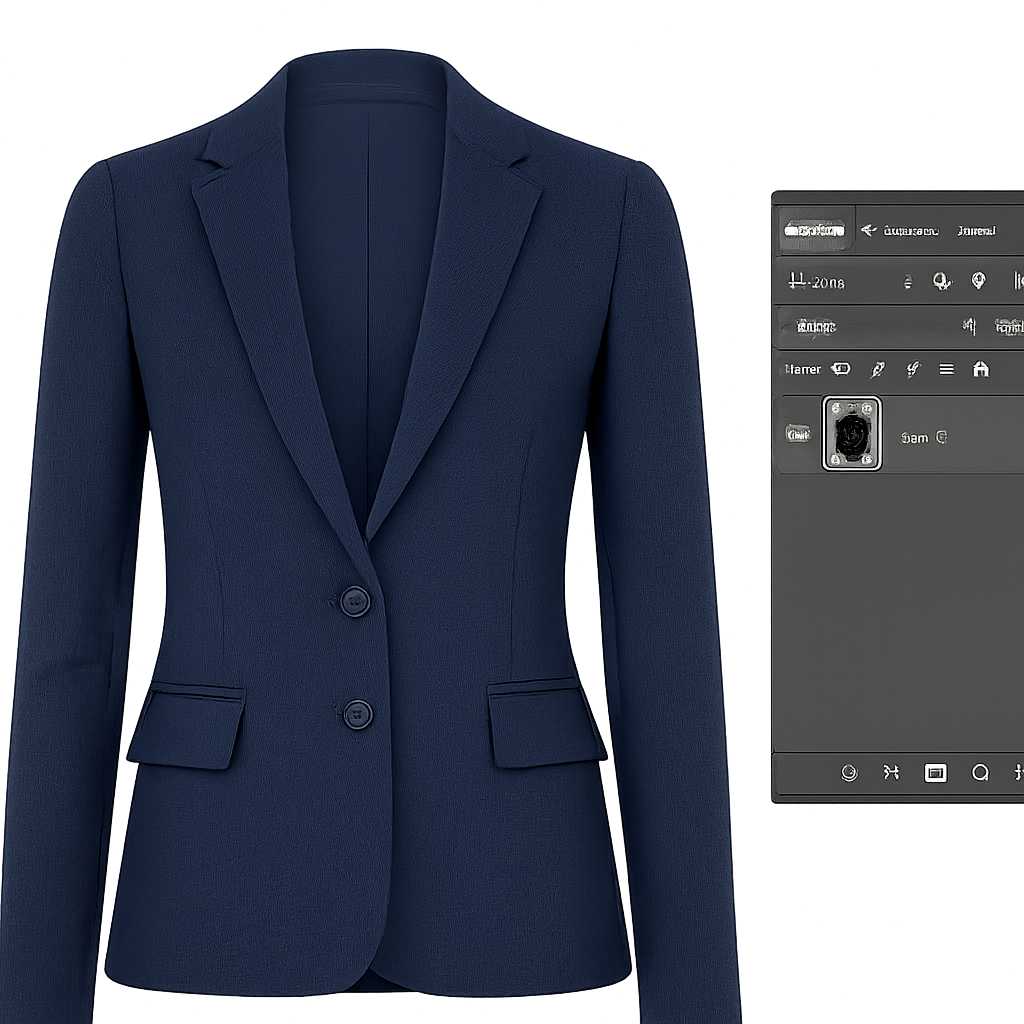
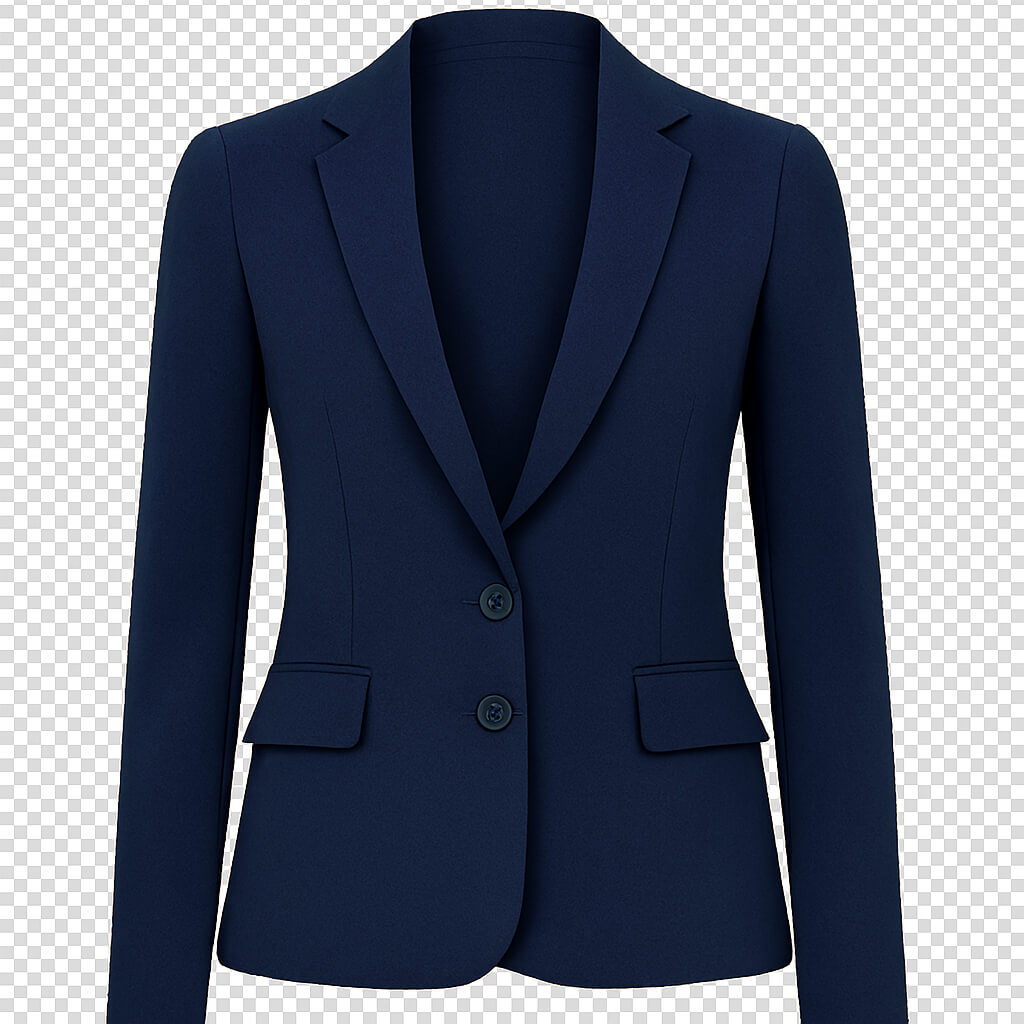
Versatile Application: This technique works across various clothing categories, from casual t-shirts to formal blazers, making it an essential skill for any apparel retailer.
Step-by-Step Process to Create a Ghost Mannequin Effect in Photoshop
| Step | Action | Keyboard Shortcut | Purpose |
| 1 | Open front-view image | Ctrl+O | Load base layer |
| 2 | Duplicate background layer | Ctrl+J | Create backup |
| 3 | Select Pen Tool | P | Create precise paths |
| 4 | Make selection | Right-click > Make Selection | Isolate garment |
| 5 | Invert selection | Ctrl+Shift+I | Select background |
| 6 | Delete background | Delete key | Create transparency |
| 7 | Add neck section | Ctrl+C, Ctrl+V | Complete ghost effect |
| 8 | Merge layers | Right-click > Merge Layers | Combine elements |
| 9 | Save the final image | Ctrl+S | Preserve work |
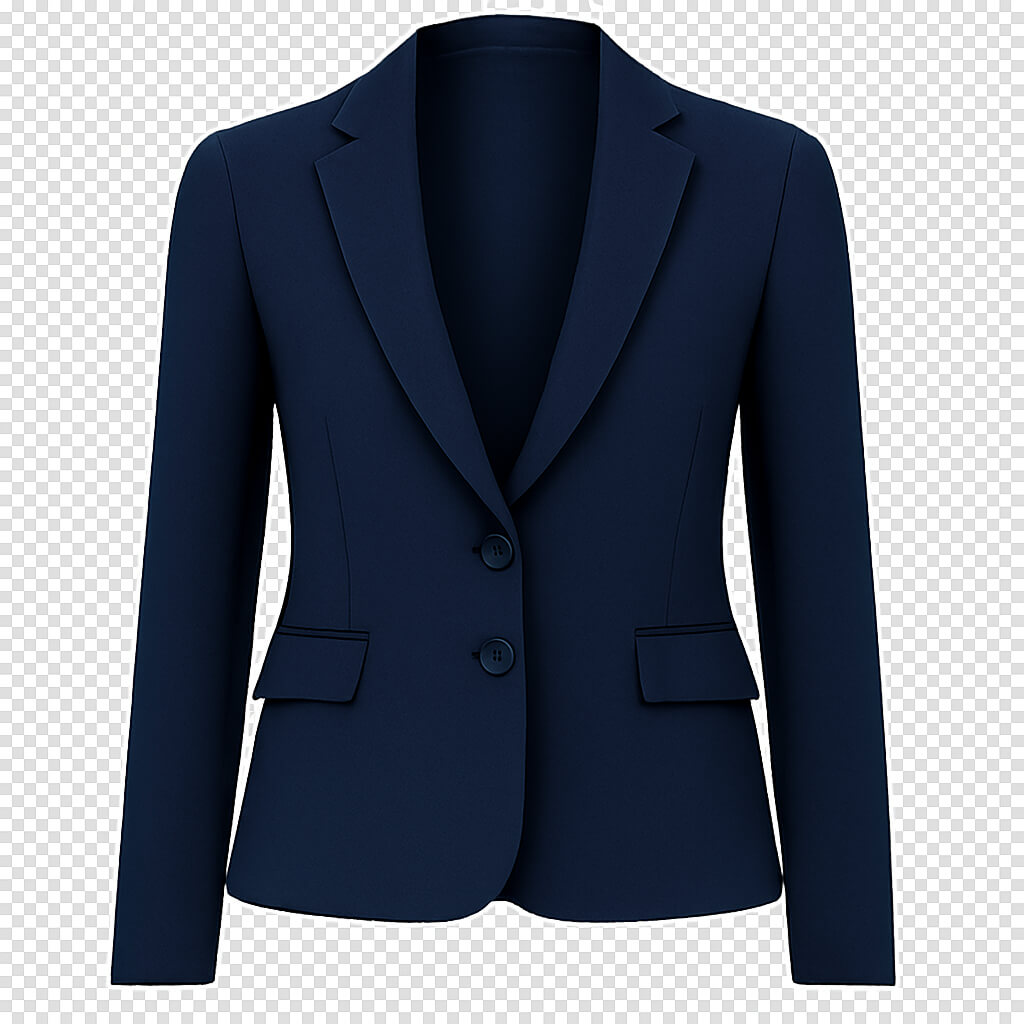
Step 1: Open the front-view image of your clothing
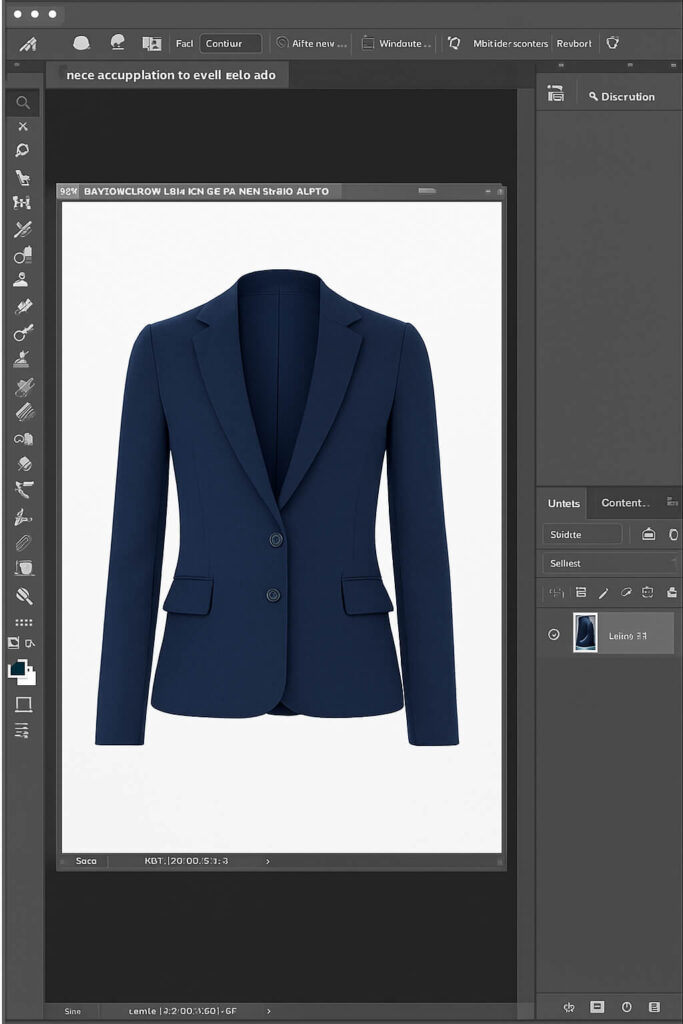
Launch Photoshop and open your front-view garment image. This serves as your base layer for the entire editing process.
Double-click the Background layer to make it editable, then rename it “Front” for better organization. This naming system helps maintain a clean workflow during complex edits.
Ensure your source image has proper lighting and minimal shadows. The garment should fit the mannequin correctly without excessive wrinkles. Quality source photography significantly reduces editing time and produces better final results.
Step 2: Duplicate the background layer

Right-click your “Front” layer and select “Duplicate Layer” or press Ctrl+J (Windows) or Cmd+J (Mac). This creates a backup copy for reference during editing.
Name the duplicate layer “Front_Original” for easy identification. Having this backup is essential – it allows experimental edits without losing original work.
Click the eye icon to disable the original layer. This duplicate serves as a safety net and reference point for matching colors or lighting during advanced editing stages.
Step 3: Use the Pen Tool to create a path
Select the Pen Tool from the toolbar or press ‘P’. This precision tool creates clean, accurate selections around garment edges.
Zoom in using “Ctrl and +” keys for better accuracy. Move around the image with the spacebar when zoomed in.
Start from the bottom of your dress and click along the boundary line to create anchor points. The Pen Tool creates vector paths that can be easily adjusted, making it ideal for professional-looking cuts.
Work systematically around the garment, placing anchor points at curves and corners. Take time with this step – a well-drawn path is the foundation of a convincing ghost mannequin effect.
Step 4: Isolate the clothing with a Clipping Path
Complete your path around the entire garment, ensuring you end at the starting anchor point. Right-click and select “Make Selection” from the menu.
Set feather radius to 0.5-1 pixel for soft but precise edges. This selection isolates your clothing from the mannequin and background.
Copy the selected area (Ctrl+C) and paste it onto a new layer (Ctrl+V) to create your isolated garment layer. Hide the original background layer to see your floating garment.
Review edges carefully and use the Refine Edge tool if necessary to smooth rough areas or improve selection quality.
Step 5: Make a selection and apply a transparent background
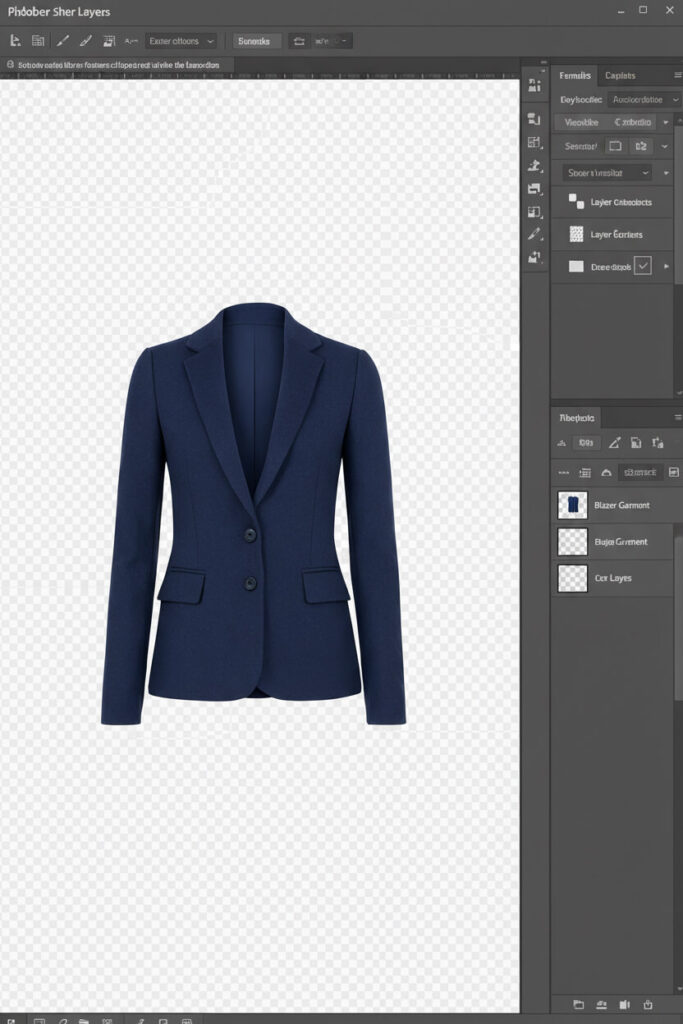
Invert the selection using “Ctrl + Shift + I” to select the background instead of the garment. Press “Delete” to make the background transparent.
Hide selection lines with “Ctrl + D” shortcut. This removes dotted lines around your product for cleaner viewing.
For web use, keep the transparent background and save as PNG to preserve transparency. For platforms requiring white backgrounds, create a new white layer behind your garment.
Ensure your white background is pure white (RGB: 255, 255, 255) to meet e-commerce platform requirements.
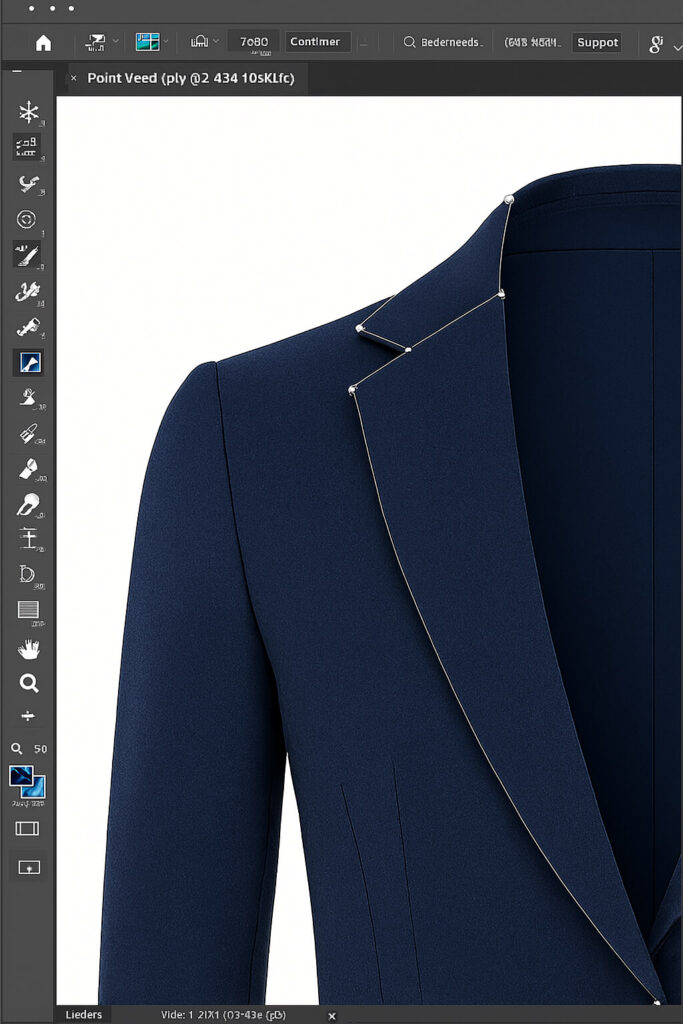
Step 6: Clip the neck section from the back view
Open your back-view or inside image of the same garment. You need both front and back parts to create the complete neck joint effect.
Use the Pen Tool to carefully select the neck area that was hidden by the mannequin in your front view. This section creates the hollow neck effect that makes the technique so effective.
Cover the neck area with vector lines and select “Make Selection.” Copy this section (Ctrl+C) and return to your front image.
Paste the neck section (Ctrl+V) into your main image as a new layer. Pay attention to matching lighting and color temperature between front and back views to avoid obvious editing.
Step 7: Merge layers and refine edges
Position the neck section to align with the front garment. Press Ctrl+T to enable Free Transform and resize as needed for proper proportions.
Choose Edit > Transform > Warp to enable the Warp tool. Pull up on the center of the neck to form a natural curve, as an actual neck would appear.
Select both Layer 1 and Layer 2, right-click, and choose “Merge Layers” to combine them into a single layer.
Use layer masks and soft brushes to blend seams between the front garment and neck section. Apply feathering to harsh edges for seamless integration that looks completely natural.
Step 8: Add depth with shadows if needed
Notice visible edges after merging layers? Use the Clone Stamp Tool to fix these seams. Press Alt to pick a sample area, then click on edges to refill those areas.
Create subtle shadows inside the garment to enhance three-dimensional effects. Use a soft, low-opacity brush with dark gray for natural depth.
Focus shadows on areas like inside sleeves, under collars, and garment interior. Keep shadows very subtle – think gradients rather than harsh lines.
Use “Ctrl + Z” to undo mistakes while refining. Try several times until the edges blend seamlessly with the rest of the garment.
Step 9: Save the final image
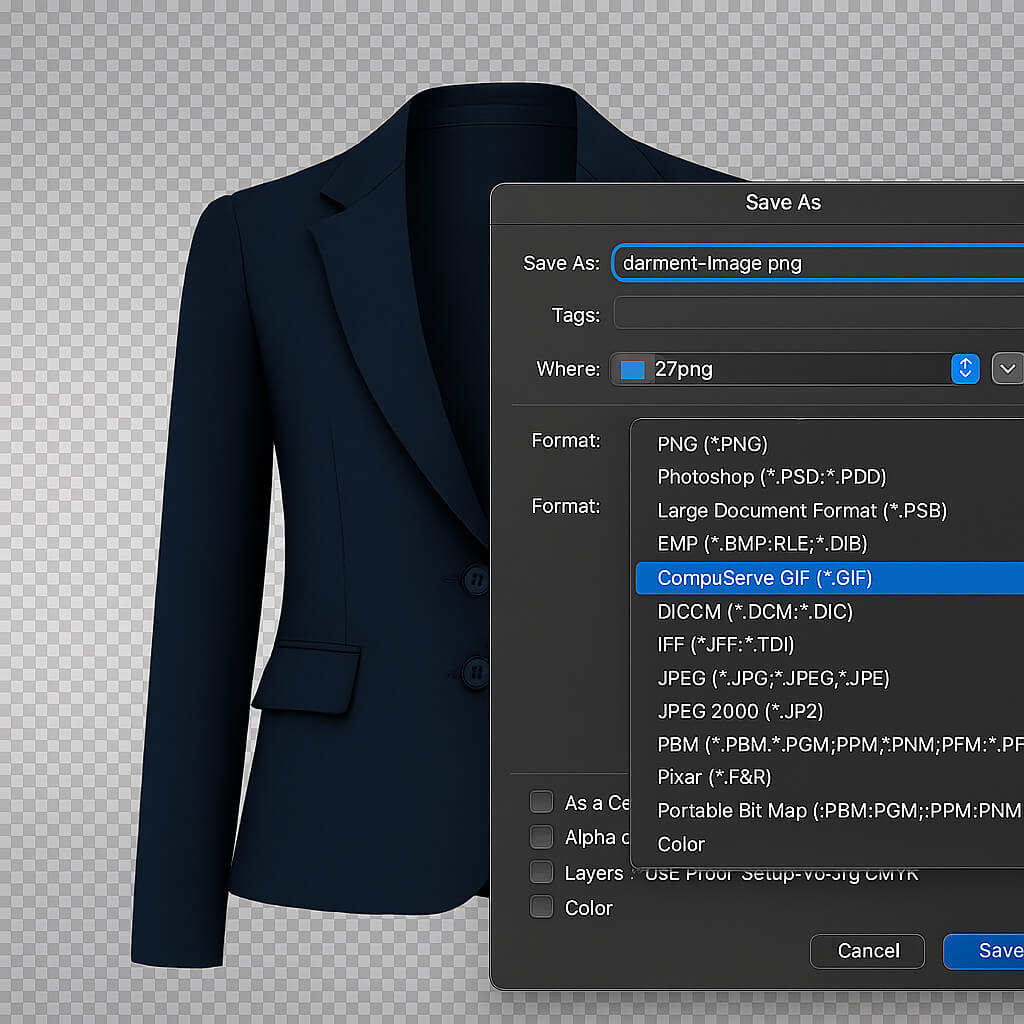
Review your work at 100% zoom to check for imperfections, rough edges, or unnatural areas that need refinement.
Go to File > Save As to save your image. For transparent backgrounds, choose PNG format – JPG doesn’t support transparency and shows transparent areas as white.
Save as PSD first to preserve all layers for future edits. This master file allows adjustments without starting from scratch.
Create web-optimized versions in required formats while maintaining quality standards. Consider different versions for various uses – high-resolution for print and web-optimized for online stores.
Advanced Editing Tips for Realistic Results
| Technique | Tool/Method | Benefit |
| Layer organization | Descriptive naming + color coding | Faster workflow |
| Edge blending | Layer masks with 1-2px feather | Seamless transitions |
| Alignment | Puppet Warp + reference guides | Natural positioning |
| Depth creation | Soft shadows at 5-10% opacity | Realistic 3D effect |
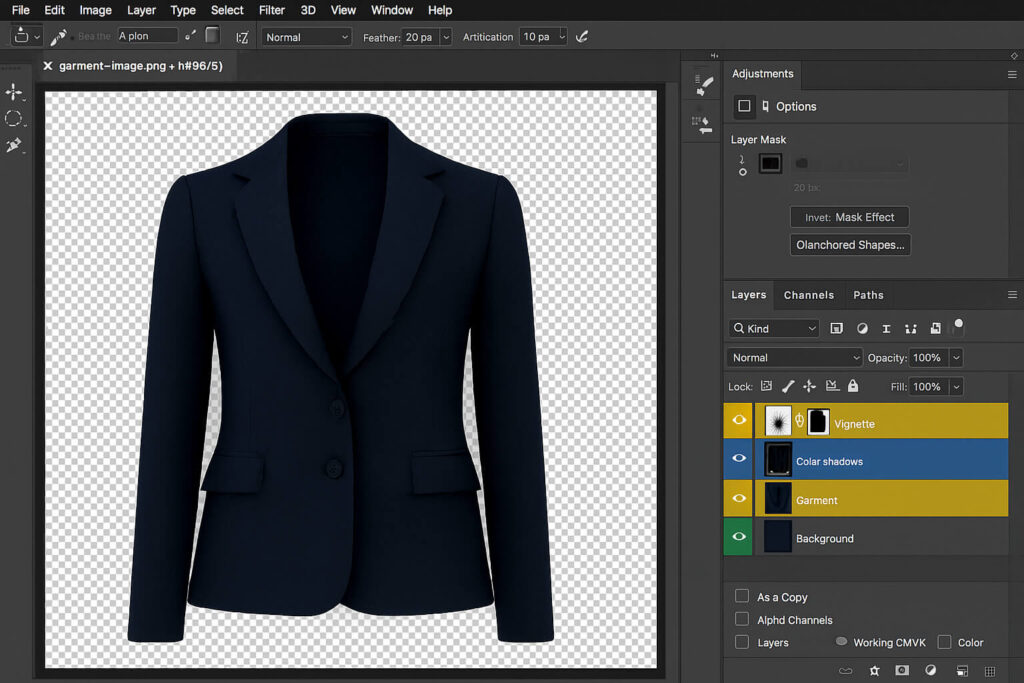
Organize and name layers for easier workflow
Establish a consistent naming convention for all your layers from the beginning of each project. Use descriptive names like “Front_Garment,” “Neck_Section,” “Background_White,” and “Shadow_Layer” to instantly identify each component.
Group related layers into folders to keep your Layers panel organized. Create separate groups for “Main_Garment,” “Effects,” and “Background” to streamline your workflow.
Color-code your layers using Photoshop’s layer color options. This visual organization system helps you quickly locate specific elements during complex edits.
Delete unused or duplicate layers regularly to prevent file bloat and maintain smooth performance, especially when working with high-resolution images.
Use masking and feathering for smooth edges.
Layer masks are your best friend for creating seamless blends between different garment sections. Instead of permanently erasing pixels, masks allow you to hide and reveal areas non-destructively.
Apply 1-2 pixel feathering to selection edges before creating masks. This subtle softening prevents harsh, computer-generated-looking edges that scream “edited photo.”
Use gradient masks to create smooth transitions between the garment and added elements. Black-to-white gradients work particularly well for blending neck joints and sleeve connections.
Regularly refine mask edges using the Refine Mask option. This tool helps eliminate color fringing and creates more natural-looking edges, especially around fabric textures.
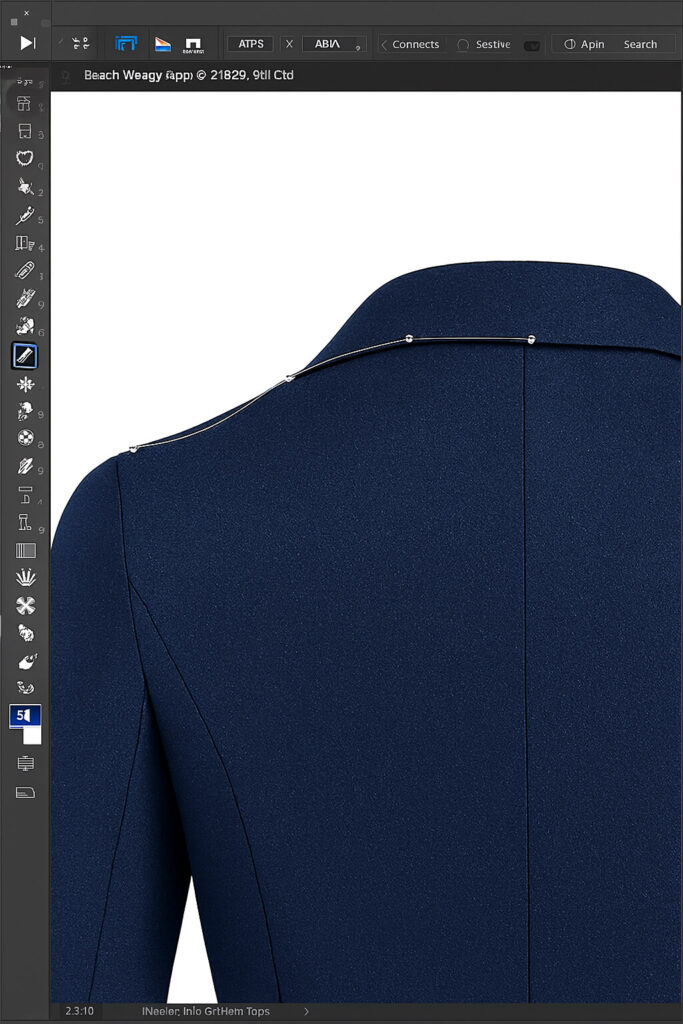
Align front and back layers with Warp/Puppet Warp.
The Puppet Warp tool excels at making small adjustments to layer alignment without affecting the overall garment shape. Place pins at key reference points and make subtle adjustments to improve fit.
Use the Warp transform for larger adjustments, especially when matching the curve of neck sections to the front garment. The grid system helps you maintain natural proportions while making adjustments.
Create reference guides using Photoshop’s ruler tool to ensure proper alignment between layers. Consistent measurements prevent the floating effect from looking unnatural or distorted.
Work in small increments when making warp adjustments. Large changes can create obvious distortions that are difficult to correct later in the process.
Add subtle shadows or highlights for depth.
Study real clothing to understand how light naturally falls on fabric surfaces. Reference images of similar garments help you create convincing shadow and highlight patterns.
Use the Dodge and Burn tools at very low opacity (5-10%) to gradually build up realistic shading. This patient approach creates more natural results than heavy-handed adjustments.
Create separate layers for shadows and highlights so you can adjust their intensity independently. This flexibility allows fine-tuning without affecting other elements.
Consider fabric properties when adding shading effects. Matte fabrics absorb light differently from shiny materials, requiring different shadow and highlight treatments.
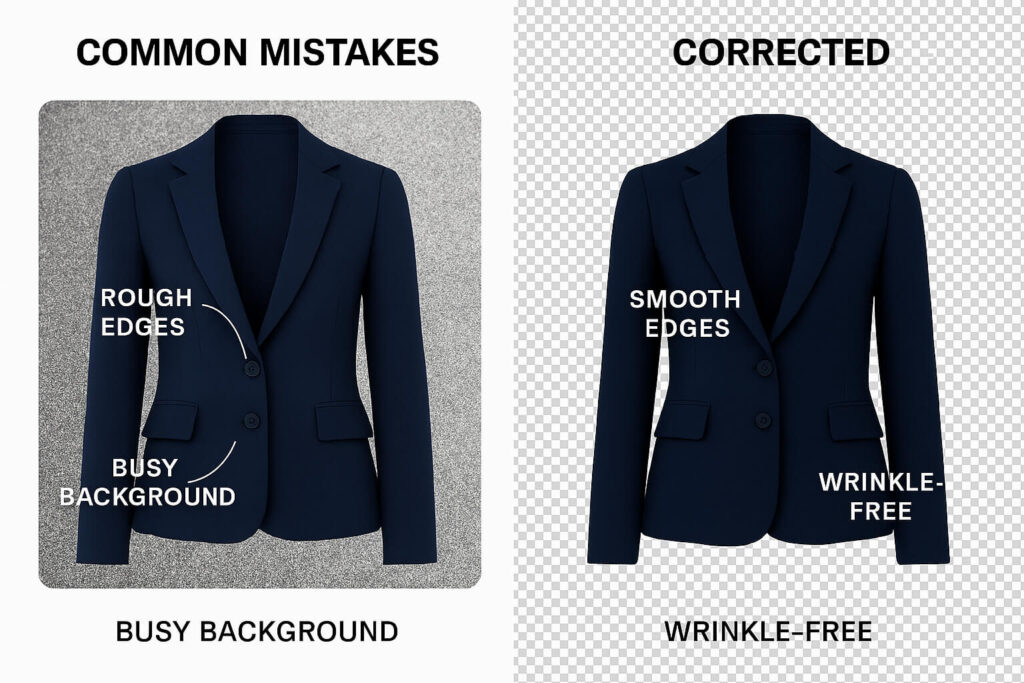
Common Mistakes to Avoid
| Mistake | Why It’s Problematic | Quick Fix |
| Wrong mannequin size | Creates unnatural proportions | Use a properly fitting mannequin |
| Hands touching the body | Makes editing difficult | Keep arms straight and away |
| Skipping edge refinement | Leaves have visible rough edges | Use the Clone Stamp Tool |
| Busy backgrounds | Complicates the selection process | Use white/plain backgrounds |
| Visible wrinkles | Reduces professional appearance | Iron before shooting |
Choose a mannequin that doesn’t fit the dress
Using the wrong size mannequin creates editing challenges and unnatural proportions. The dress won’t reflect its proper shape if placed on an inappropriate mannequin size.
Choose a mannequin that matches your garment’s intended fit. You can use pins or tape for better shape adjustment, but the base size should be correct.
Consider investing in multiple mannequin sizes – slim, regular, and – rather than forcing all clothing onto a single form. This prevents stretching and distortion that’s difficult to edit convincingly.
Keeping the mannequin’s hands in the wrong position
When creating ghost mannequin effects, keep the mannequin’s hands in straight positions. Avoid touching the body, as this makes editing much more difficult.
Position arms away from the torso for easier isolation. If using models, ask them to keep their hands straight and tie up their hair so the garment is clearly visible.
This positioning rule applies to both mannequins and live models during photoshoots. Proper positioning during shooting saves significant editing time later.
Do not fix edges after merging layers
Many beginner editors skip edge refinement after merging layers. This creates visible rough edges that affect the final quality and reduce viewer interest.
Take time to perform edge cleanup properly. If the dress has complex colors, sample multiple areas with the Clone Stamp tool for better blending.
Use the Brush tool for additional adjustments. Raw selection edges appear computer-generated and destroy the professional appearance of your ghost mannequin effect.
Keeping busy backgrounds
Isolating dresses becomes much harder with busy or random color backgrounds. Keep backgrounds white or plain colors during photography.
Use white or green backgrounds in studio settings for easier editing. Plain backgrounds make the path creation process significantly faster and more accurate.
Avoid patterned or textured backgrounds that complicate the selection process and require additional cleanup work during editing.
Keeping wrinkles and unwanted marks
Wrinkles and marks drive away viewer attention and reduce purchase interest. Fix wrinkles before capturing images using an iron – this makes post-production easier.
If you notice wrinkles after shooting, fix them with the Clone Stamp tool. Use the Brush tool to eliminate unwanted marks and spots.
Address fabric imperfections during editing rather than hoping they won’t be noticed. Small details significantly impact professional appearance and sales conversion.
FAQs On How to Do Ghost Mannequin Neck Joint Editing
How do you make a ghost mannequin shot?
The ghost mannequin effect allows you to take multiple photographs of a product on a model or mannequin, and then combine the photos to remove the model or mannequin in post-production processing. The process involves shooting your garment from multiple angles, typically front and back views, then using Photoshop to carefully remove the mannequin while preserving the garment’s natural shape and adding elements like the neck section that were hidden behind the mannequin.
The key is shooting with consistent lighting and positioning to ensure seamless blending during the editing process. Plan your shots carefully, considering which angles will provide the best material for creating the invisible mannequin effect.
How can I model clothes without a mannequin?
While mannequins provide the most consistent results for ghost mannequin editing, you can create similar effects using alternative methods. You can use DIY mannequin alternatives to cut the cost of your fashion photography setup, such as dress or rod forms, racks, shelves, baskets, etc.
Flat lay photography combined with strategic stuffing or shaping can create dimension for lightweight garments. Wire forms, hangers, and even cardboard inserts can provide structure for different garment types. The editing process remains similar, focusing on creating natural shape and removing any visible support structures.
How do you take 3D pictures of clothes?
Creating three-dimensional clothing images requires shooting from multiple angles and carefully compositing the results. Start with front and back views, then add side angles or detail shots as needed for complex garments.
The 3D effect comes from showing areas of the garment that would typically be hidden, such as the inside of collars, sleeve openings, or the back panels of jackets. Proper lighting and shadow work during editing enhance the dimensional appearance and create depth that makes the garment appear to float naturally in space.
How do you take invisible mannequin pictures?
Invisible mannequin photography starts with proper setup and planning. Use a well-fitted mannequin and consistent lighting to minimize editing challenges. Shoot multiple angles of the same garment, ensuring overlap areas for seamless blending.
The “invisible” effect is created entirely in post-production through careful selection, masking, and compositing techniques. The goal is to remove all traces of the mannequin while maintaining the garment’s natural drape and structure. Professional results require patience and attention to detail during both shooting and editing phases.
Final Thoughts
Ghost mannequin neck joint editing has become an essential skill for anyone serious about professional product photography. This technique transforms ordinary clothing images into compelling, three-dimensional presentations that significantly improve customer engagement and conversion rates.
The process of how to do ghost mannequin neck joint editing requires patience, attention to detail, and consistent practice to achieve professional results. Start with simple garments to build your skills before tackling complex items with intricate details or multiple layers.
Remember that quality source photography makes the editing process significantly easier and produces better final results. Invest time in proper lighting, mannequin fitting, and shot planning to set yourself up for success in post-production.
As you develop your ghost mannequin editing skills, you’ll find that each project becomes faster and more intuitive. The techniques you’ve learned here provide a solid foundation for creating stunning product images that stand out in today’s competitive e-commerce landscape.
Whether you’re editing images for your own business or offering services to other retailers, the professional presentation achieved through ghost mannequin neck joint editing will elevate your work and deliver tangible results that justify the investment in developing this valuable skill.