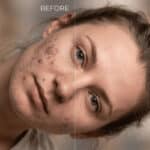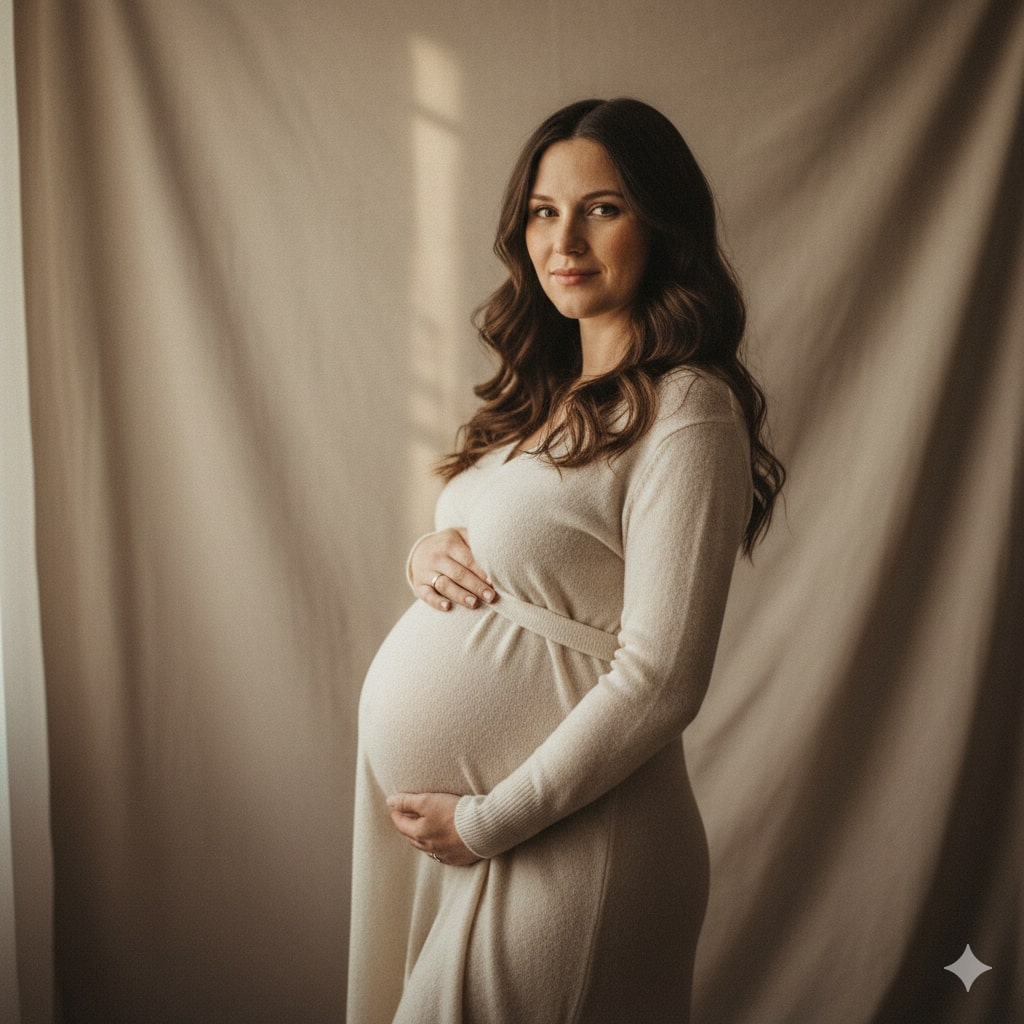
Maternity photos capture a unique and fleeting moment in a family’s life. The right editing can transform these special images from simple snapshots into timeless works of art. Learning how to edit maternity photos in Photoshop is a powerful skill for any photographer, as proper maternity photo editing enhances your memories, bringing out the emotion and beauty of the moment. This guide will walk you through the essential steps, from initial adjustments to creative enhancements, helping you produce stunning results for yourself or your clients.
In this Ultimate guide, you will find out how to edit maternity photos in Photoshop. If you read our article, you will definitely know how to edit maternity images. So, don’t skip. Let’s drive in the guide
Why Photoshop is Ideal for Maternity Photo Editing
While many editing programs are available, Photoshop stands out for its unmatched power and flexibility. Its layer-based system allows for non-destructive editing, meaning you can make changes without permanently altering the original image. This is crucial when working with irreplaceable photos.
Photoshop offers a comprehensive suite of tools specifically suited for portraiture, including advanced skin retouching, precise color correction, and body contouring. Unlike simpler apps, it gives you complete control over every pixel. This level of detail is what separates a good photo from a great one, allowing you to perfect everything from skin tone to the flow of a dress. Whether you need to remove distracting elements or create a magical, composite image, Photoshop provides the tools to bring your vision to life.
Preparing Your Photos for Editing
A smooth editing process starts with good organization. Before you even open Photoshop, take a moment to prepare your files.
Organizing Your Files for an Efficient Workflow
- Create a Clear Folder Structure: For each session, create a main folder. Inside, have subfolders for RAW (your original, unedited files) and Edits (your final JPEGs or TIFFs). This keeps everything tidy and prevents you from accidentally overwriting originals.
- Use a Consistent Naming Convention: Rename your files to something descriptive. A format like ClientName_Maternity_YYYY-MM-DD_001.CR2 is much more useful than IMG_5834.CR2.
Assessing Image Quality
Before you start editing, review your images. Check for critical focus—the eyes should be sharp. Evaluate the exposure and composition. It’s better to choose the strongest images to work with from the start. A photo that is severely out of focus or poorly composed will be difficult to salvage, no matter how skilled you are with Photoshop.
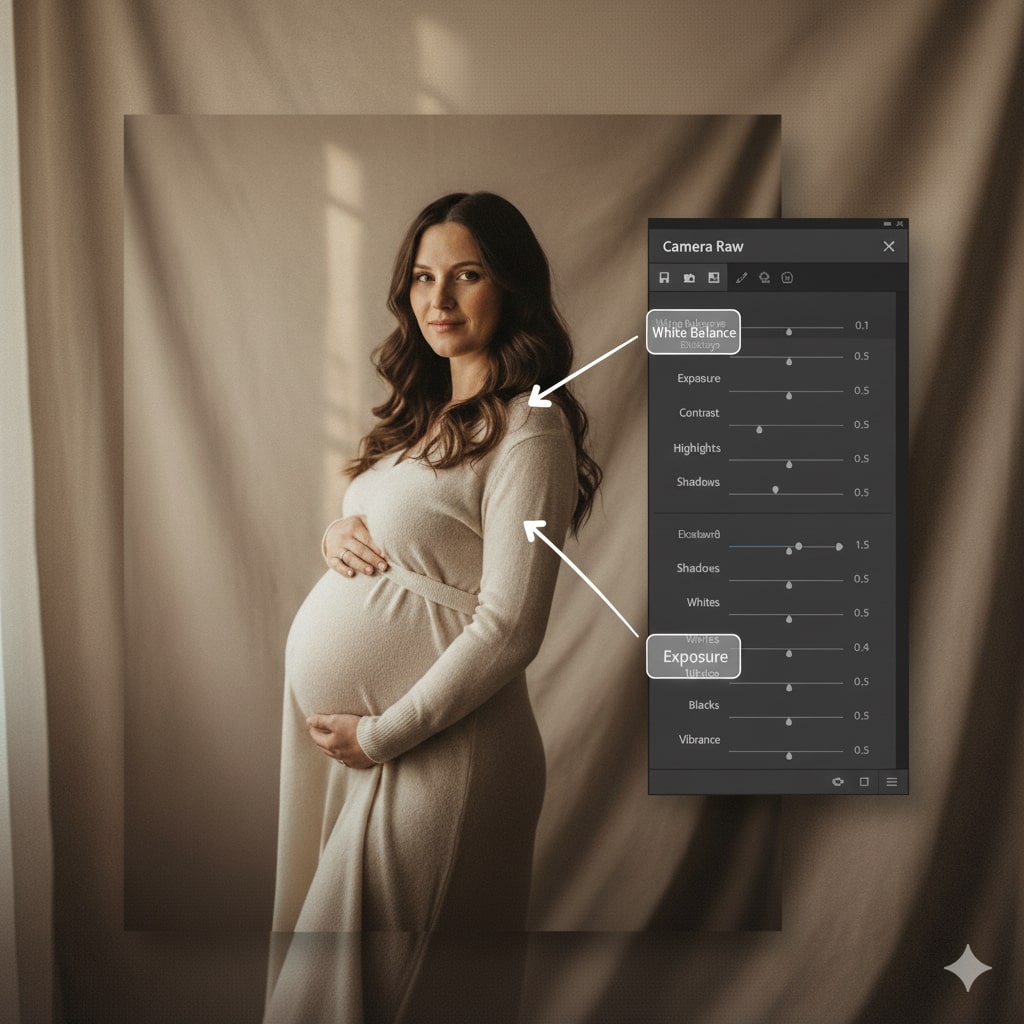
Step 1: Initial Adjustments in Camera Raw
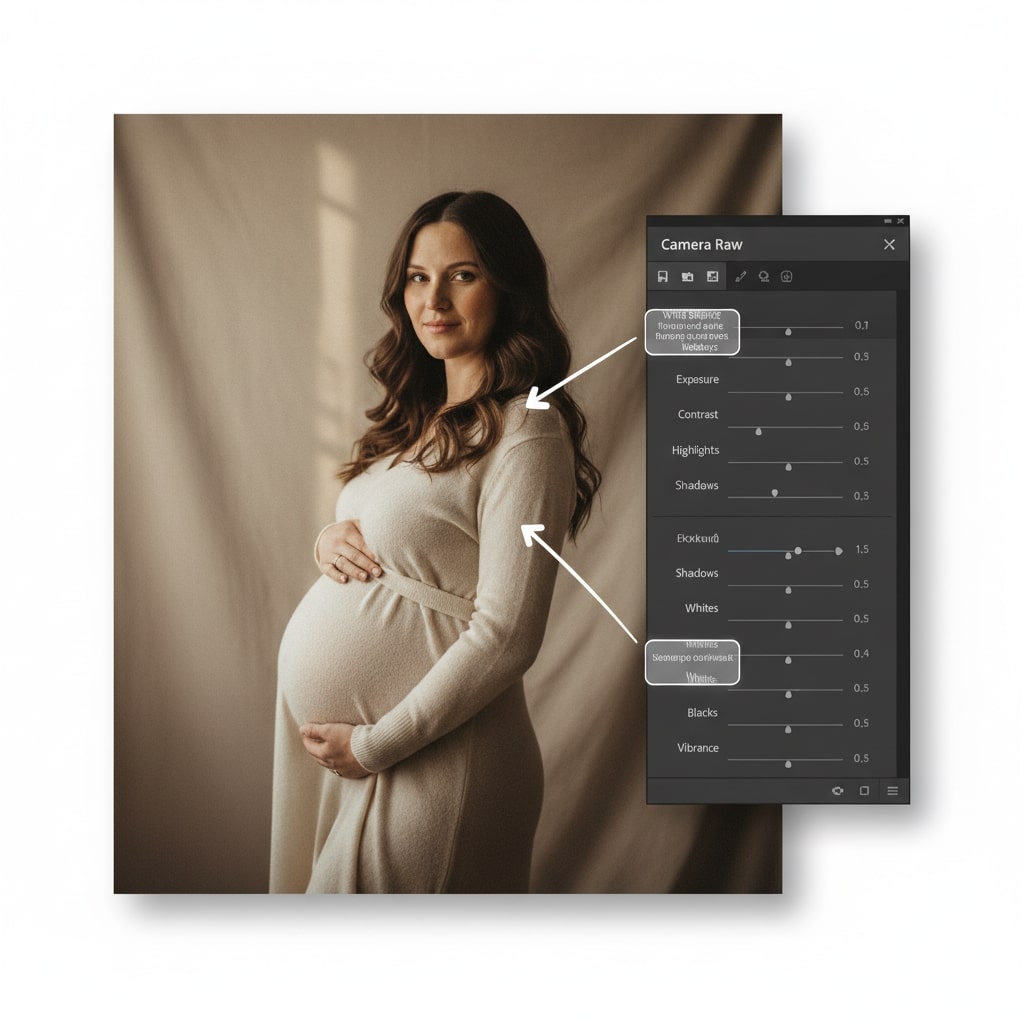
Your first editing step should happen in Adobe Camera Raw or Lightroom. These programs are designed to handle RAW files and provide a powerful foundation for your edits.
- Open in Camera Raw: When you open a RAW file in Photoshop, it automatically launches the Camera Raw editor.
- Convert to Smart Object: Before making changes, consider opening the image as a Smart Object in Photoshop. This preserves the original RAW data, allowing you to go back and tweak your initial adjustments at any time.
- Basic Corrections:
- White Balance: Correct the color temperature to ensure skin tones look natural.
- Exposure: Adjust the overall brightness of the image. Use the sliders for Exposure, Contrast, Highlights, Shadows, Whites, and Blacks to balance the light.
- Texture, Clarity, and Dehaze: Add a touch of Clarity to bring out mid-tone contrast, but use it sparingly on maternity photos to keep skin looking soft.
- Vibrance and Saturation: Boost Vibrance for a subtle color pop without oversaturating skin tones.
Step 2: Refining the Subject and Background
Once you have the image open in Photoshop, you can focus on the details. This is where you can truly make the subject shine.
Skin and Flyaways
Use the Spot Healing Brush Tool (J) to quickly remove small blemishes or distracting flyaway hairs. For larger areas, the Clone Stamp Tool (S) or the Healing Brush Tool offers more control. The key is to be subtle and maintain the natural skin texture.
Subtle Body Shaping with the Liquify Tool
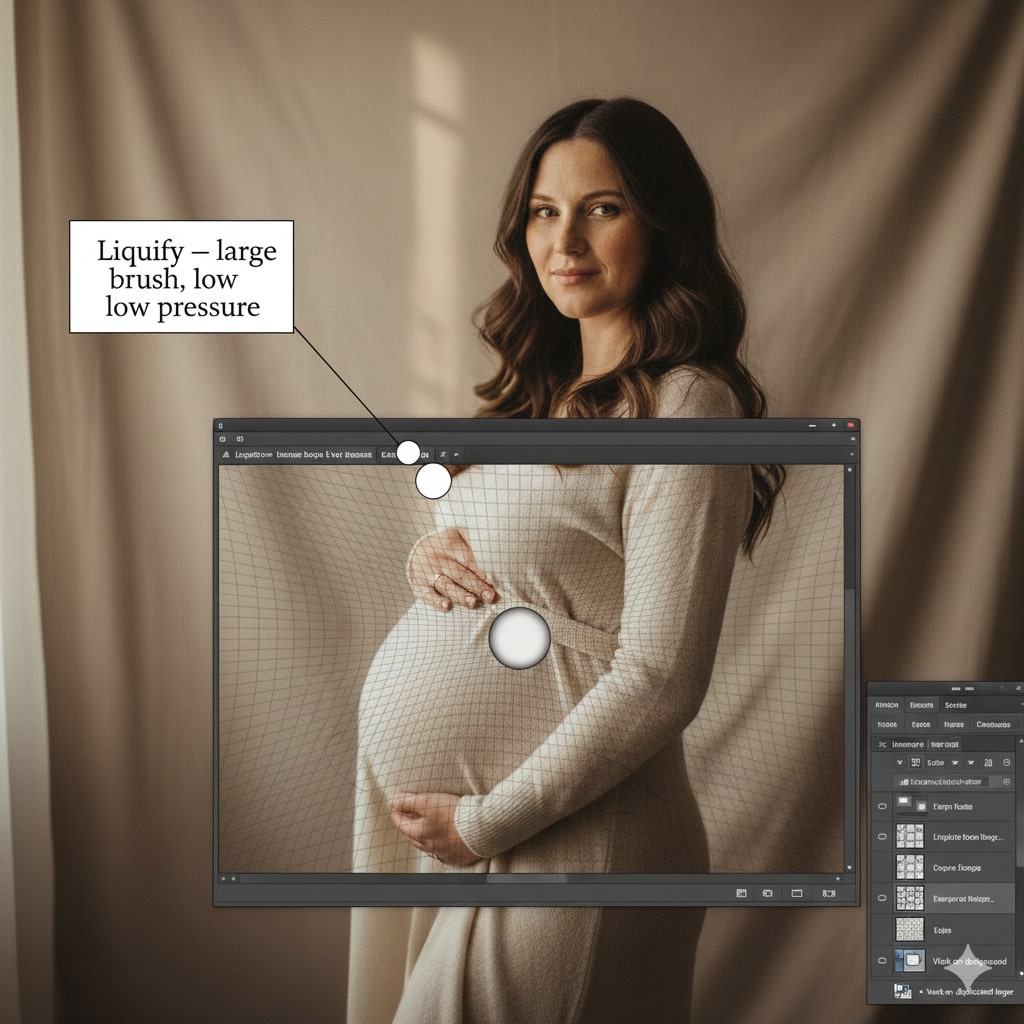
The Liquify filter (Filter > Liquify) is a powerful tool for enhancing the mother’s beautiful curves.
- Always work on a duplicate layer to protect your original.
- Use a large brush with low pressure to make gentle adjustments.
- Focus on enhancing the baby bump and smoothing lines on the arms or back. Avoid drastic changes that look unnatural.
Removing Distracting Elements

Sometimes a stray branch, a person in the background, or an unwanted object can detract from the photo. The Content-Aware Remove Tool is perfect for cleaning up these distractions. Simply select the object you want to remove, and Photoshop will intelligently fill in the space.
Step 3: Creative Enhancements
With the cleanup complete, you can add artistic touches to elevate the image.
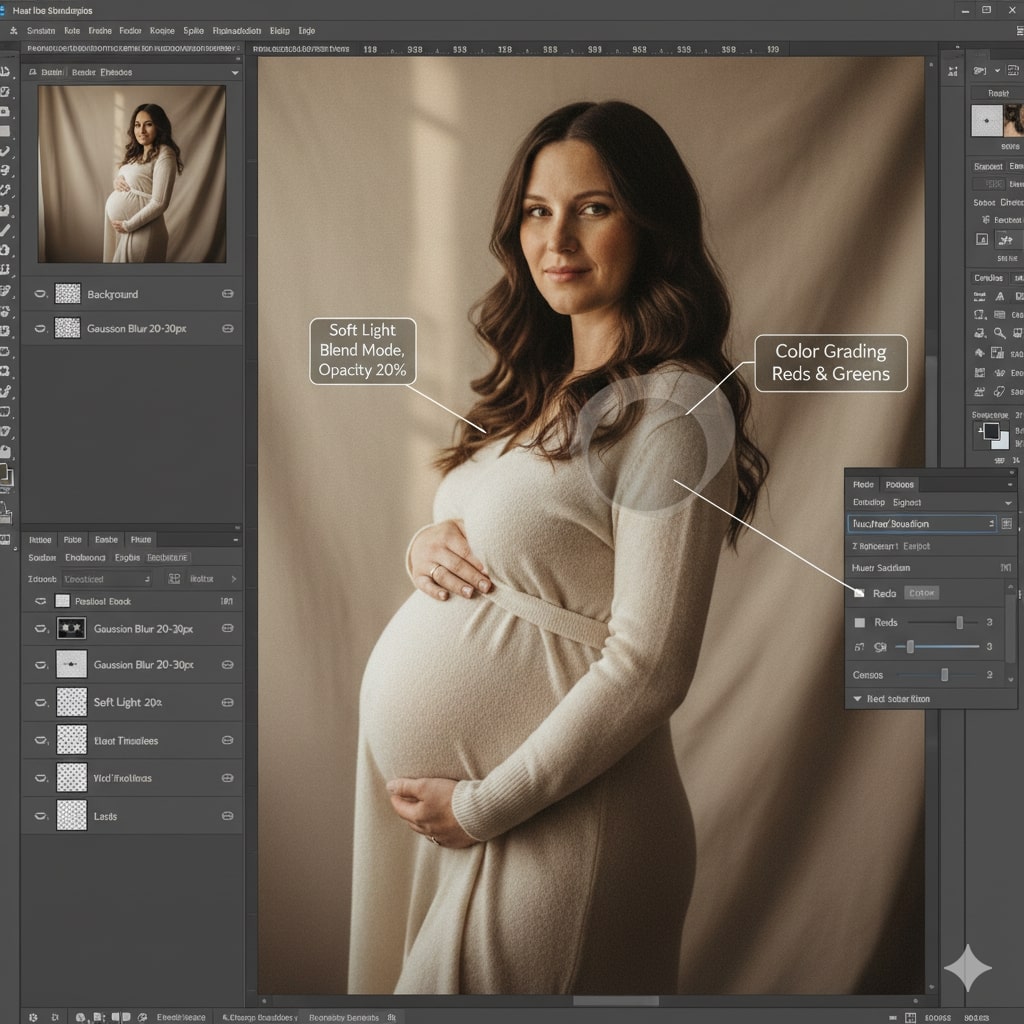
Applying Soft Light and Vignette Effects
A soft, dreamy glow can add a magical quality to maternity photos.
- Soft Glow: Duplicate your layer, go to Filter > Blur > Gaussian Blur, and apply a radius of around 20-30 pixels. Change this layer’s blend mode to “Soft Light” and lower the opacity to 15-25%. This creates a beautiful, ethereal look.
- Vignette: Use the Lens Correction filter (Filter > Lens Correction > Custom) to add a subtle vignette. Darkening the edges draws the viewer’s eye toward the center of the frame, right to the mother and her baby bump.
Enhancing Color with HSL
If you want to tweak the color of the mother’s dress or the foliage in the background, use a Hue/Saturation Adjustment Layer. Select the specific color channel (e.g., “Blues” or “Greens”) and adjust the Hue, Saturation, and Lightness sliders. This gives you precise control over the image’s color palette.
Advanced Editing Techniques for Professional Results
Taking your maternity photos to the next level requires precision, artistry, and advanced Photoshop techniques. This section explores methods to give your images a polished, professional finish.
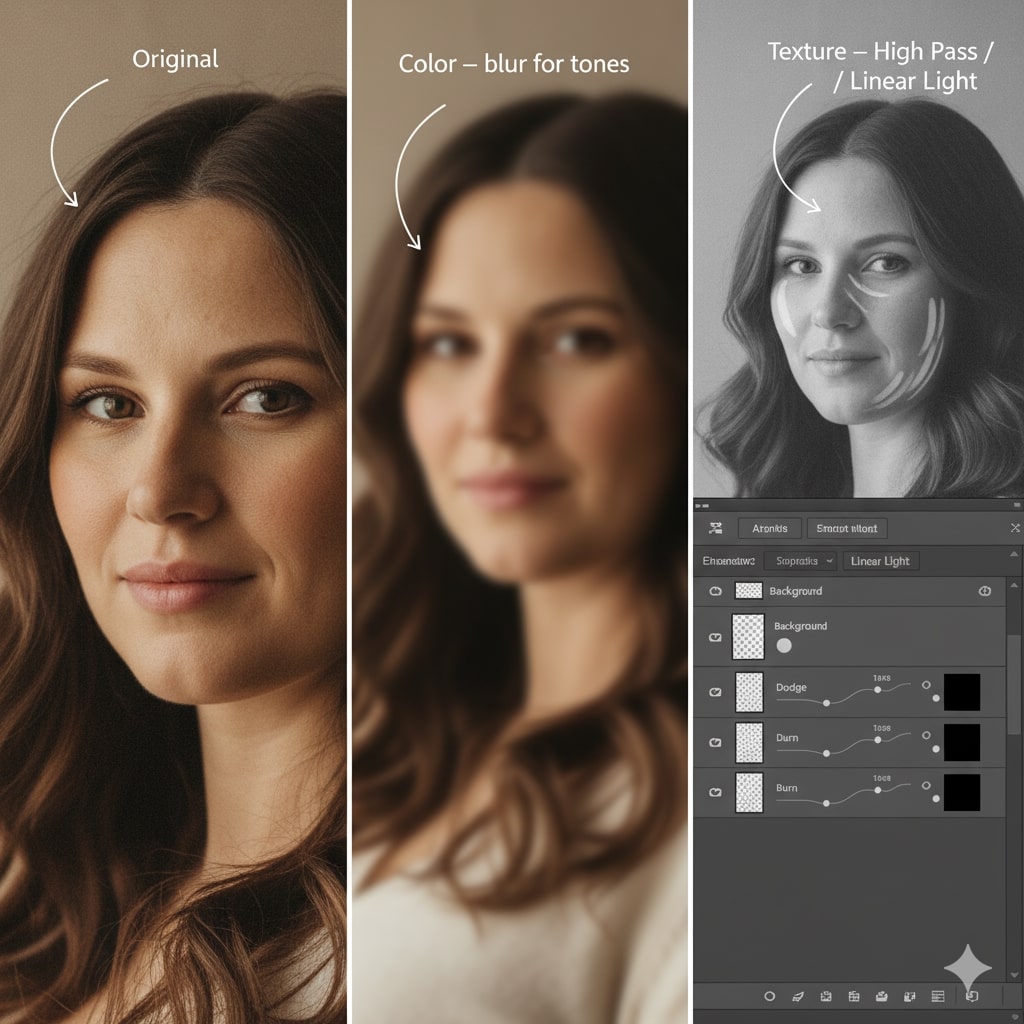
Utilizing Frequency Separation for Detailed Skin Editing
Frequency separation is a favorite among high-end retouchers for smoothing skin without ruining natural texture.
- Duplicate your image layer twice. Name the bottom “Color” and the top “Texture.”
- Gaussian Blur: Apply a slight blur to the “Color” layer to smooth out uneven tones.
- High Pass Filter: On the “Texture” layer, use Filter > Other > High Pass with a low radius to bring back fine skin details.
- Blend Mode: Set the “Texture” layer to “Linear Light.”
- Edit with Layer Mask: Use a soft brush on a mask to target problem areas, smoothing skin while keeping pores and detail intact.
Mastering Dodge and Burn for Depth and Dimension
Sculpt light and shadow to add realism and depth.
- Create two curves adjustment layers: One for dodging (brightening), one for burning (darkening).
- Invert the masks and use a low-opacity brush to paint light onto highlights and deepen shadows.
- Focus on contours—especially the face, baby bump, and hands—for a sculpted, three-dimensional look.
Color Grading for Mood and Style Consistency
Cohesive color is key to a standout portrait.
- Use Color Balance and Selective Color adjustment layers to shape the mood.
- Try a soft, warm tint for a dreamy effect, or a cool blue for timeless elegance.
- Keep colors consistent across a series for a unified, professional style.
Step 4: Retouch and Smooth Skin
Smooth, glowing skin enhances maternity portraits while preserving authenticity.
Remove Blemishes
- Spot Healing Brush/Healing Brush Tool: Quickly zap away temporary blemishes, minor redness, or distractions.
- Clone Stamp Tool: For more control, sample from clean areas and blend over problem spots.
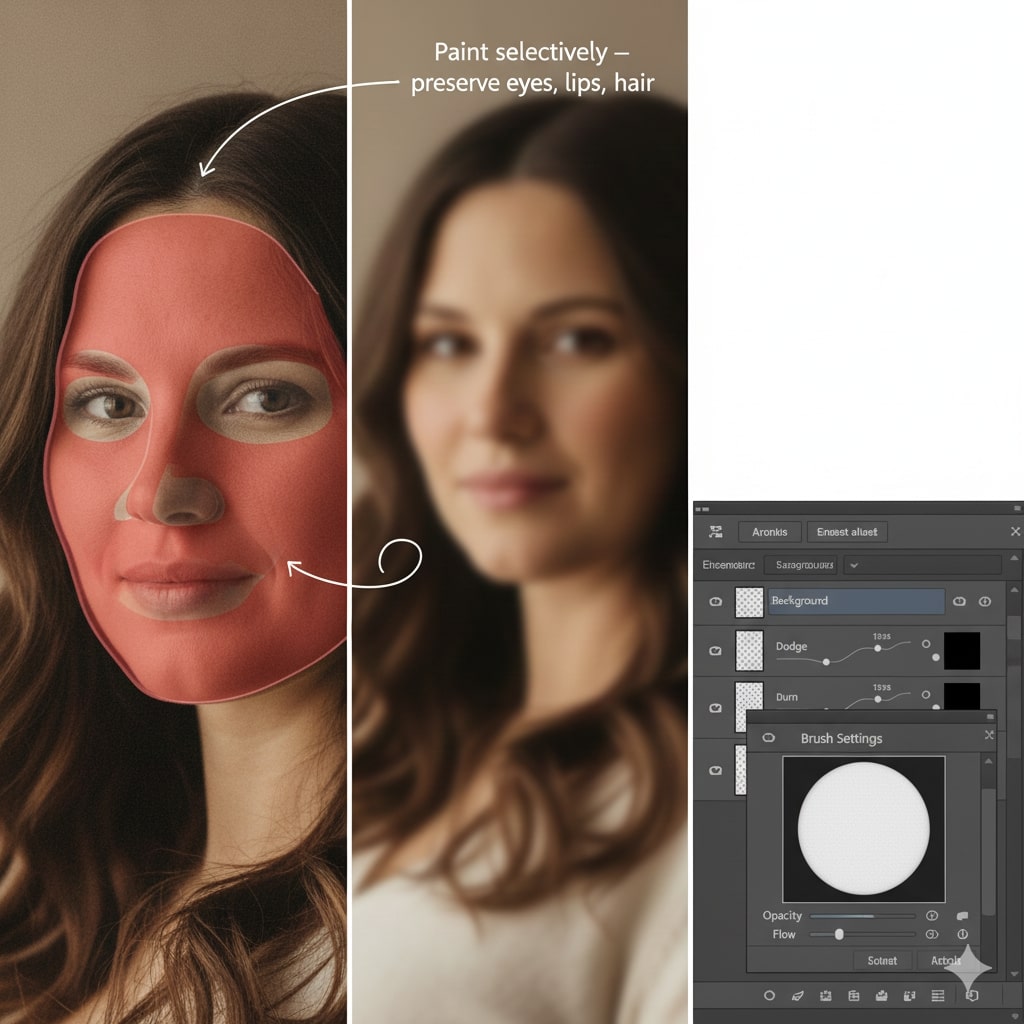
Frequency Separation for Skin Smoothing
- Duplicate your base layer twice.
- Gaussian Blur: Apply blur to the lower layer for smoothness.
- High Pass Filter: Use on the upper layer to maintain natural skin texture.
- Layer Mask: Paint over skin areas to selectively blend, leaving details like eyes, lips, and hair untouched.
Step 5: Enhance the Baby Bump with the Liquify Tool
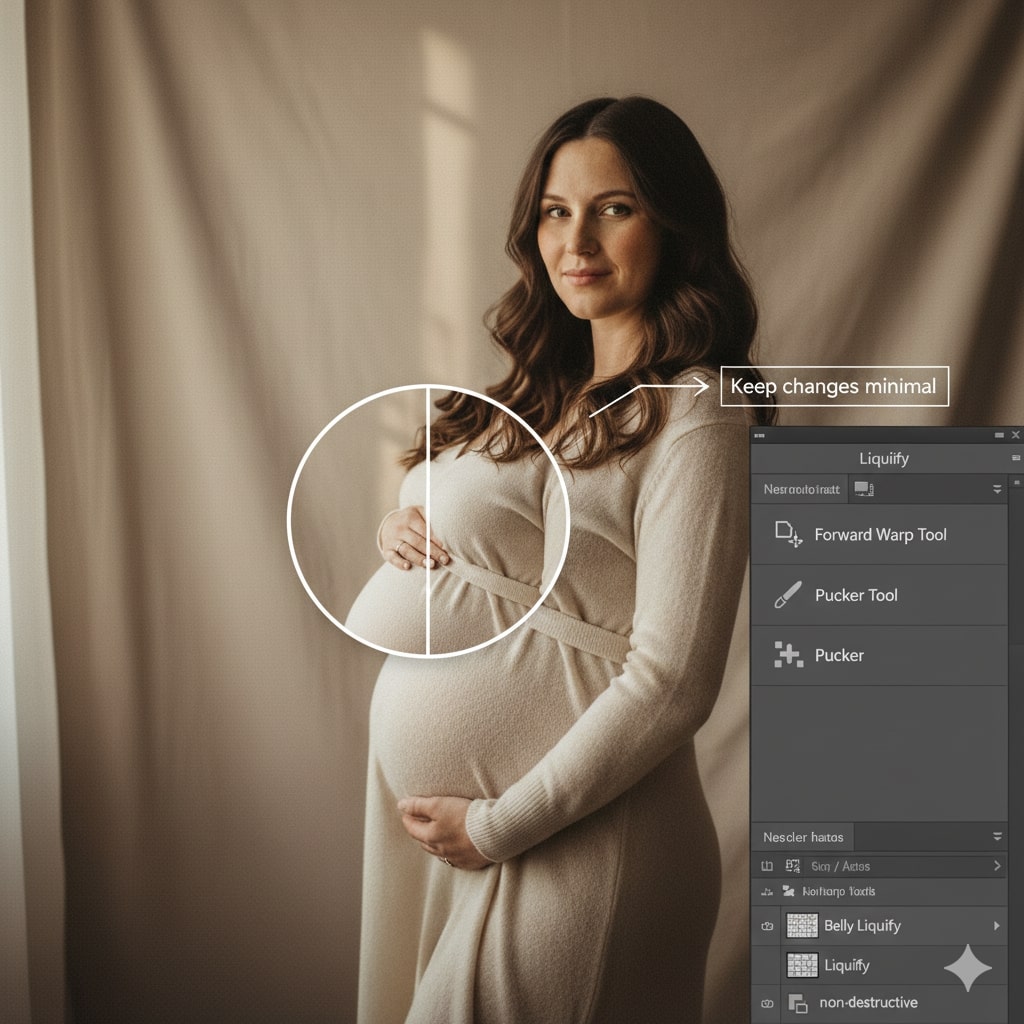
A gentle contour can accentuate the focus of your image—the baby bump.
- Duplicate the image layer to protect the original.
- Forward Warp Tool: Gently round out and smooth baby bump curves.
- Pucker Tool: If needed, subtly slim the waistline to highlight the roundness of the belly.
- Keep adjustments minimal for a natural, graceful effect.
Step 6: Refine Details and Add Drama
Subtle tweaks can elevate your photo from simple to dramatic.
Enhance Eyes and Lips
- Dodge and burn to add sparkle to the eyes and subtle fullness to the lips.
- Sharpening: Use a small brush to lightly sharpen irises for extra impact.
Darken Edges with a Vignette
- New Layer: Fill with black, add a large elliptical mask over the center, and feather for a smooth transition.
- Lower opacity to subtly draw focus inward.
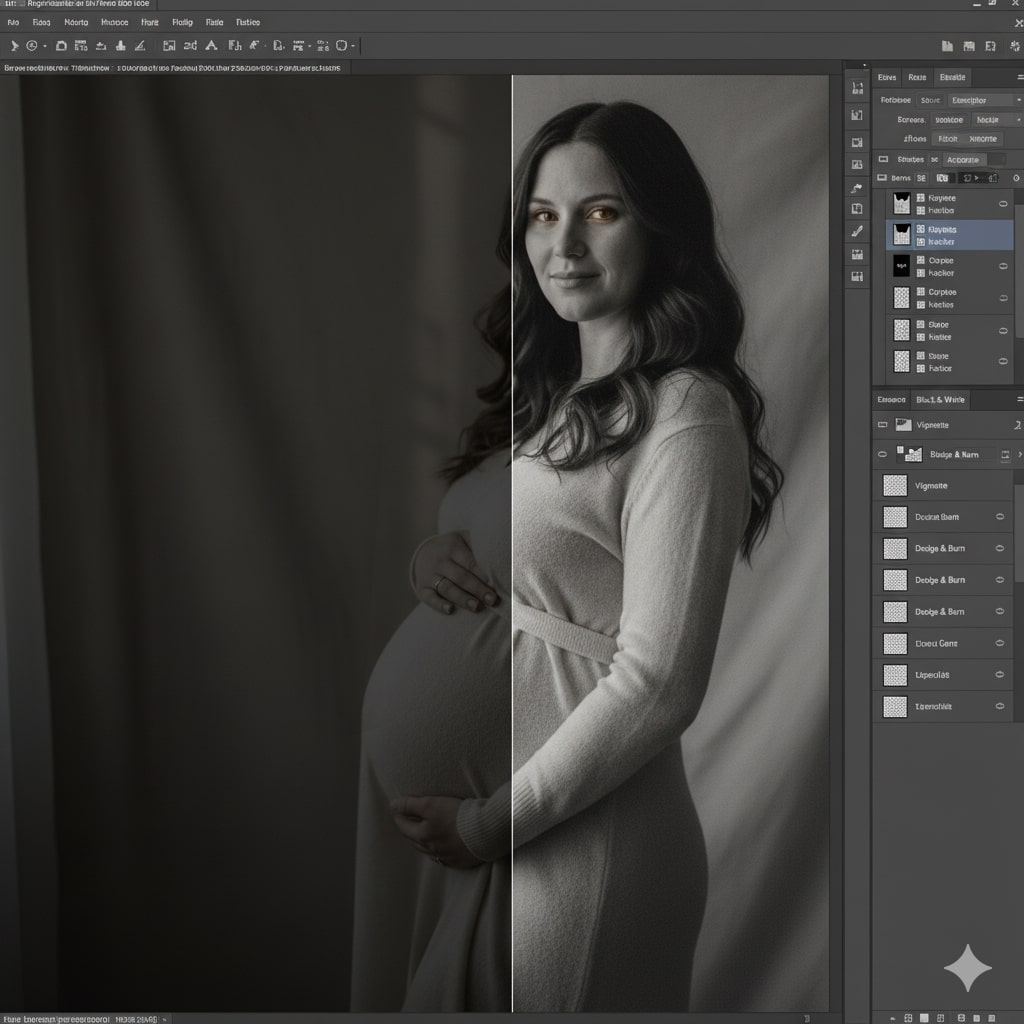
Create a Black and White Image
- Adjustment Layer: Use Black & White for timeless, classic portraits.
- Mask creatively to keep color in select areas for a modern twist.
Step 7: Final Touch-Ups
Bring the entire edit together with finishing layers.
- Finishing Layer: Apply the Camera Raw filter on a merged layer for overall clarity and sharpness.
- Curves Adjustment Layer: Create a gentle “S” curve to add contrast—deepening shadows and lifting highlights.
- Check for consistency: Zoom out to review for any missed blemishes, color issues, or distractions.
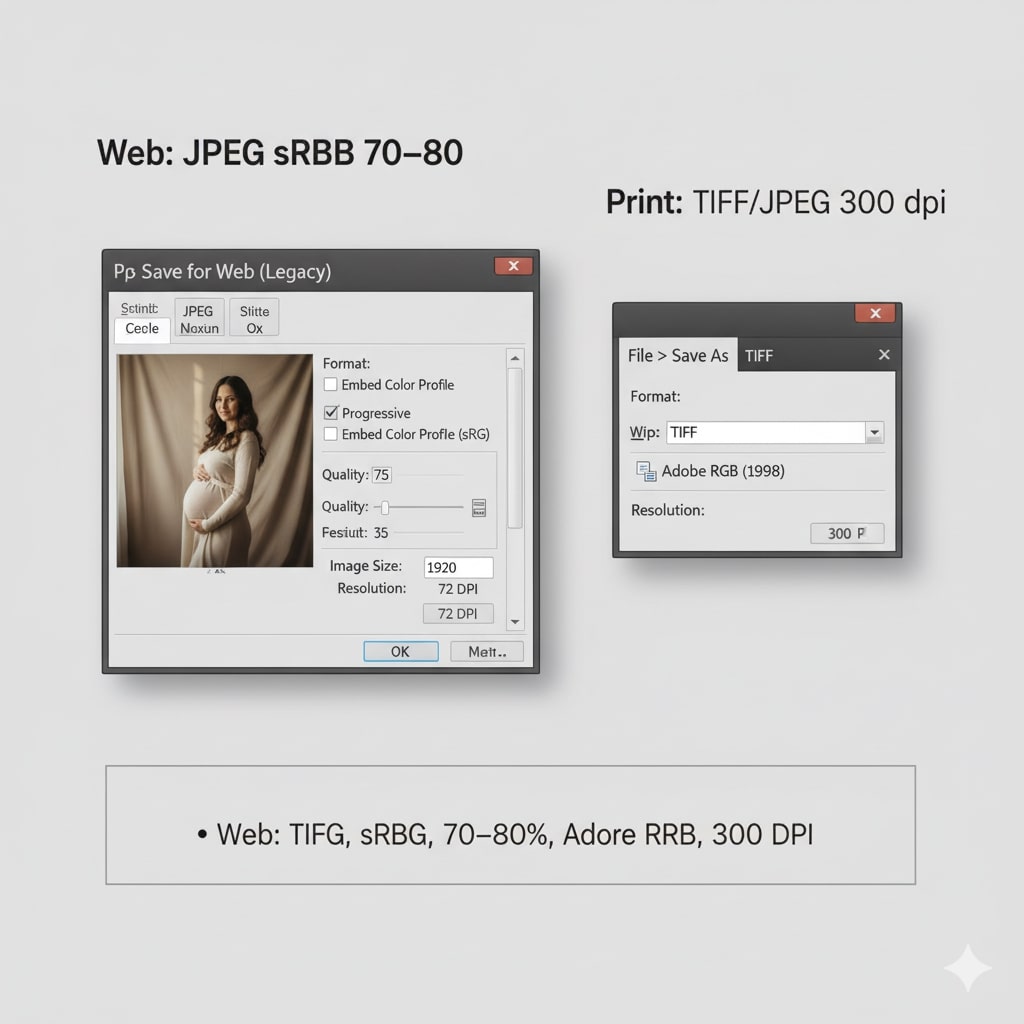
Finalizing and Exporting Your Photos
How you export your image is just as important as how you edit it.
- For Web: Save as a JPEG in the sRGB color space. Use the File > Export > Save for Web (Legacy) dialog to balance quality and file size. A quality setting of 70-80 is usually sufficient.
- For Print: Export as a TIFF or a high-quality JPEG. Ensure the resolution is 300 DPI and you are using the correct color profile (sRGB or Adobe RGB, depending on the print lab).
FAQs About Maternity Photo Editing
How do you make a baby bump stand out in Photoshop?
Use dodging and burning to enhance the natural light and shadow on the belly. Gently dodge (lighten) the highlights on the bump and burn (darken) the sides. You can also use the Liquify tool to subtly enhance its roundness.
What is the best way to smooth skin in maternity photos?
Frequency separation is an advanced but highly effective technique. For a simpler method, use the Spot Healing Brush for blemishes. Then, create a duplicate layer, apply a small amount of Gaussian Blur, and use a layer mask to paint the effect only on the skin, avoiding eyes, lips, and hair.
Can I change the color of a dress in Photoshop?
Yes. Create a Hue/Saturation Adjustment Layer. Use the targeted adjustment tool to click on the dress, then move the Hue slider to select a new color. You may need to use a layer mask to refine the selection and ensure only the dress is affected.
Conclusion
Editing maternity photos in Photoshop is a craft that blends technical skill with artistic vision. By following these steps, you can move beyond basic corrections and start creating truly memorable images. Remember that maternity photo editing enhances your memories by bringing out the love, joy, and beauty of this special time. The most important thing is to practice, develop your own style, and create images that your clients will treasure for a lifetime.
Ready to take your photography skills to the next level? Explore our other guides on how to edit maternity photos in Photoshop.