High-quality visuals are the backbone of successful eCommerce, especially for intimate apparel like underwear. Shoppers can’t touch or try on products online, so crisp, professional images build trust and drive sales. Studies show that 75% of online shoppers rely on product photos to make purchasing decisions, making it critical to master how to edit underwear product photos professionally. Clipping path services play a pivotal role in isolating products, ensuring they stand out with clean edges and consistent backgrounds.
This guide dives deep into creating polished visuals that elevate your brand and boost conversions.
Clipping Path Services for Underwear Photography
What Are Clipping Path Services?
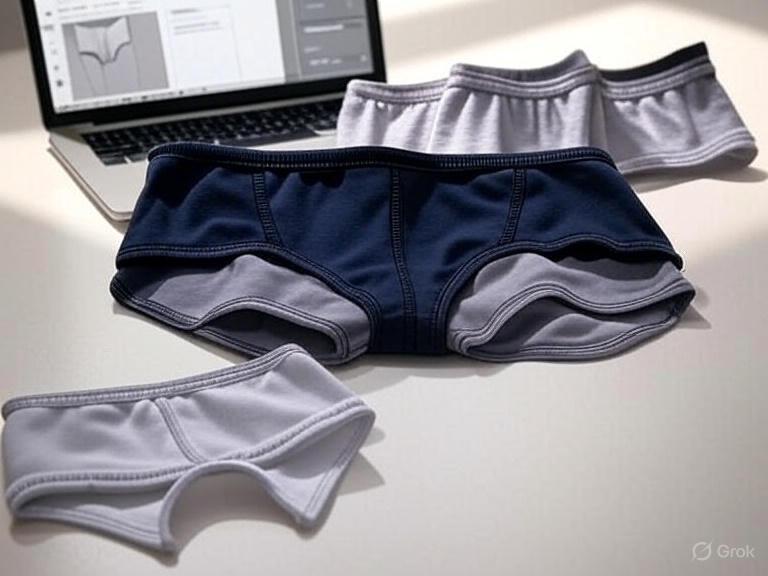
Clipping path services involve using tools like Adobe Photoshop to create precise outlines around underwear products, isolating them from their original backgrounds. This technique allows brands to place products on white, transparent, or lifestyle backgrounds for a clean, professional look. The benefit is clear: isolated images highlight product details, such as stitching or fabric texture, which are crucial for underwear shoppers. By removing distractions, clipping paths enhance visual appeal and make products pop on eCommerce platforms like Amazon or Shopify.
Ensuring Visual Consistency
Consistency in product photography fosters brand cohesion and builds customer confidence. Uniform backgrounds, lighting, and angles create a seamless shopping experience across your catalog. For underwear brands, this means every bra, brief, or boxer should look cohesive, whether displayed on your website or social media. Consistent visuals signal professionalism, which studies link to higher customer trust and repeat purchases. Clipping path services ensure every image aligns with your brand’s aesthetic, reinforcing identity and reliability.
Tools for Editing Underwear Product Photos
Best Software for Photo Editing
Adobe Photoshop remains the gold standard for professional photo editing, offering robust tools for clipping paths, color correction, and retouching. Its pen tool allows for pixel-perfect precision when isolating underwear from backgrounds. For budget-conscious brands, GIMP, a free alternative, provides similar functionality, though it lacks Photoshop’s advanced automation features. Both programs support batch editing, which streamlines workflows for large product catalogs. Choosing software with layer support and non-destructive editing capabilities is key for efficient, high-quality results.
Equipment for DIY Editing
A high-resolution monitor, like a 4K display, ensures you see fine details like fabric textures or stray threads during editing. Pair this with a graphic tablet, such as a Wacom Intuos, for precise control when tracing clipping paths. A cost-effective workspace doesn’t require top-tier gear—calibrating your monitor for accurate colors and using natural lighting can make a big difference. Investing in reliable equipment saves time and ensures your edited underwear photos look professional across devices.
Step-by-Step Guide to Editing Underwear Photos

Step 1: Prepare Your Photos
Start with high-quality images captured under soft, even lighting to minimize shadows and highlight fabric details. A well-lit photo reduces editing time and ensures colors are true to life. Organize your files by naming them descriptively (e.g., “black_lace_bra_front.jpg”) and grouping them by product type. This preparation streamlines the editing process, especially for large inventories, and ensures you don’t waste time searching for specific images.
Step 2: Apply Clipping Path Techniques
In Photoshop, use the pen tool to create a clipping path around the underwear, carefully tracing edges to avoid cutting into the product. Zoom in for accuracy, especially around intricate details like lace or straps. Common mistakes include jagged edges or including background fragments, which can make images look unprofessional. Test your clipping path by placing the product on a contrasting background to ensure clean isolation. Precision here is critical for polished, professional visuals.
Step 3: Enhance Colors and Textures
Adjust colors using Photoshop’s hue/saturation or curves tools to match the product’s real-life appearance. For example, ensure a red bra looks vibrant but not oversaturated. Increase brightness or contrast slightly to highlight fabric textures like cotton or silk, making them more tactile for online shoppers. Avoid heavy-handed adjustments that distort the product’s true look, as authenticity builds trust. Cross-check edits on multiple devices to ensure color accuracy.
Step 4: Add Shadows and Reflections
Natural drop shadows or subtle reflections add depth, making underwear photos look realistic rather than flat. In Photoshop, create a shadow layer with a soft brush and low opacity, positioning it to mimic natural light. Reflections work well for glossy fabrics like satin, giving a premium feel. Balance realism with aesthetics—overdone shadows can look artificial and distract from the product. Test different shadow angles to find what complements your brand’s style.
Step 5: Retouch Imperfections
Remove wrinkles, dust, or tags using Photoshop’s clone stamp or healing brush tools. Subtle retouching preserves the fabric’s natural look while eliminating distractions. For example, smooth out minor creases on a cotton brief without erasing its texture. Over-retouching risks making products look unrealistic, which can erode trust. Always compare the edited image to the original to ensure authenticity, as customers value transparency in product visuals.
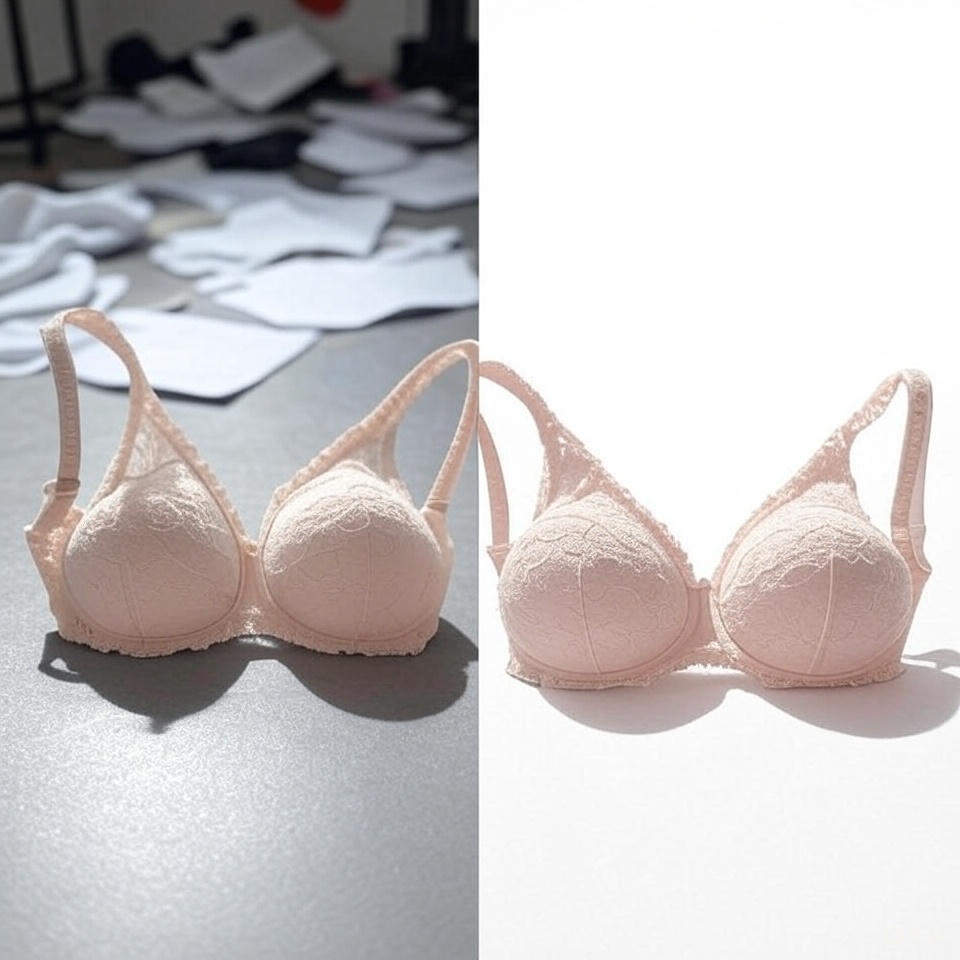
Step 6: Choose Backgrounds
White backgrounds are standard for eCommerce platforms like Amazon, providing a clean, distraction-free look. Transparent backgrounds work for versatile placements, such as overlays on lifestyle images. Lifestyle backgrounds, showing models or settings, create emotional connections but require careful editing to avoid clashing with the product. Align your background choice with your brand’s identity—minimalist brands may prefer white, while lifestyle-driven brands might opt for contextual settings.
Step 7: Optimize for Web and Mobile
Resize images to around 1000-1500 pixels wide to balance quality and load speed. Use tools like TinyPNG to compress files without sacrificing clarity, as faster load times improve user experience and SEO rankings. Ensure images display well on mobile devices, where most eCommerce traffic originates. Test your images on platforms like Shopify to confirm they meet marketplace guidelines and load quickly, enhancing the shopping experience.
Unique Editing Strategies
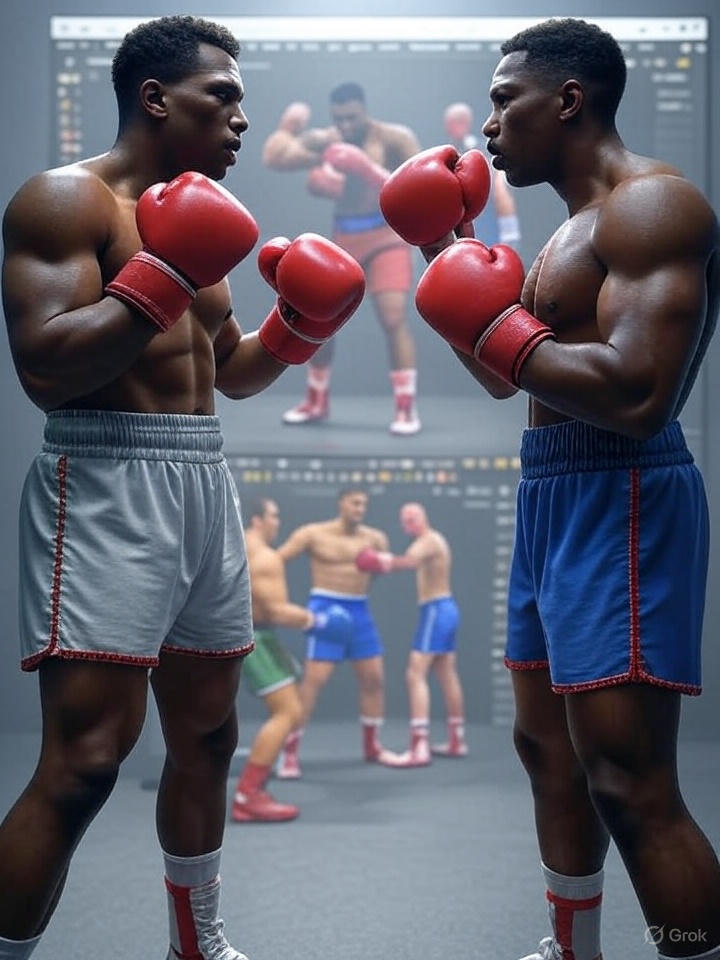
Use 3D Rendering for Underwear Visuals
3D rendering allows brands to showcase underwear from multiple angles without costly photoshoots. Software like Blender can create realistic models, letting customers rotate products on interactive web pages. This boosts engagement, as shoppers can explore details like side stitching or back clasps. Brands using 3D visuals often see higher conversion rates, as they offer a near-physical shopping experience, setting you apart from competitors relying on static images.
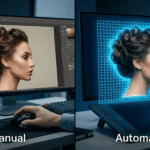
AI Tools for Automated Editing
AI-powered tools like Remove.bg or Adobe’s Sensei automate clipping paths and batch editing, saving hours for large catalogs. These tools detect edges with surprising accuracy, though manual touch-ups may still be needed for intricate designs. By automating repetitive tasks, brands maintain consistency while freeing up time for creative work. AI editing is a game-changer for scaling operations without compromising quality, especially for growing online stores.
DIY vs. Outsourcing Photo Editing
Pros and Cons of DIY Editing
| Pros | Cons |
| Cost-effective: Saves money compared to outsourcing, ideal for startups. | Time-intensive: Editing complex clipping paths or large catalogs takes significant time. |
| Complete creative control: Tailor every image to align perfectly with your brand vision. | Requires advanced skills: Steep learning curve for software like Photoshop. |
| Customizable to brand needs: Adjust visuals to match specific aesthetic preferences. | Risk of inconsistent quality: Mistakes can lead to unprofessional or uneven visuals. |
When to Outsource Clipping Services
Outsourcing suits brands with high-volume catalogs or limited in-house expertise. If editing takes time away from core tasks like marketing or product development, professional services ensure efficiency and quality. Look for USA-based providers with proven track records, like Clipping Path Center, for reliable turnaround and expertise. Outsourcing is also ideal when you need consistent, high-quality visuals to scale your eCommerce presence quickly.
Avoid Common Editing Mistakes
Over-editing can make underwear look unnatural, turning off customers who value authenticity. Avoid excessive smoothing or color tweaks that misrepresent fabrics. Always follow marketplace guidelines, such as Amazon’s requirement for white backgrounds and minimum resolutions. Ignoring these can lead to rejected listings or lower visibility. Regularly review your images against competitors to ensure they meet industry standards without losing your brand’s unique appeal.
FAQs
How long does it take to edit underwear product photos professionally?
Editing time depends on complexity and volume. A single image with a simple clipping path takes 10-20 minutes in Photoshop for a skilled editor. Batch editing with AI tools can reduce this to seconds per image, though manual touch-ups may still be needed. For large catalogs, outsourcing can save hours while ensuring consistent quality.
Can free software like GIMP replace Photoshop for underwear photo editing?
GIMP offers robust tools for clipping paths and basic retouching, making it a viable alternative for budget-conscious brands. However, it lacks Photoshop’s advanced automation and precision for complex tasks. For professional-grade results, especially for large inventories, Photoshop’s efficiency and features are worth the investment.
Should I use white or transparent backgrounds for underwear photos?
White backgrounds are ideal for eCommerce platforms like Amazon, ensuring compliance and a clean look. Transparent backgrounds offer flexibility for web design or lifestyle mockups. Choose based on your platform’s requirements and brand aesthetic—white for consistency, transparent for versatility.
How do I avoid over-editing underwear photos?
Stick to subtle adjustments, like removing minor wrinkles or balancing colors, to maintain authenticity. Compare edited images to the original product to ensure accuracy. Over-editing, like excessive smoothing, can make fabrics look unnatural, reducing customer trust. Always prioritize realism over idealized visuals.
Conclusion: Build a Professional Brand Image
Mastering how to edit underwear product photos professionally transforms your eCommerce presence, driving sales through trust and visual appeal. Whether you embrace DIY editing with tools like Photoshop or leverage professional clipping path services, high-quality images are non-negotiable for online success. Start refining your visuals today to create a cohesive, trustworthy brand that captivates shoppers.
Pixcretouch is one of the best clipping path service providers. Use our Underwear/Undergarments Editing Service to enhance your undergarment photos to boost your online visibility.
Suggested Reads
Explore these insightful blog posts from PixcRetouch to enhance your photo editing knowledge and elevate your e-commerce visuals.
1. Underwear Photo Editor: Explore 7 Shocking Results You’ll Love!
Discover the art of perfecting lingerie and underwear photography with techniques like color correction, fit enhancement, and background removal to boost your brand’s appeal.