Wrinkles in the clothing images are enough to ruin your perfect click. It is unprofessional and affects the real beauty of a product image. No worries now. There are Multiple Methods To remove Winkles from clothes in Photoshop.
How to Remove Wrinkles from Clothes in Photoshop is the ultimate digital-ironing solution because it fixes distracting flaws without destroying the fabric’s texture. Using a healing brush tool, patch tool, or frequency separation, we can remove wrinkles from Clothes.
In this guide, we will break down the exact fabric retouching methods we use to save ruined shots, showing you when to patch, when to heal, and when to separate frequencies for the perfect finish.
Why is Smoothing Fabric in Photoshop Essential for E-commerce?
Smoothing fabric in Photoshop is essential because clean, wrinkle-free product photography editing builds professionalism and focus. Removing distractions allows customers to look directly at the garment’s actual details. Furthermore, digital ironing reduces production costs by preventing costly reshoots, ensuring your apparel retouching looks great everywhere.
Think of it like this: if you walked into a high-end boutique and saw a $200 shirt crumpled on a hanger, your perceived value of that item drops instantly. The same thing happens online. We’ve noticed that buyers bounce faster when e-commerce photo retouching looks sloppy. You can steam and iron garments all morning, but the studio lights catch everything. Using Photoshop to fix wrinkled product photos means you get that flat and natural fabric look, which helps boost e-commerce sales and keeps your brand looking sharp.
How to Remove Wrinkles from Clothes in Photoshop: 4 Methods
Because Photoshop offers several different ways to smooth out wrinkles, it’s incredibly versatile. No matter your experience level, there’s a method that easily fits your workflow
Method 1: Use the Spot Healing Brush Tool (Best for Minor Wrinkles)
The Spot Healing Brush is the fastest method to remove small, isolated creases on solid-colored fabrics. It works by sampling surrounding pixels and blending them over the wrinkle for a flat and natural fabric look.
Step-by-Step Execution:
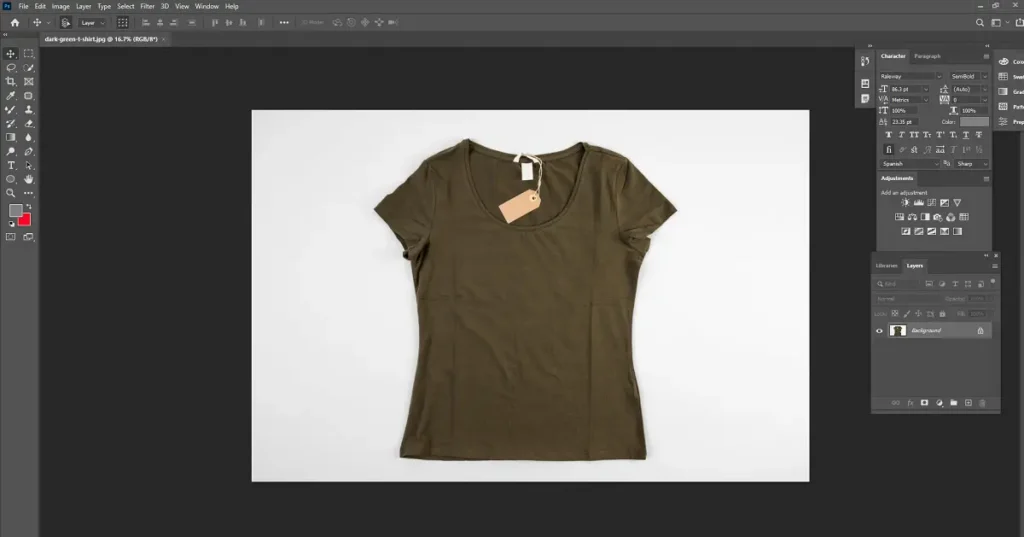
Step 1: Open your image
Load your product photo in Photoshop and ensure your lighting is balanced.
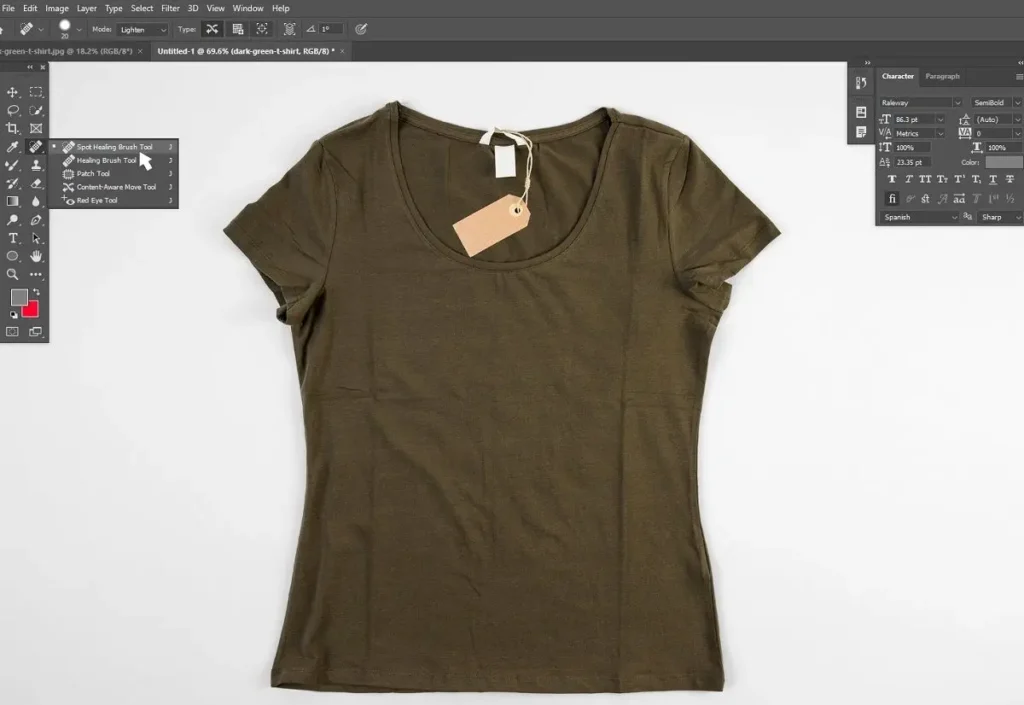
Step 2: Select the tool
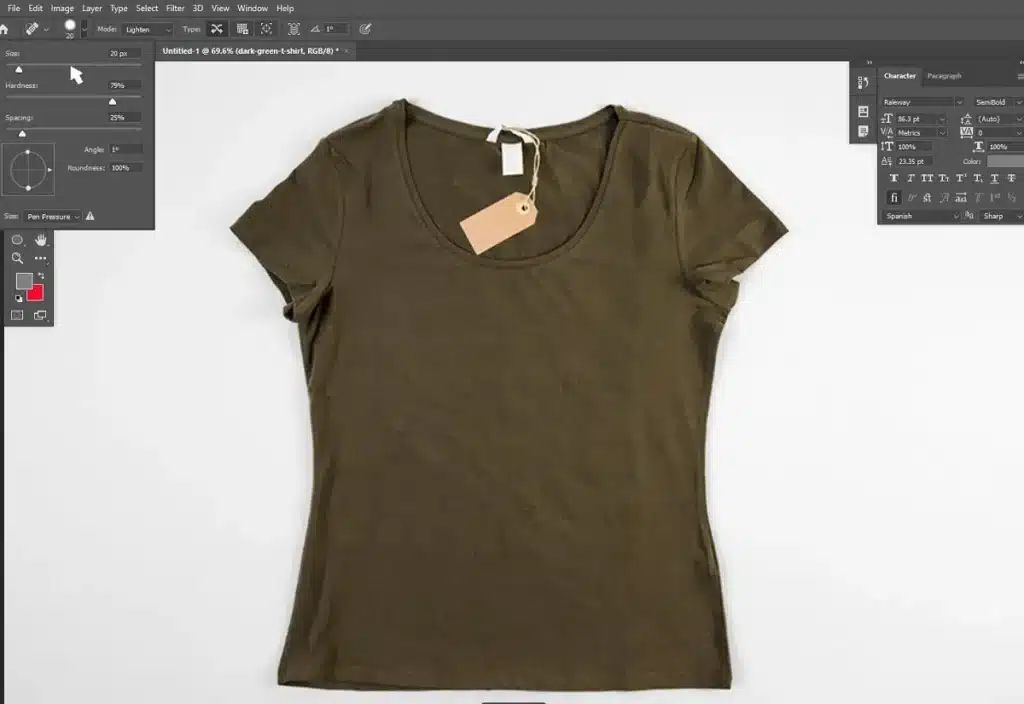
Grab the Spot Healing Brush Tool from the left toolbar (or press keyboard shortcut J) and set your source to “Sampled” in the top menu.
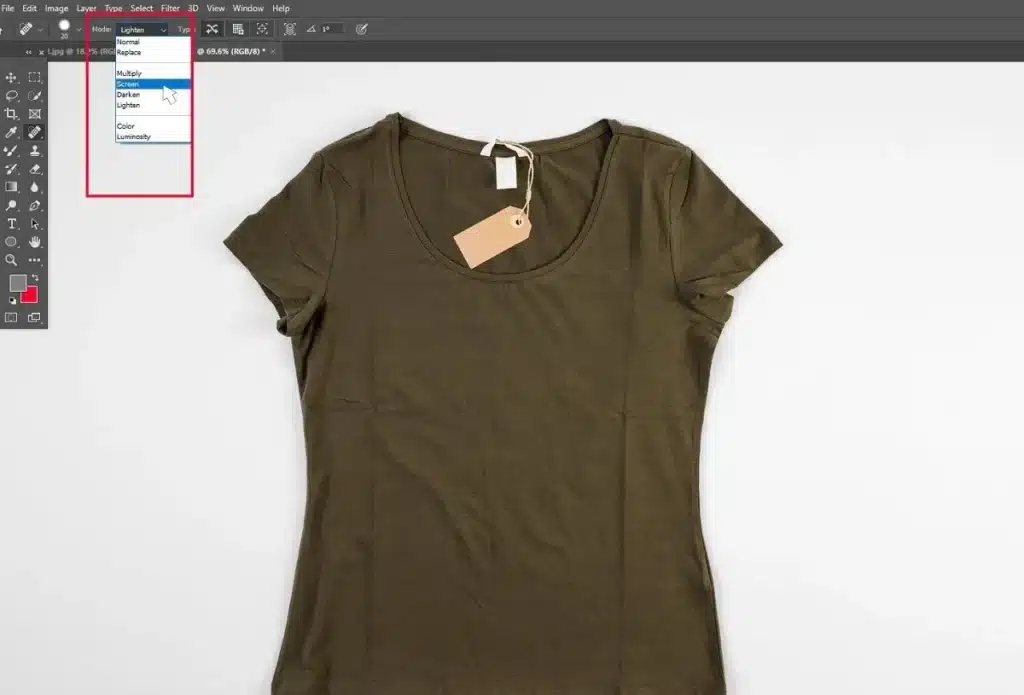
Step 3: Configure the Painting Mode
Change the mode based on your fabric. Use Lighten for dark clothing, or Screen to create a freshly pressed, ironed effect.
Step 4: Choose the Healing Type
Select Content-Aware, so Photoshop automatically matches the surrounding fabric pattern.
Step 5: Adjust brush settings
Set your brush hardness between 0% and 70% (use a softer brush for delicate fabrics like silk).
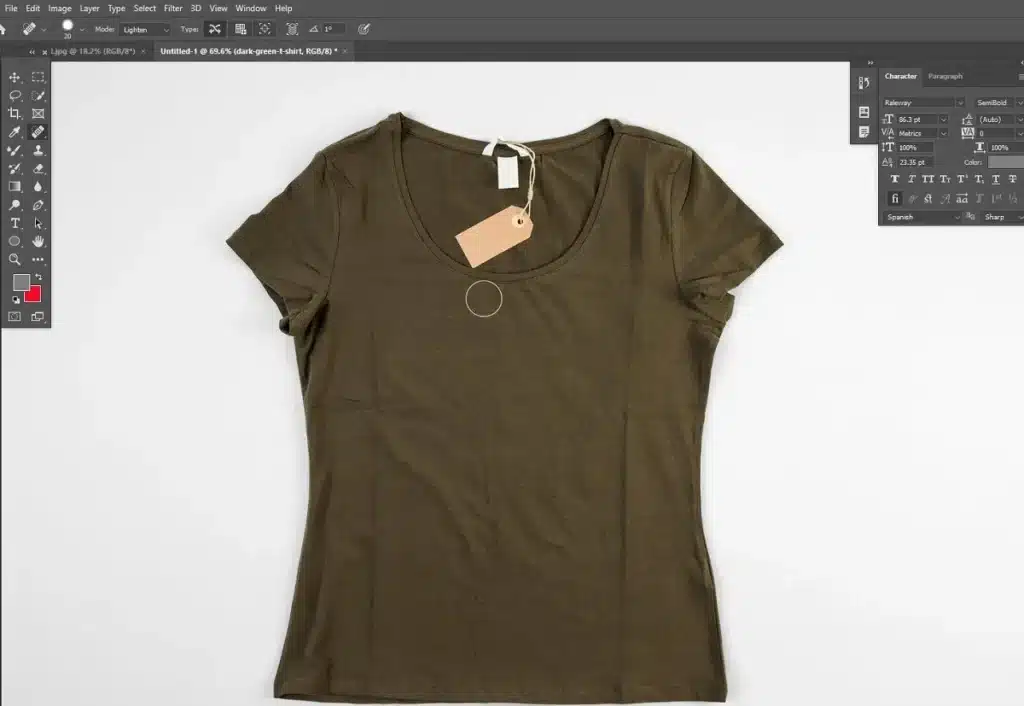
Step 6: Paint the crease
Hold Alt/Option, click a smooth area of the fabric to sample it, and paint directly over the wrinkle for seamless blending.
Method 2: Use the Patch Tool (Best for Large, Deep Folds)
When you are dealing with crisp, deep wrinkles spread over a large area, the Healing Brush will fail and leave a blurry mess. The Photoshop Patch Tool fixes this by allowing you to graft a perfectly smooth patch of fabric over the ruined area.
Step-by-Step Execution:
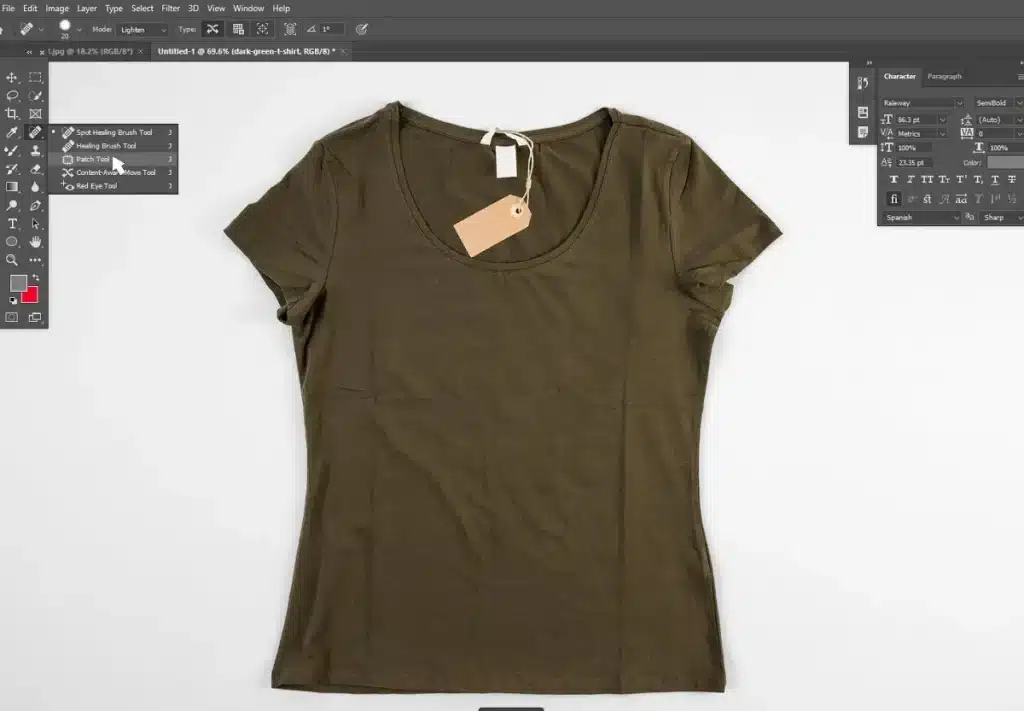
- Select the Patch Tool: Find the Patch Tool (nested under the Healing Brush) and set the top settings to “Normal” and “Destination.”
- Find a donor area: Draw a precise, tight selection around a completely unwrinkled, flat area of the garment.
- Replace the wrinkle: Click inside your selected smooth patch and drag it directly over the wrinkled area to merge the pixels.
- Blend the edges: Switch back to the Healing Brush Tool and lightly tap around the edges of your new patch to hide any harsh seams.
- Reshape the fabric: If the patch distorted the shape of the clothing, open the Liquify Filter (Filter > Liquify) and gently push the fabric back into place using the Freeze Mask Tool.
Method 3: Use Frequency Separation (Best for Preserving Texture)
Frequency Separation is the industry standard for high-end product photography editing. It separates the image’s color tones from its physical texture, allowing you to blur away heavy wrinkles without destroying the actual weave of the material.
Step-by-Step Execution:

- Create your layers: Duplicate your main background layer twice. Name the bottom duplicate Color and the top duplicate Edges.
- Blur the wrinkles: Hide the Edges layer temporarily. Select the Color layer, go to Filter > Blur > Gaussian Blur, and increase the radius until the wrinkles visually dissolve.
- Extract the texture: Unhide and select the Edges layer. Go to Image > Apply Image. Set the Layer to “Color,” Blending Mode to “Subtract,” Scale to 2, and Offset to 128.
- Change the Blending Mode: In your layers panel, change the Edges layer’s blending mode to Linear Light.
- Select the creases: Make sure you are working on the Edges layer. Grab the Lasso Tool, set the feathering between 20px and 40px, and circle a specific wrinkled area.
- Iron it out: Go to Filter > Blur > Gaussian Blur and adjust the slider until the specific crease smooths out permanently. Repeat this for all major folds.
Method 4: Use AI Plugins (Best for Bulk Editing)
If you are processing hundreds of e-commerce photos on a tight deadline, manual editing is too slow. AI wrinkle remover tools can automate digital ironing, though they may struggle with complex, highly textured patterns.
Step-by-Step Execution:
- Install an AI Plugin: Download and install a reputable Photoshop AI plugin designed for fabric retouching, such as Retouch4me or Envato’s ImageEdit.
- Run the automated filter: Open your image, navigate to your Filters or Plugins menu, and select your AI tool.
- Review and refine: Let the AI generate the smooth fabric overlay. Inspect the image closely to ensure the AI didn’t blur fine fabric textures, and manually touch up any missed spots using the Spot Healing Brush.
What is the Difference Between Manual Editing vs AI for Clothes Wrinkles?
AI wrinkle remover Photoshop tools process bulk images fast, making them highly efficient for quick turnarounds. However, manual editing yields professional product images by protecting complex patterns. While Photoshop AI plugins save time, they can blur fine fabric textures, requiring manual intervention for high-end results.
We’ve put AI to the test in our studio. If you have 500 catalog shots due by Friday, an AI plugin (like Retouch4me or Envato’s ImageEdit) is a lifesaver. But if you have a hero shot for a homepage? AI will often fail. It tends to smudge the fabric, making a crisp linen shirt look like cheap polyester. You always have to balance speed with quality.
How to Choose the Right Wrinkle Removal Technique
Choosing the right Photoshop wrinkle removal method depends on the specific crease size and output goal. Minor spots require the Healing Brush, while large folds need the Patch Tool. For high-end retouching, Frequency Separation is required, whereas bulk edits benefit from AI plugins for faster output.
Don’t force one tool to do every job. A common mistake is trying to use the Healing Brush on a massive crease, which just ruins the pixels. Here is a breakdown of how we decide which technique to use on the fly:
| Defect Type | Best Tool | Why It Works |
| Minor Blemishes | Spot Healing Brush | Quick, targeted fixes for solid colors and tiny spots. |
| Large Folds | Patch Tool | Replaces deep, crisp creases with clean fabric samples. |
| High-End Retouching | Frequency Separation | Separates color from texture to avoid a fake, flat look. |
| Bulk/Fast Output | AI Plugins | Speeds up the workflow when sheer volume is the priority. |
FAQ On How To Remove Wrinkles From Clothes In Photoshop
How to fix wrinkled product photos quickly?
The fastest way to fix wrinkled product photos is by using the Spot Healing Brush Tool for small blemishes or an AI plugin for batch processing. For anything larger, the Patch Tool takes just a few seconds to swap a wrinkled area with a clean fabric sample.
What is the best way to smooth fabric without losing texture?
Frequency Separation is the best method to remove creases from clothes while keeping the texture intact. By placing the color data and the texture data on two different layers, you can blur the shadows of the wrinkles without erasing the physical weave of the fabric.
Can an AI wrinkle remover replace manual editing?
Not entirely. While AI tools are great for fast, bulk edits on simple garments, they often fail on complex patterns or sheer fabrics, making manual editing essential for high-quality, professional product images.
Key Takeaways
- Match the tool to the defect: Use the Spot Healing Brush for minor spots, the Patch Tool for deep folds, and Frequency Separation for high-end texture preservation.
- Protect the texture: Over-blurring fabric makes garments look cheap and fake; always use techniques that maintain the actual weave of the material.
- Balance speed and quality: Use AI plugins for massive bulk catalogs, but rely on manual editing for your high-stakes hero images and homepage banners.
Ready to clean up your product catalog? Open Photoshop right now, duplicate your background layer, and try the Patch Tool on your most frustrating product photo to see the difference it makes. If the volume is simply too high, reach out to a professional photo editing service to handle the bulk retouching for you.